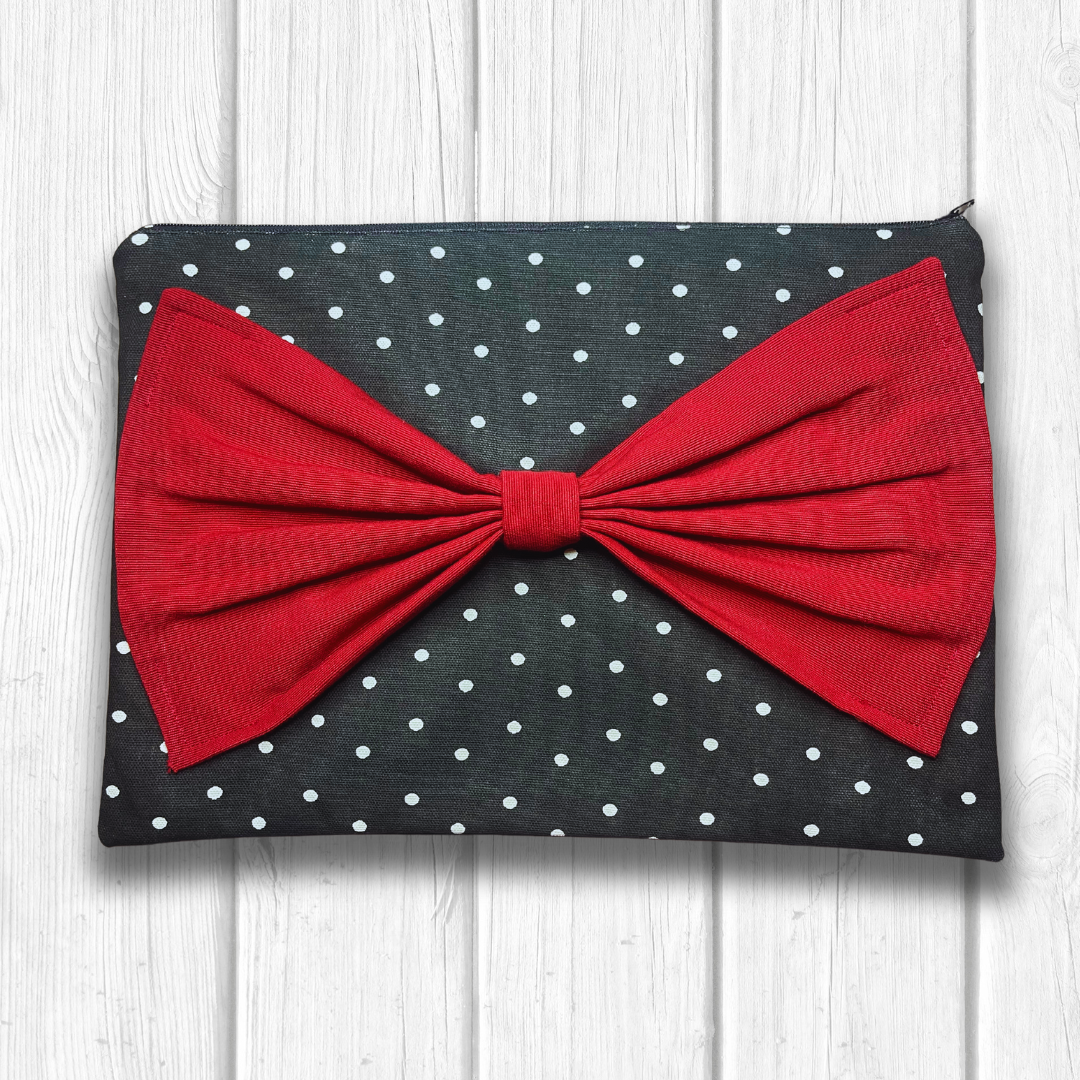
Easy DIY Big Bow Zipper Clutch Tutorial with Free Sewing Pattern
Create an adorable and simple big bow zipper clutch with me. It’s the perfect handmade gift! 🎀
After the overwhelming love for the Melisa Big Bow Tote Bag tutorial, I decided to create a clutch version as part of the adorable Big Bow series. I often found zipper clutches or makeup pouches to be too small, so I made this one a bit larger than the typical designs you see! I hope you enjoy this tutorial, and if you haven’t already, be sure to check out the Melisa Big Bow Tote Bag tutorial.
Let’s get started! Here is the free pattern for download!
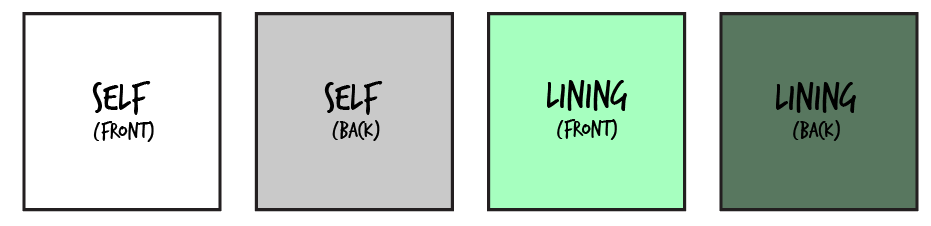
Pattern Piece Inventory:
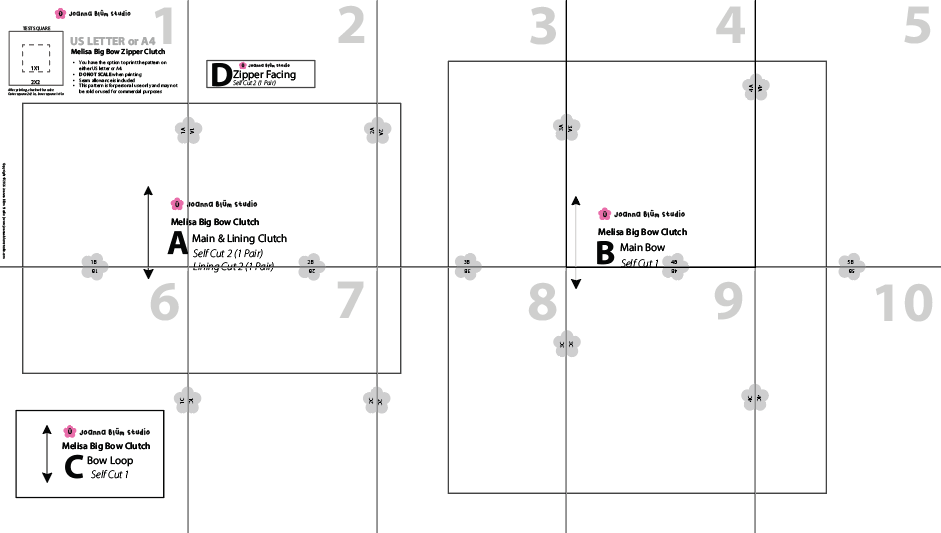
- A: Main& Lining Clutch: Self Cut 2(1 Pair) , Lining Cut 2 (1 Pair)
- B: Main Bow: Self Cut 1
- C: Bow Loop: Self Cut 1
- D: Zipper Facing: Self Cut 2(1 Pair) - OPTIONAL
Gather Your Materials:
- Your choice of self fabric (My Recommendation: Medium to Heavyweight Fabric such as Duck Canvas)
- Your choice of lining fabric
- Your choice of 12” zipper (end-to-end measurement should be closer/slightly shorter than 14”)
- Fabric marking pen or pencil
- Sewing clips or pins
- Sewing machine, needle, coordinating thread
- Tools for hand stitching
Note: You will need approximately 1/2 to 3/4 inches of fabric, depending on the width of your fabric
Sewing Instructions:
(Optional) Part 1: Attaching zipper facing to zipper
-
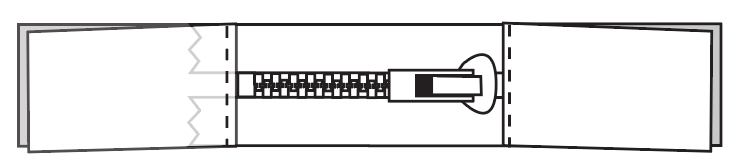
Fold fabric (D) in half widthwise with the wrong side facing together. Pin or use fabric glue to secure the edges of the zipper, ensuring not to cover the metal components as this can hinder sewing.
-
Topstitch along the folded line of the zipper facing, aligning it with the edges of the zipper.
-
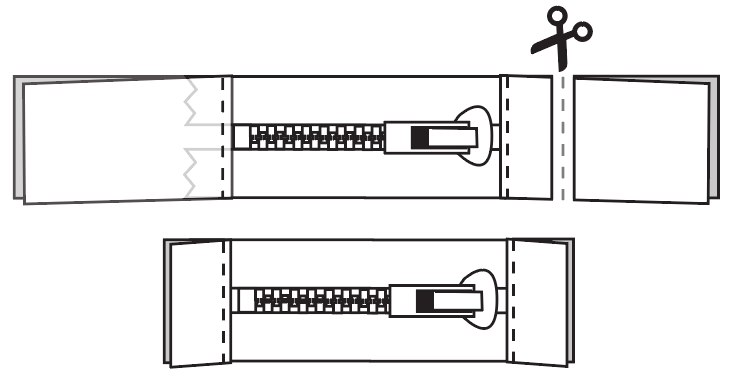
Trim any excess fabric at the ends of the facing. The facing pattern is intentionally longer than necessary to accommodate potential mistakes or adjustments.
Part 2: Prepare the Bow
-
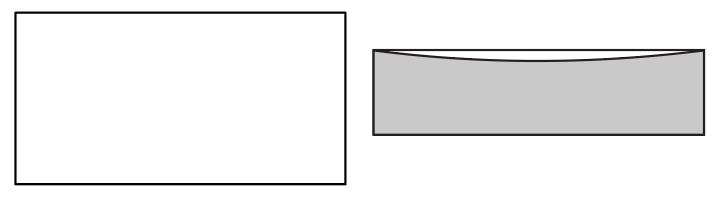
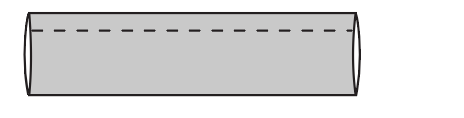
Fold fabric (B) in half lengthwise with right sides together and stitch along the long edge with a 3/8” seam allowance, ensuring to leave a 3-4 inch gap in the middle.
-
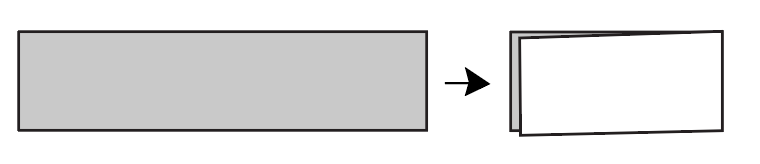
Flip the fabric and press well to flatten and refine its appearance.

-
Topstitch or ladder stitch to close the gap.

-
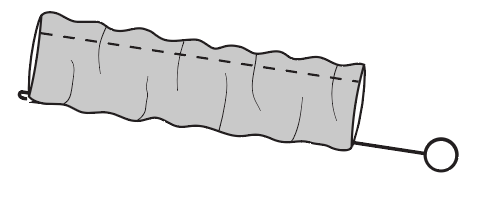
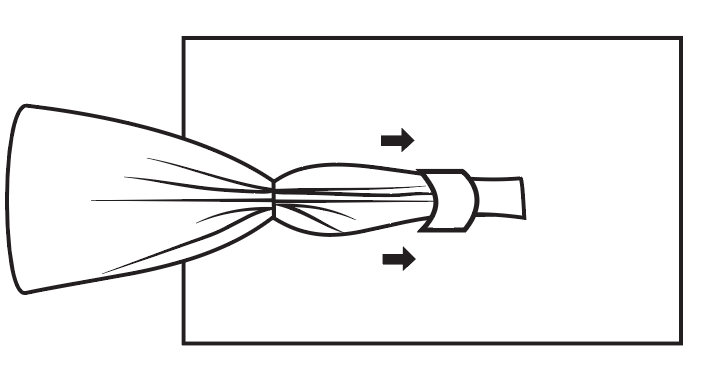
Create 4-5 pleats in the middle using your fingers, then pin them together.
-
Hand-stitch to secure the pleats in the middle.

-
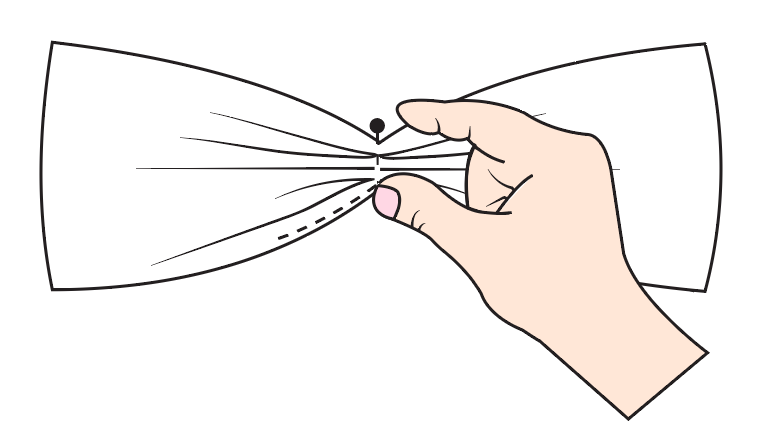
Fold fabric (C) in half lengthwise with right sides together.
-
Stitch along the lengthwise part with a 3/8” seam allowance.
-
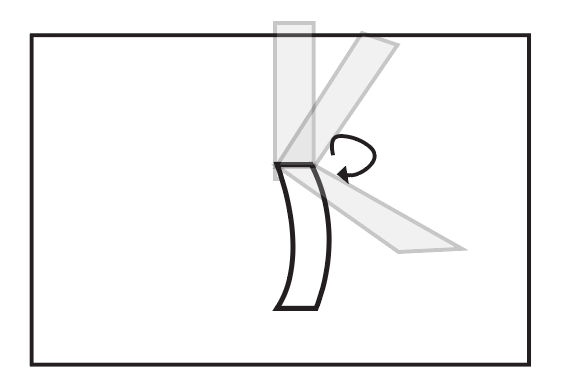
Flip it using a spaghetti turner or a similar tool for easy flipping.
Part 3: Attaching Bow to the Front Clutch
-
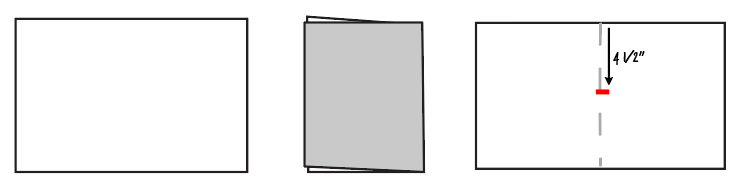
Fold fabric (A-front piece) in half and mark the center front (CF). Measure 4 1/2 inches down from the CF and mark the loop placement on the right side of the fabric using an erasable or fabric marker pen.
-
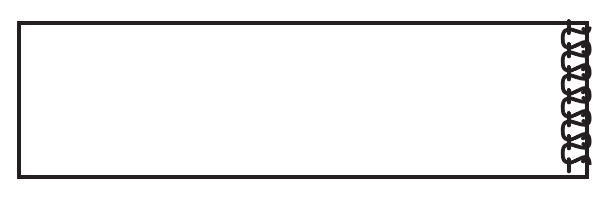
Overlock only one edge of fabric (C) to prevent it from fraying.
-
Position one side of fabric (C) with the overlocked side towards the top of (A-front piece) at the marked loop placement. Stitch with a 1/4-inch seam allowance.
-
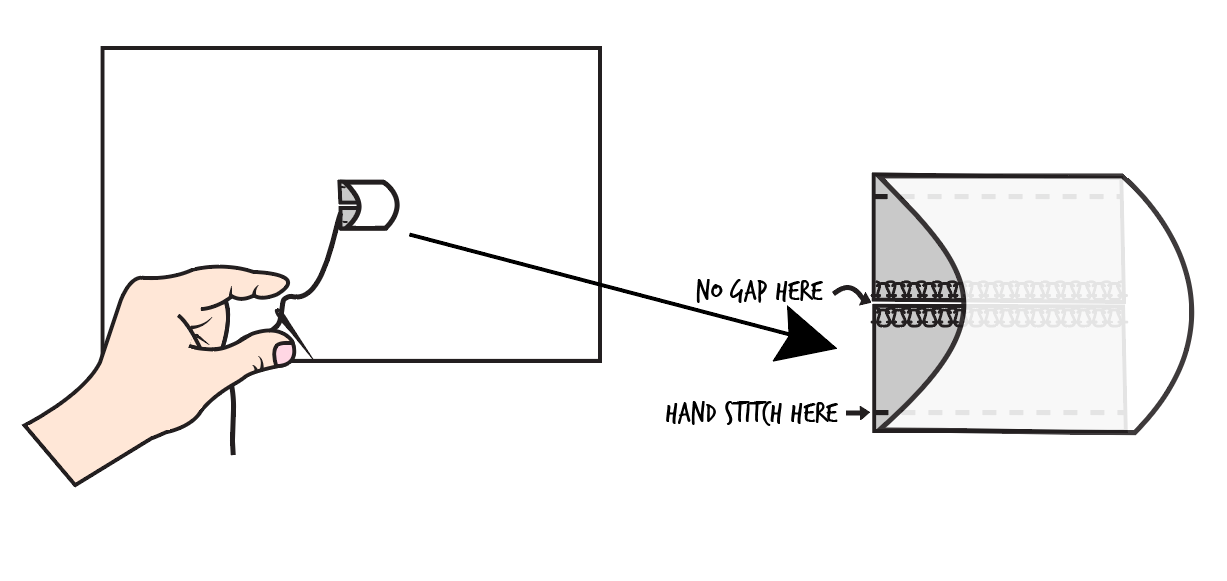
Position pieces (B) and (D), determining the space needed for the loop. Ensure it is snug but not overly tight. In my case, I had to trim the loop piece (C) to 3 1/4”, including a 1/4” seam allowance for the next step.

-
After trimming the loop piece, overlock or zigzag the edges to prevent fraying. Hand stitch the bottom loop securely for a strong attachment.
-
Once the loop is secure, position pieces (B) and (D) into the loop.
-
Lay your bow piece flat and stitch 1/4 inch from the edge on all four sides. Sew 1 inch and pivot, then sew another inch. Ensure neat pivoting for a clean finish.

Part 4: Sewing the Zipper
Note: For Part 4 and 5, I highly recommend this video tutorial by MADE Everyday.
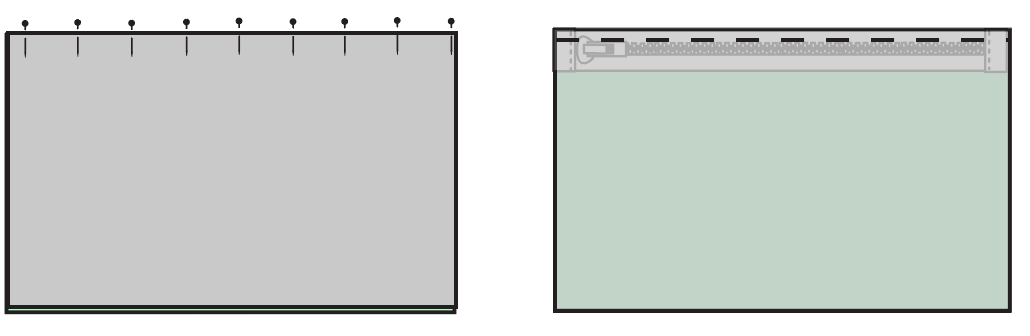
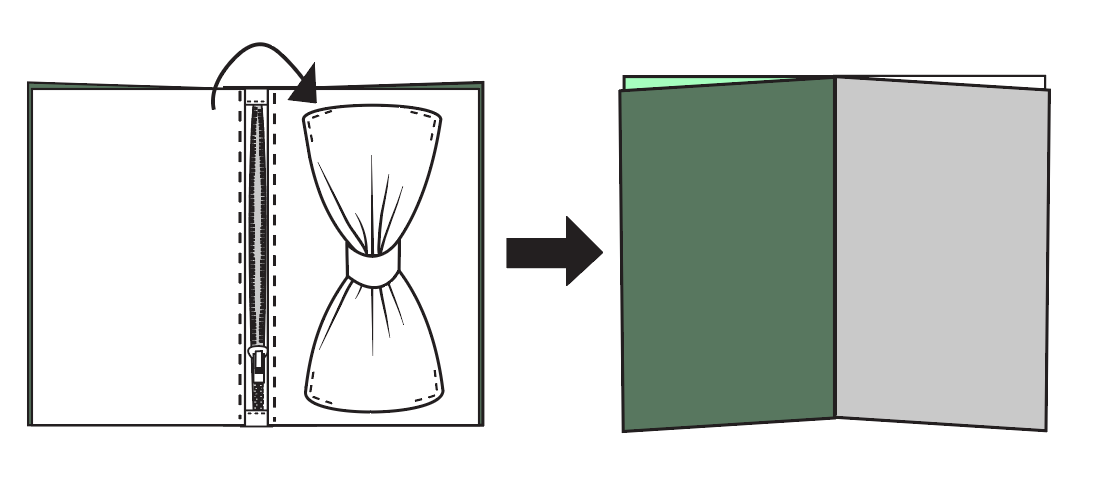
- Place one of the lining pieces face up.
- Lay the zipper on the lining fabric, face up.
-
Now, place the outer fabric piece face down over the zipper.

- Secure the placement with pins or clips.
-
Sew along the zipper using a zipper foot.
- Repeat steps 1-5 for the other side of the zipper.
-
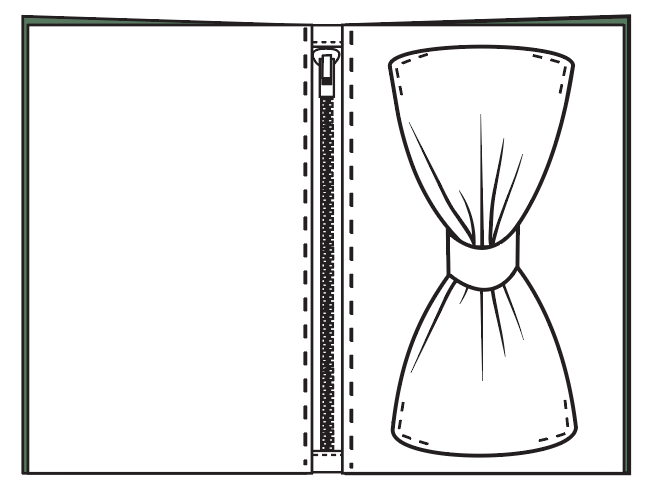
Press the seams open, pulling away from the seam. Topstitch if desired.
Part 5: Sewing the Clutch
- Ensure the zipper is open.
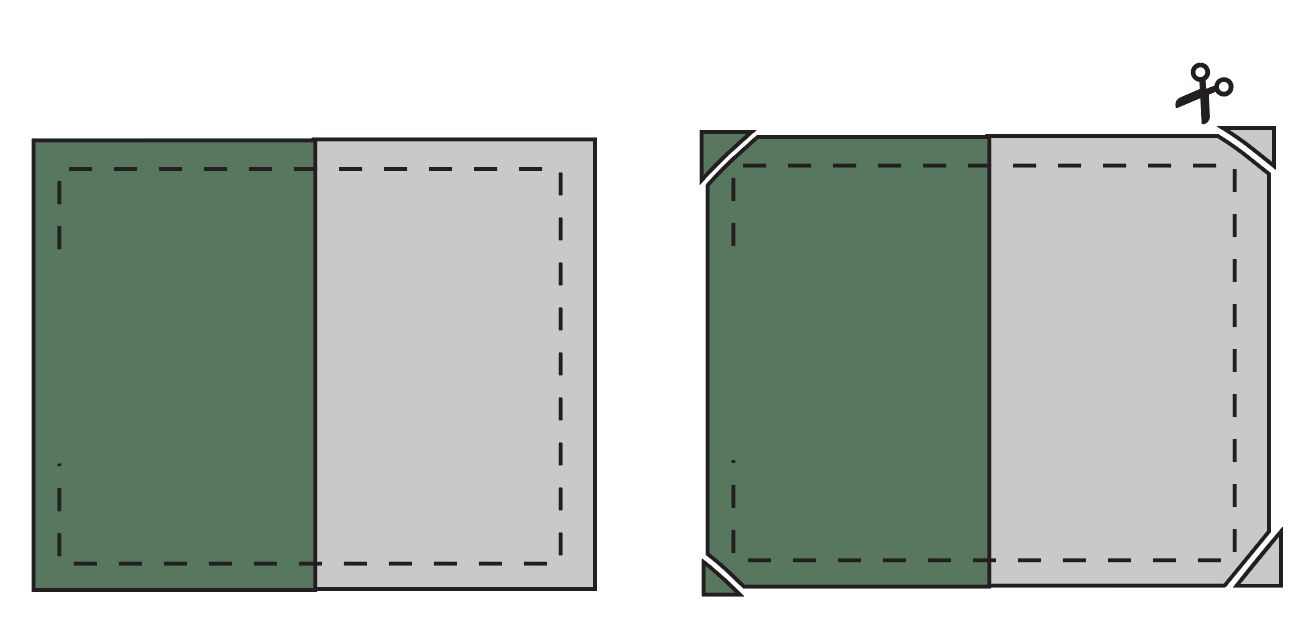
- Place the outer pieces right sides together.
-
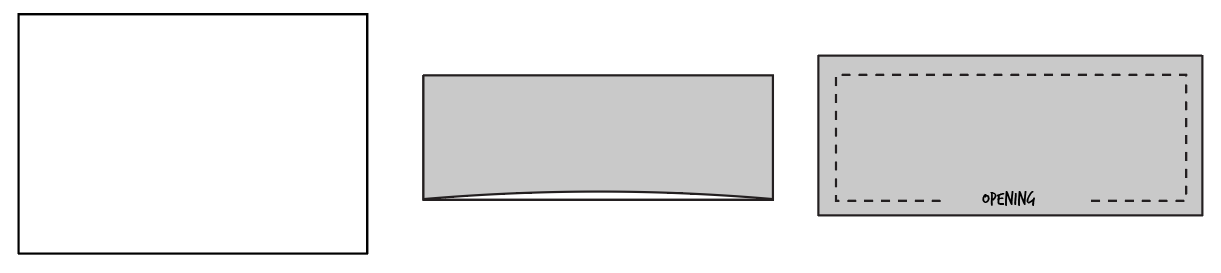
Place the two lining pieces right sides together.
-
Clip or pin everything securely, then sew around the edges with a 3/8-inch seam allowance, leaving the lining opening unsewn (3-4 inches). Trim the corners and zipper ends to reduce bulk.
Part 6: Finishing Up
- Turn your clutch right side out.
-
Either ladder stitch or topstitch the lining opening closed.
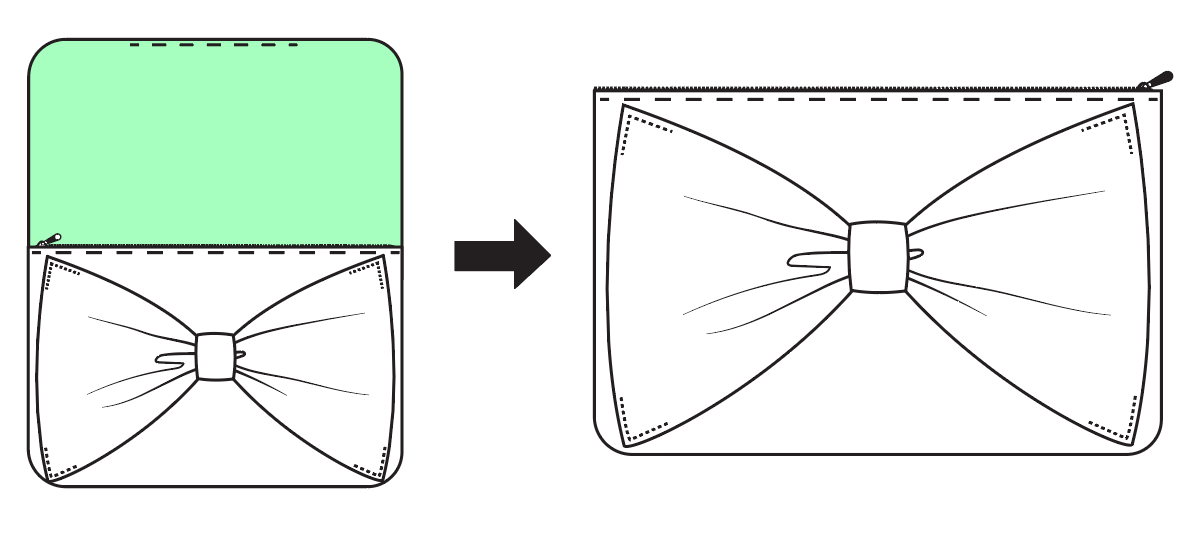
Give everything a good press and you’re all done! YAY. If you have any questions or are stuck with any instructions, please feel free to contact me anytime.
Don’t forget to find me on Instagram @joannablumstudio and tag your photo with @joannablumstudio, #joannablumstudio and #MelisaBigBowClutch!