Labeling Love: A Step-by-Step Guide to DIY Fabric Tags

Explore a quick, step-by-step DIY guide to crafting unique fabric tags. Add a touch of personality to your handmade pieces! ✨🧵
Having your own unique label really makes your handmade product stand out more and gives it personality, don’t you think? I love cute labels, but they are sometimes too pricey to buy, and I don’t always want to have like 10 of the same labels. Right?
Here, I’ve created the easiest tutorial on how to make your own cutest fabric tags. I struggled quite a lot at first, and after some trials and errors, I finally figured out the easiest way. I just really wanted to share this with y’all.
Also, here’s the free retro-inspired template you can use if you want to print it out without designing your own.
NOTE: This label design is specifically crafted for printing on 1-inch wide fabric. Additionally, I created this template using Canva, so it’s important to mention that these are not my original graphics!
Materials Needed:
- Inkjet printer
- Your preferred cotton fabric for creating labels. I used 1” natural color cotton twill tape.
- Heat Transfer Paper
- Iron for pressing
- Interfacing (if your chosen fabric needs extra stability) - Optional
- Anti-fray glue - Optional
Step-by-Step Instructions:
1) Prepare Your Graphic for Printing
Utilize any design software to create your label graphic. If you prefer using my template, you can find it here.💕
2) Mirror the Image
Follow these steps to mirror the image using Adobe Acrobat Reader:
1) Click on print.
2) Change your printer to Adobe PDF.
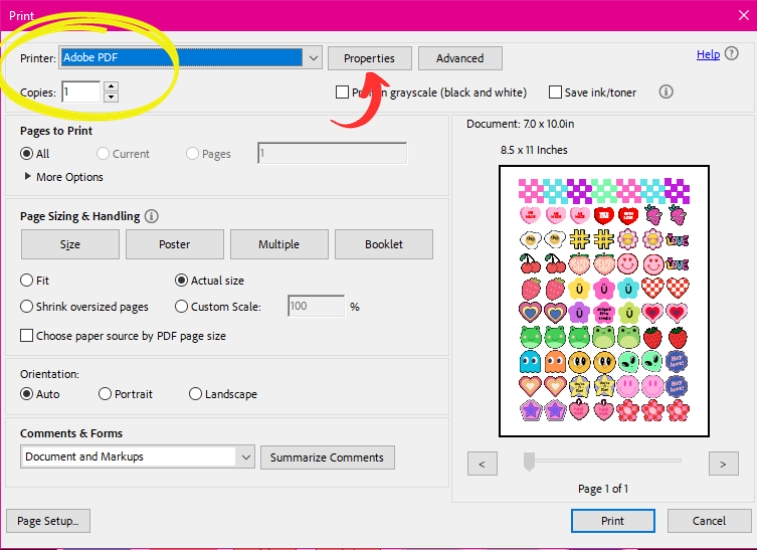
3) Go to Properties -> Layout -> Advanced…

4) Expand PostScript Options -> Mirrored Output. Change this to Yes and click OK.

5) Click Print and save this mirrored PDF file.
6) Use this new file to print on your heat transfer paper.
3) Print on Heat Transfer Paper
When printing, ensure you DO NOT SCALE.
4) Cut the Fabric and Position the Graphic
Trim your fabric to the preferred label size, considering seam allowance and leaving extra space. Align the heat transfer graphic piece with the right side together.
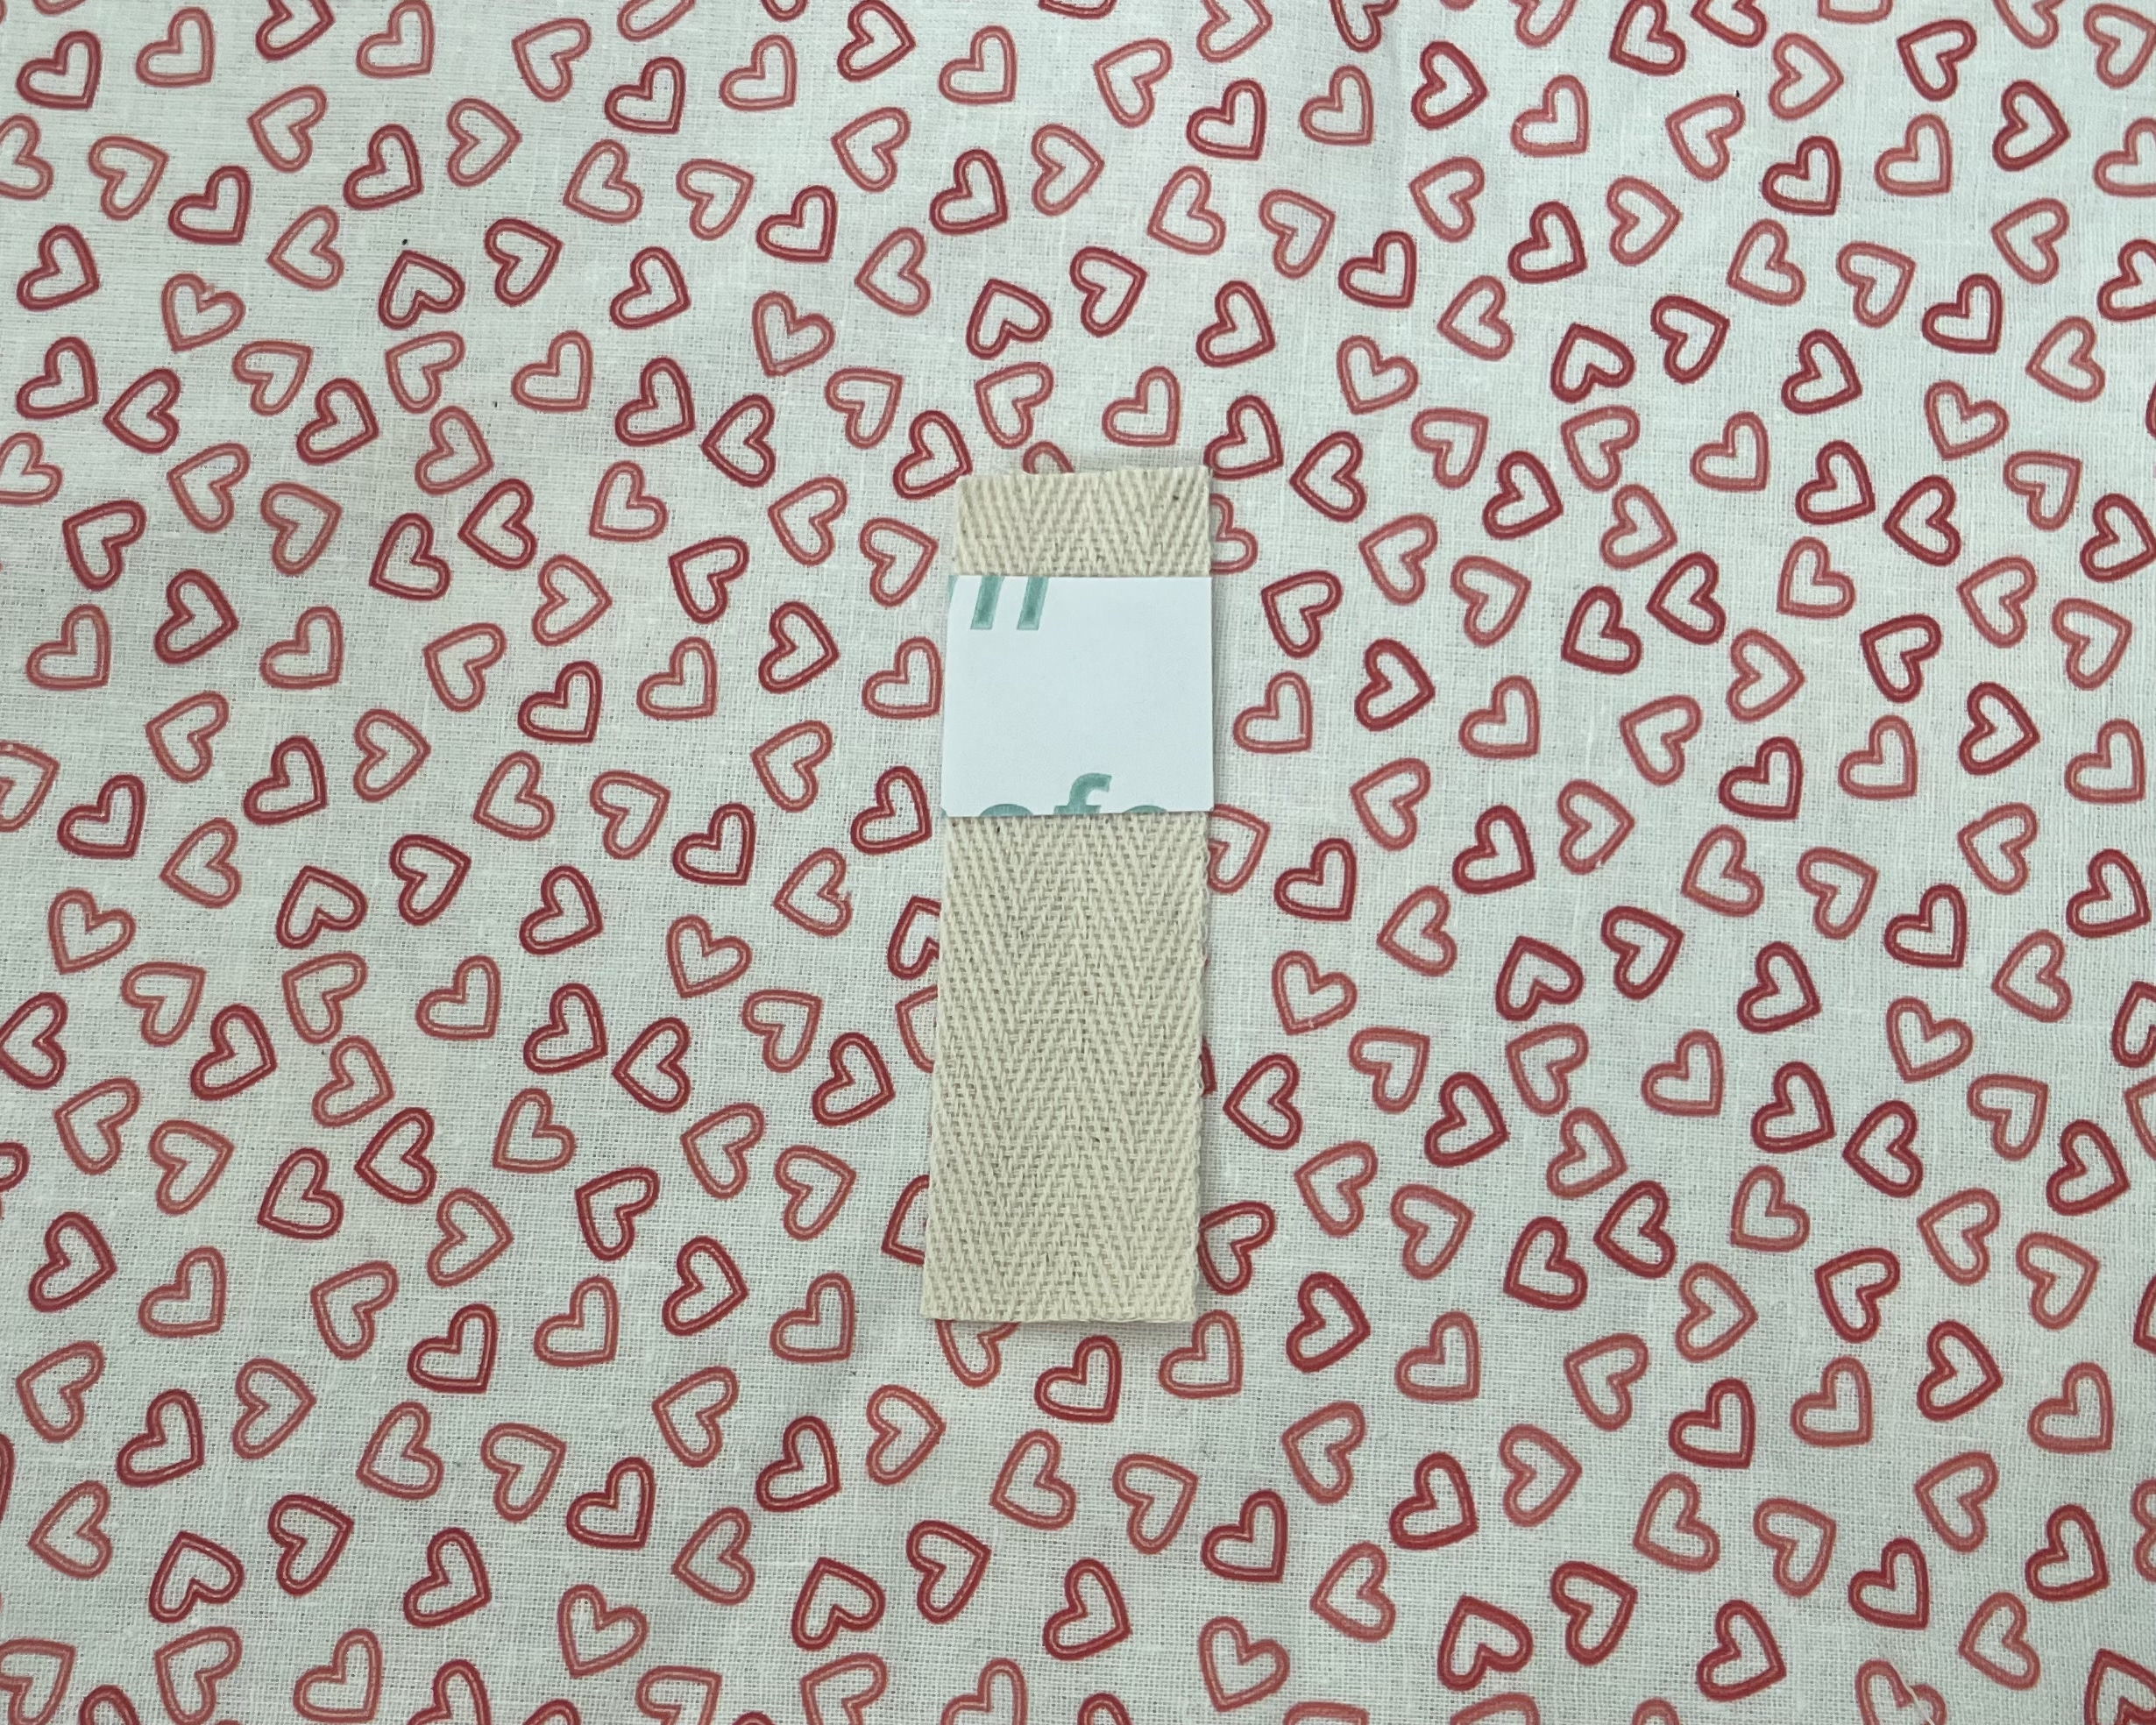
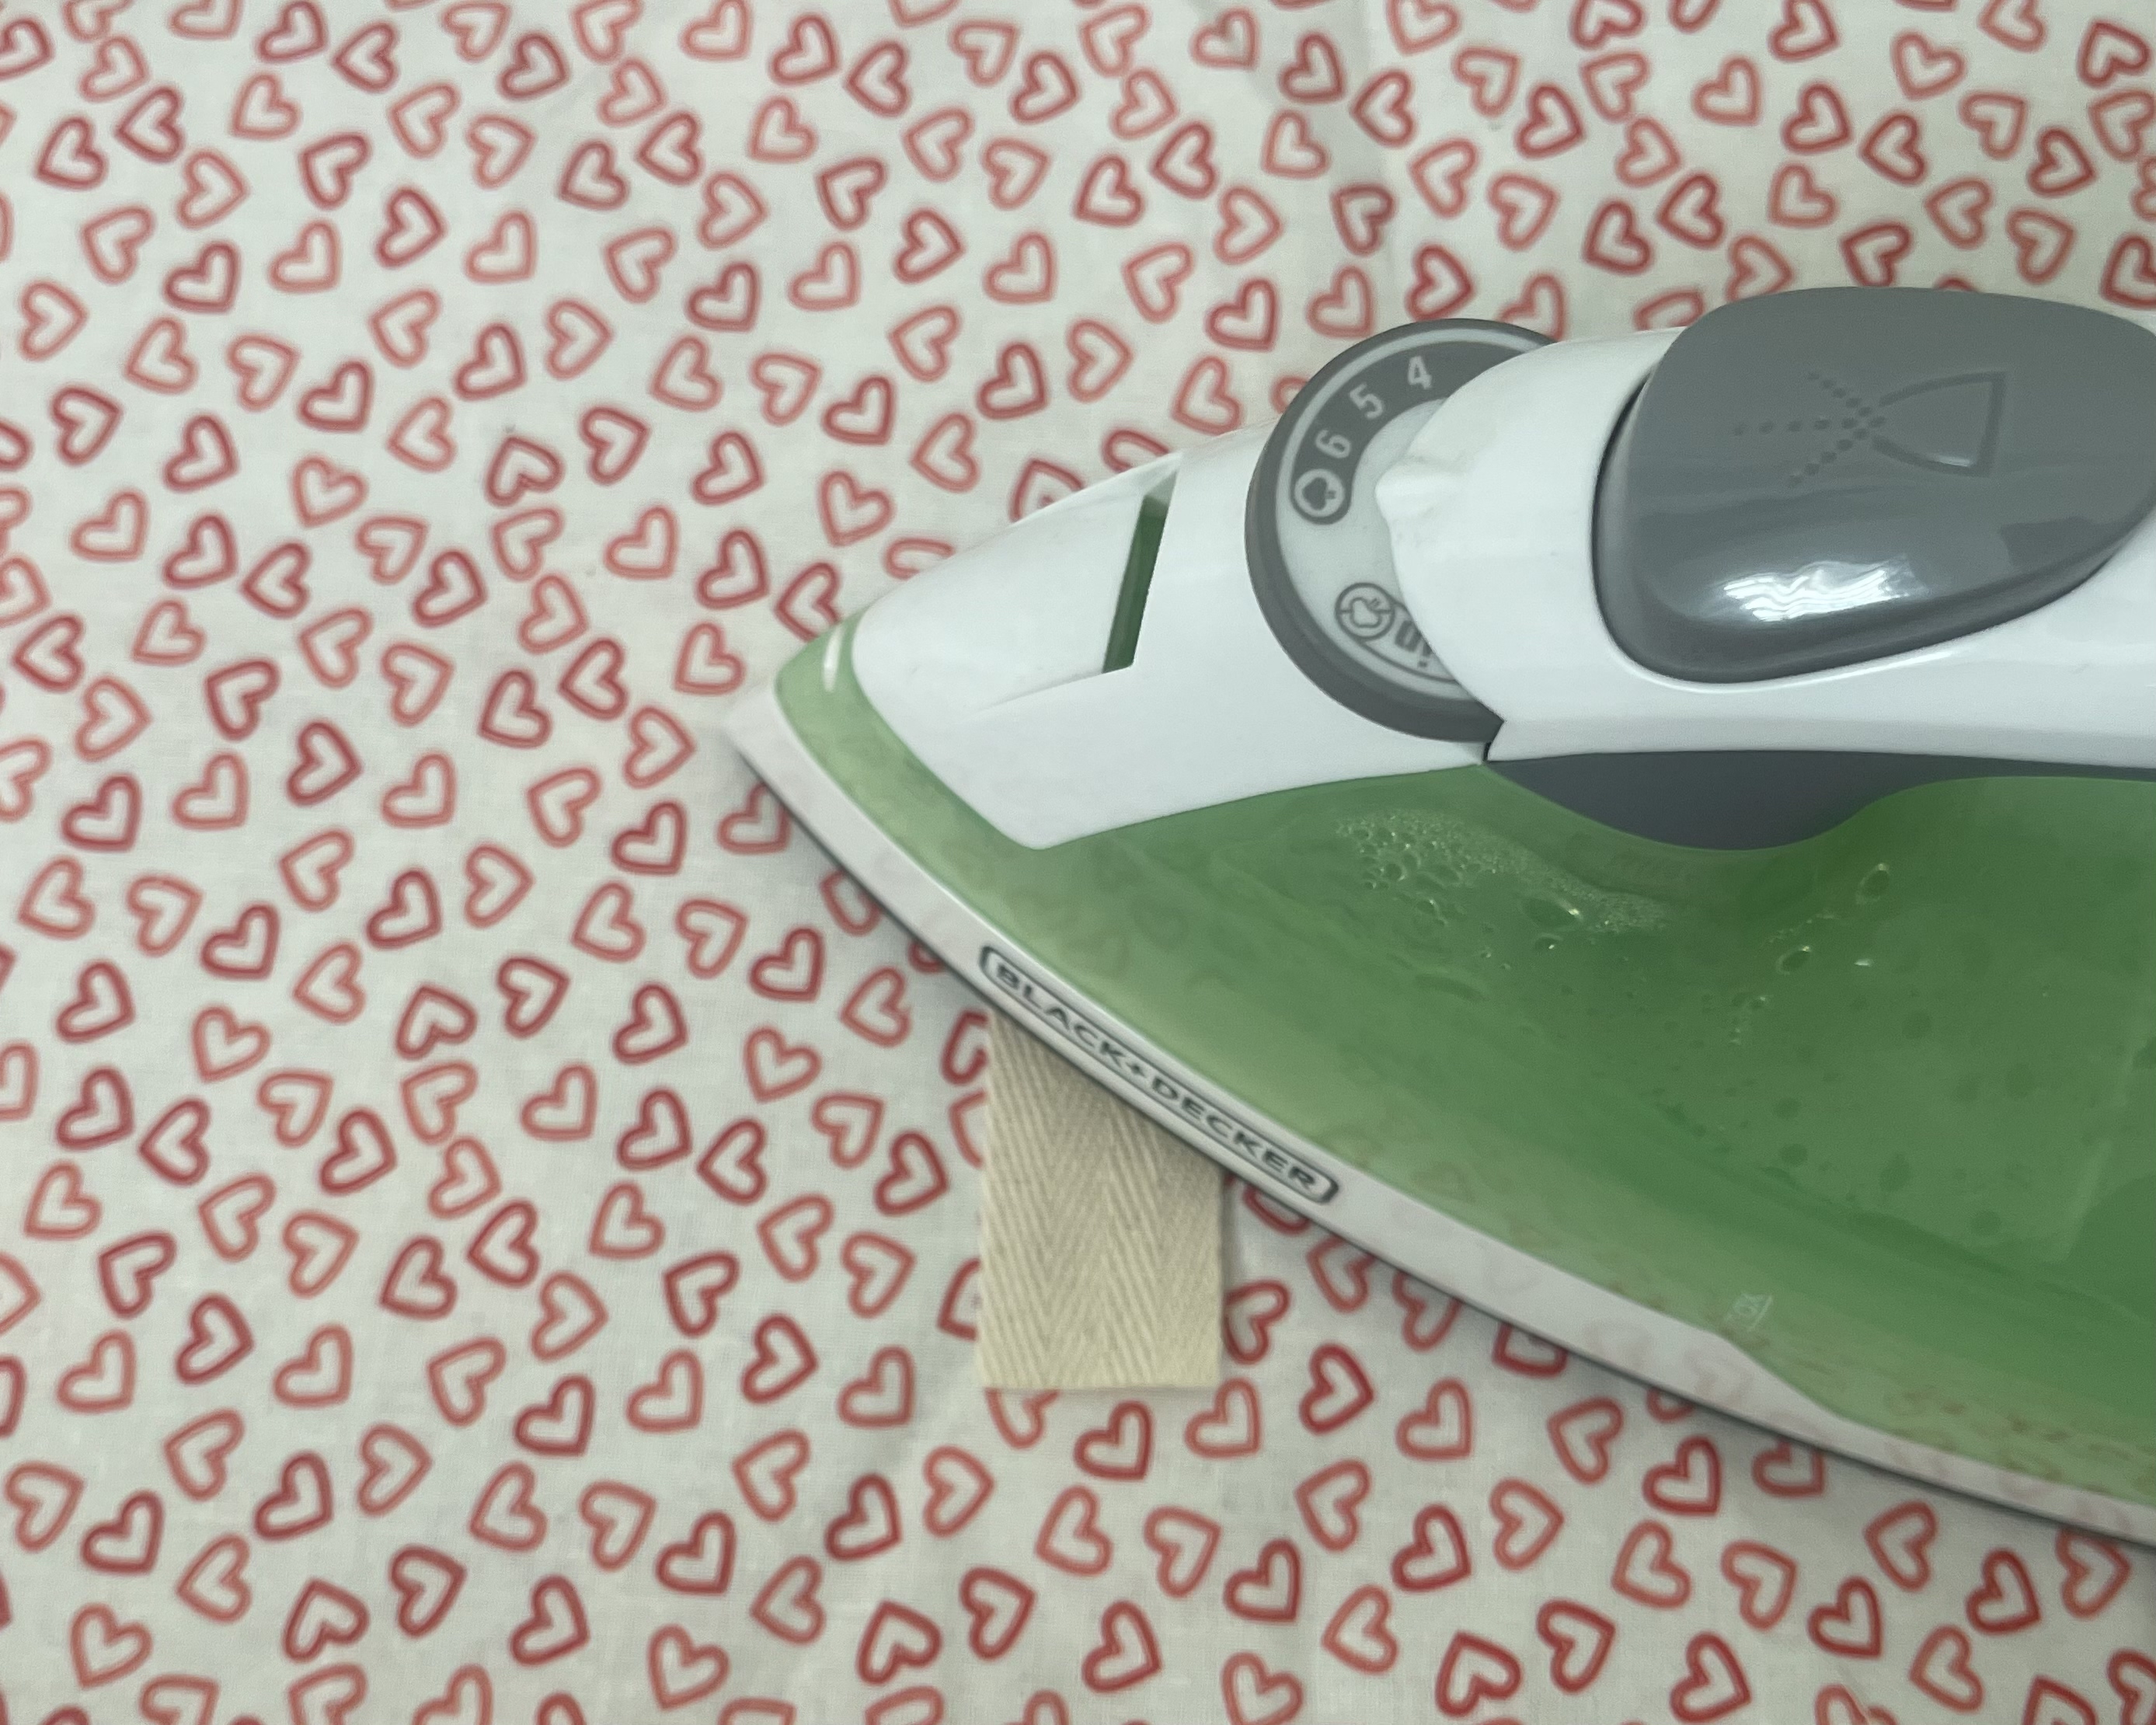
5) Iron it
IMPORTANT: Ensure the iron temperature matches the heat transfer paper instructions. Press it for 10-15sec or instructed amount of time. Follow the specific instructions for your heat transfer paper to avoid issues such as burning or yellow stains.
6) Peel Off the Heat Transfer Piece
IMPORTANT: Allow the transfer to cool completely before peeling it off. Patience during this step prevents frustrating outcomes. 😊
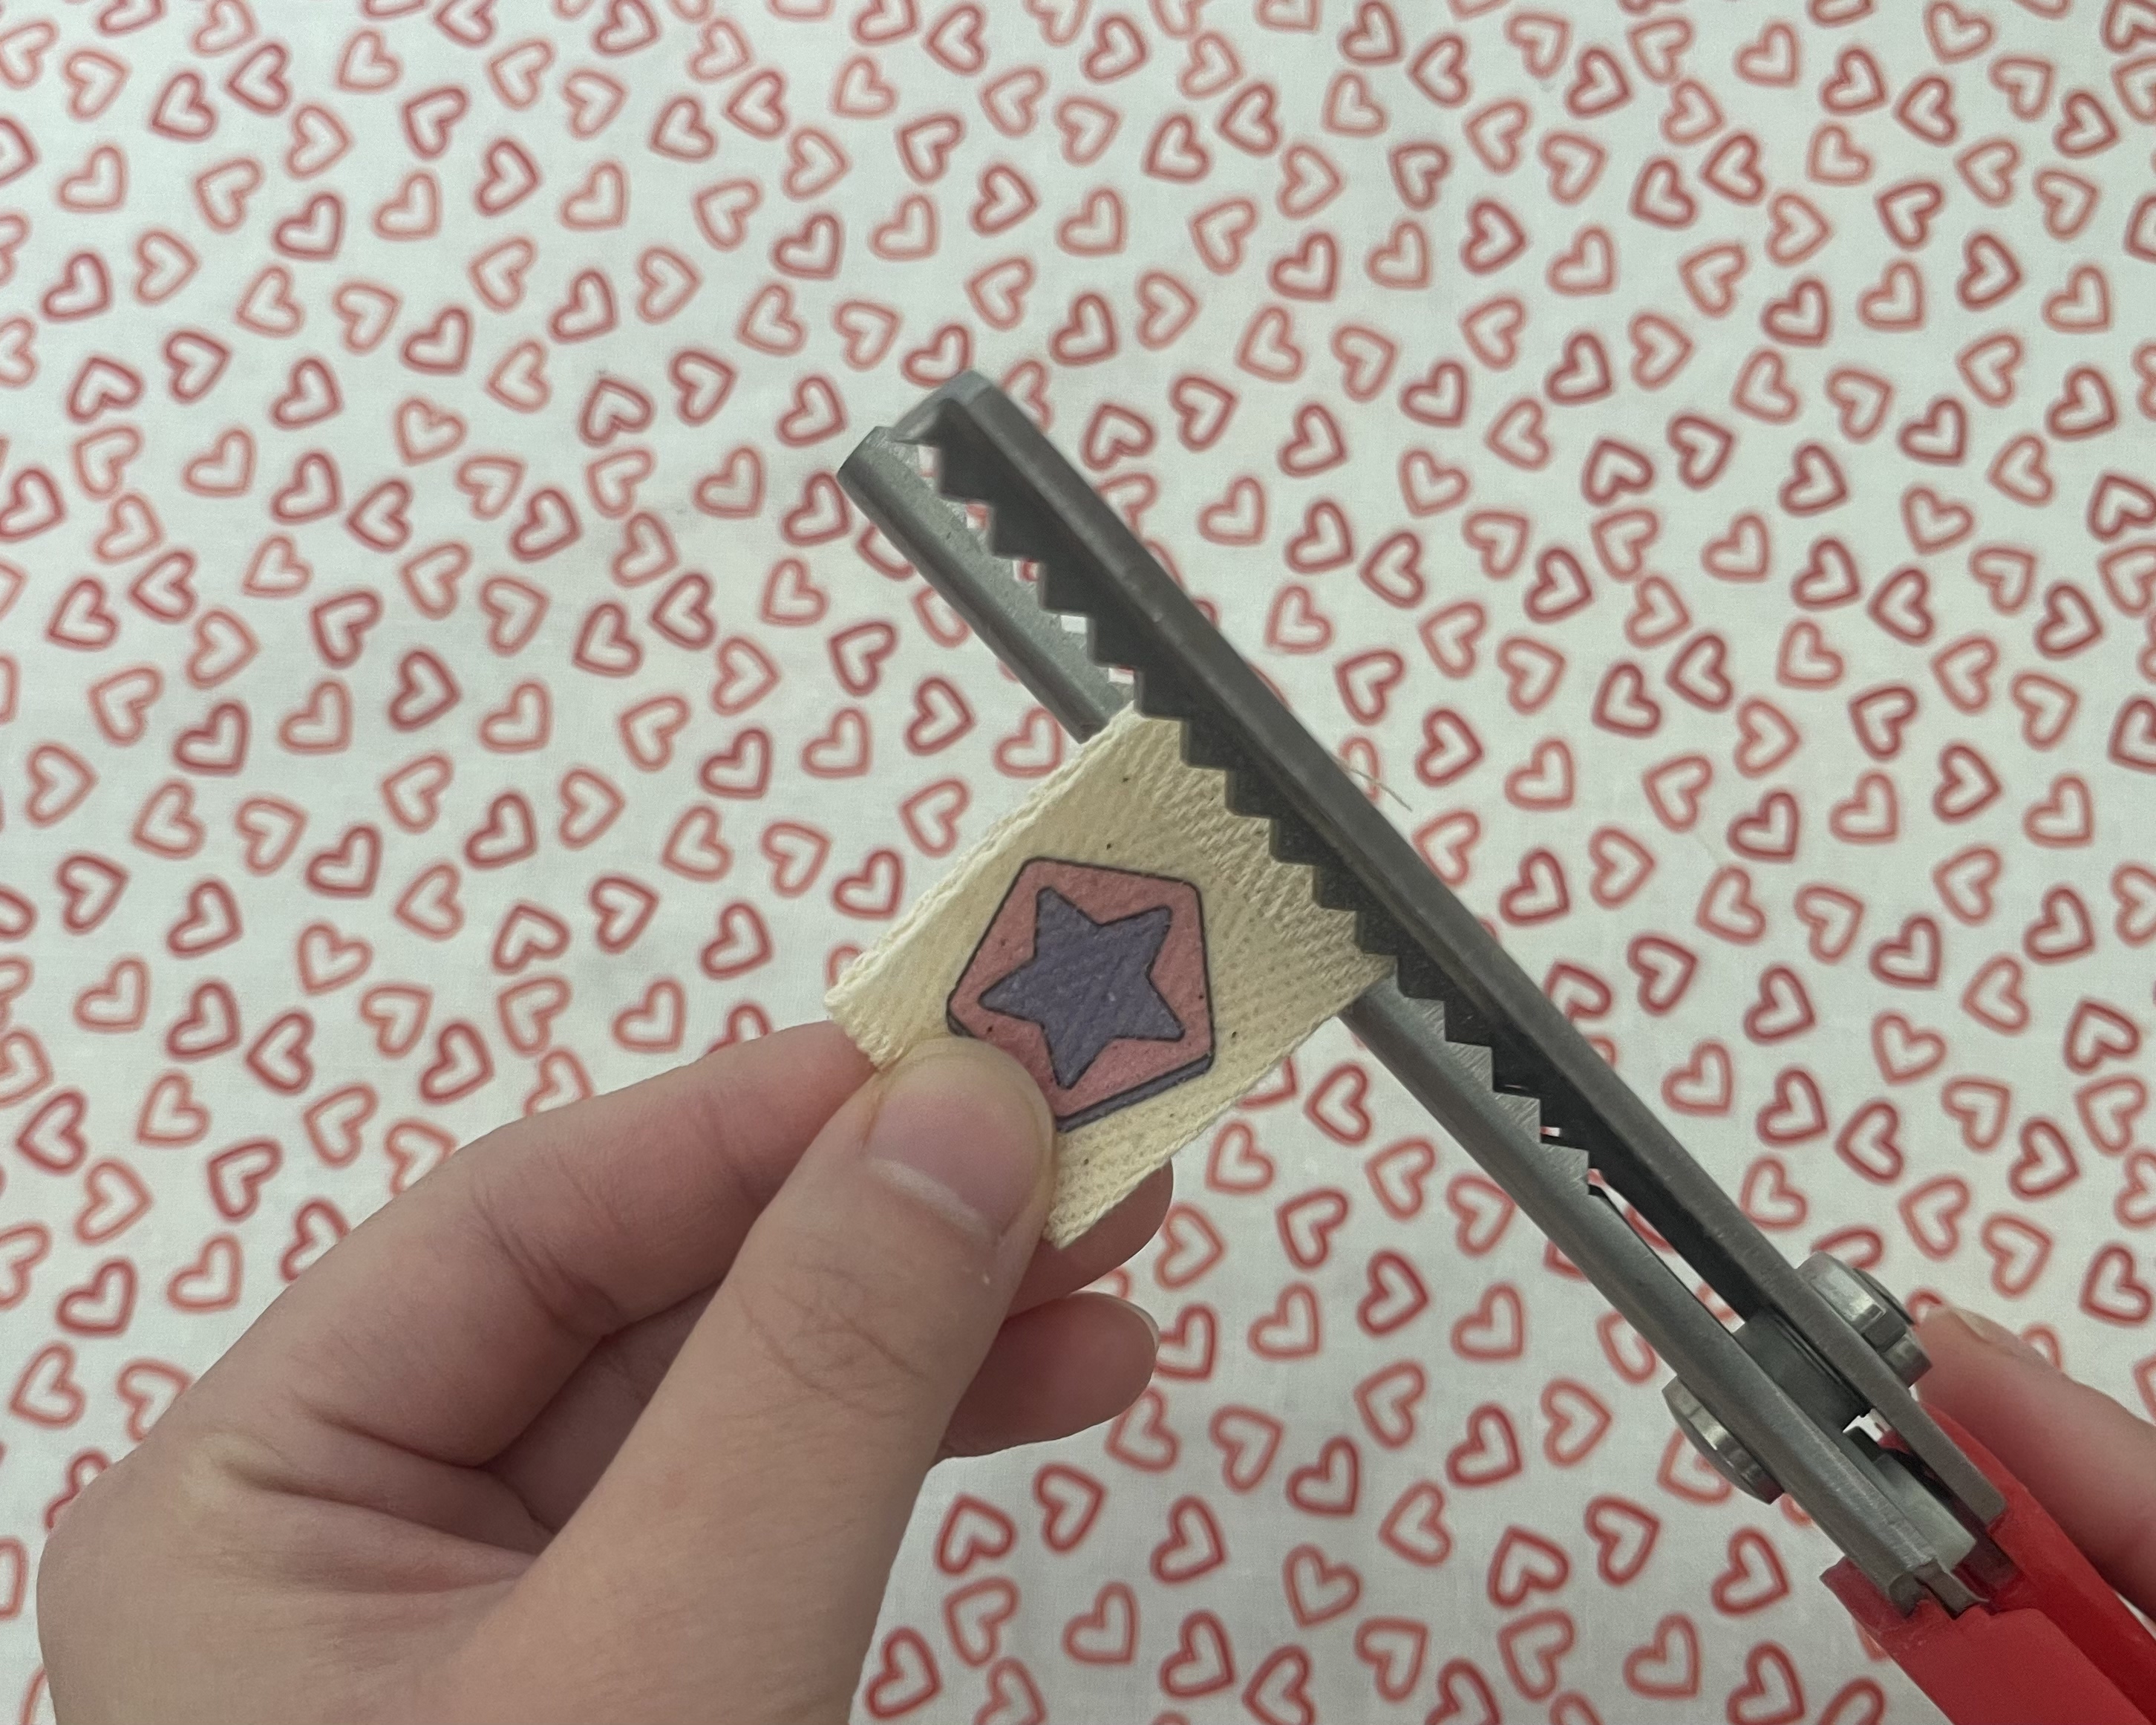
7) Trim and Prevent Fraying
If fraying edges bother you, use anti-fray glue. Consider using pinking shears to create clean edges on your labels.
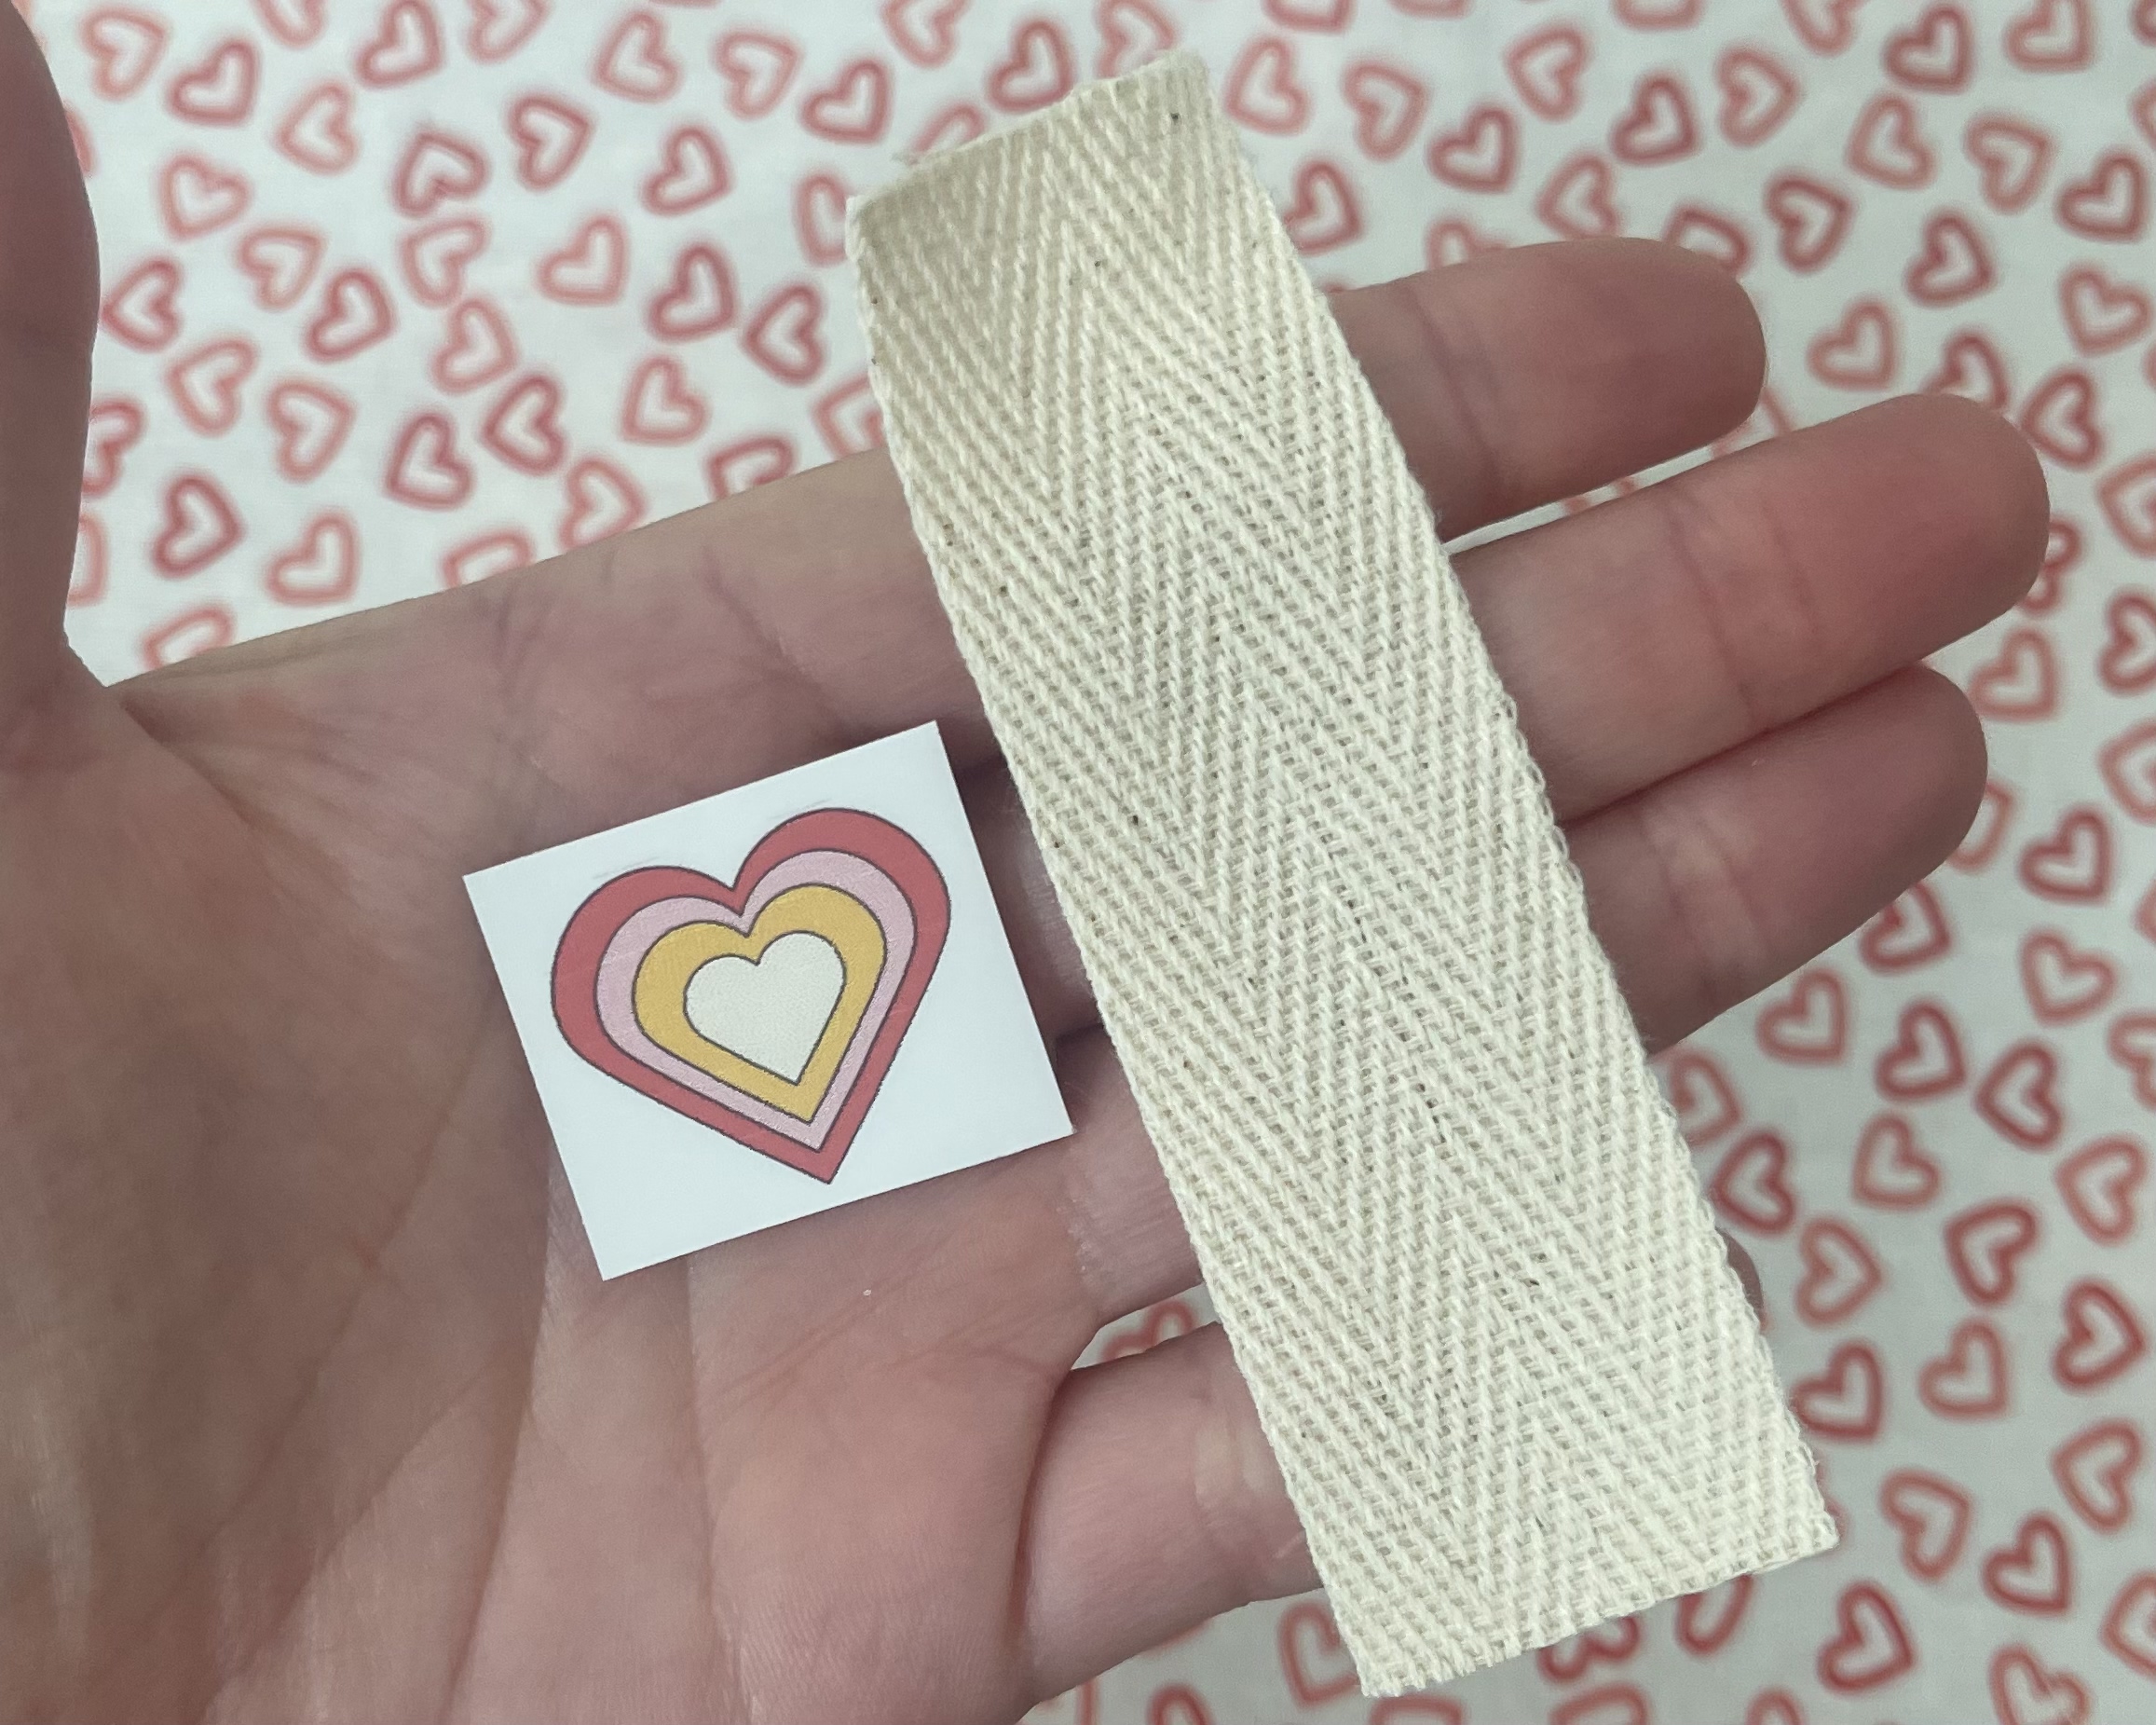
Yay! We’re done!!! ❤️ - below is my example!
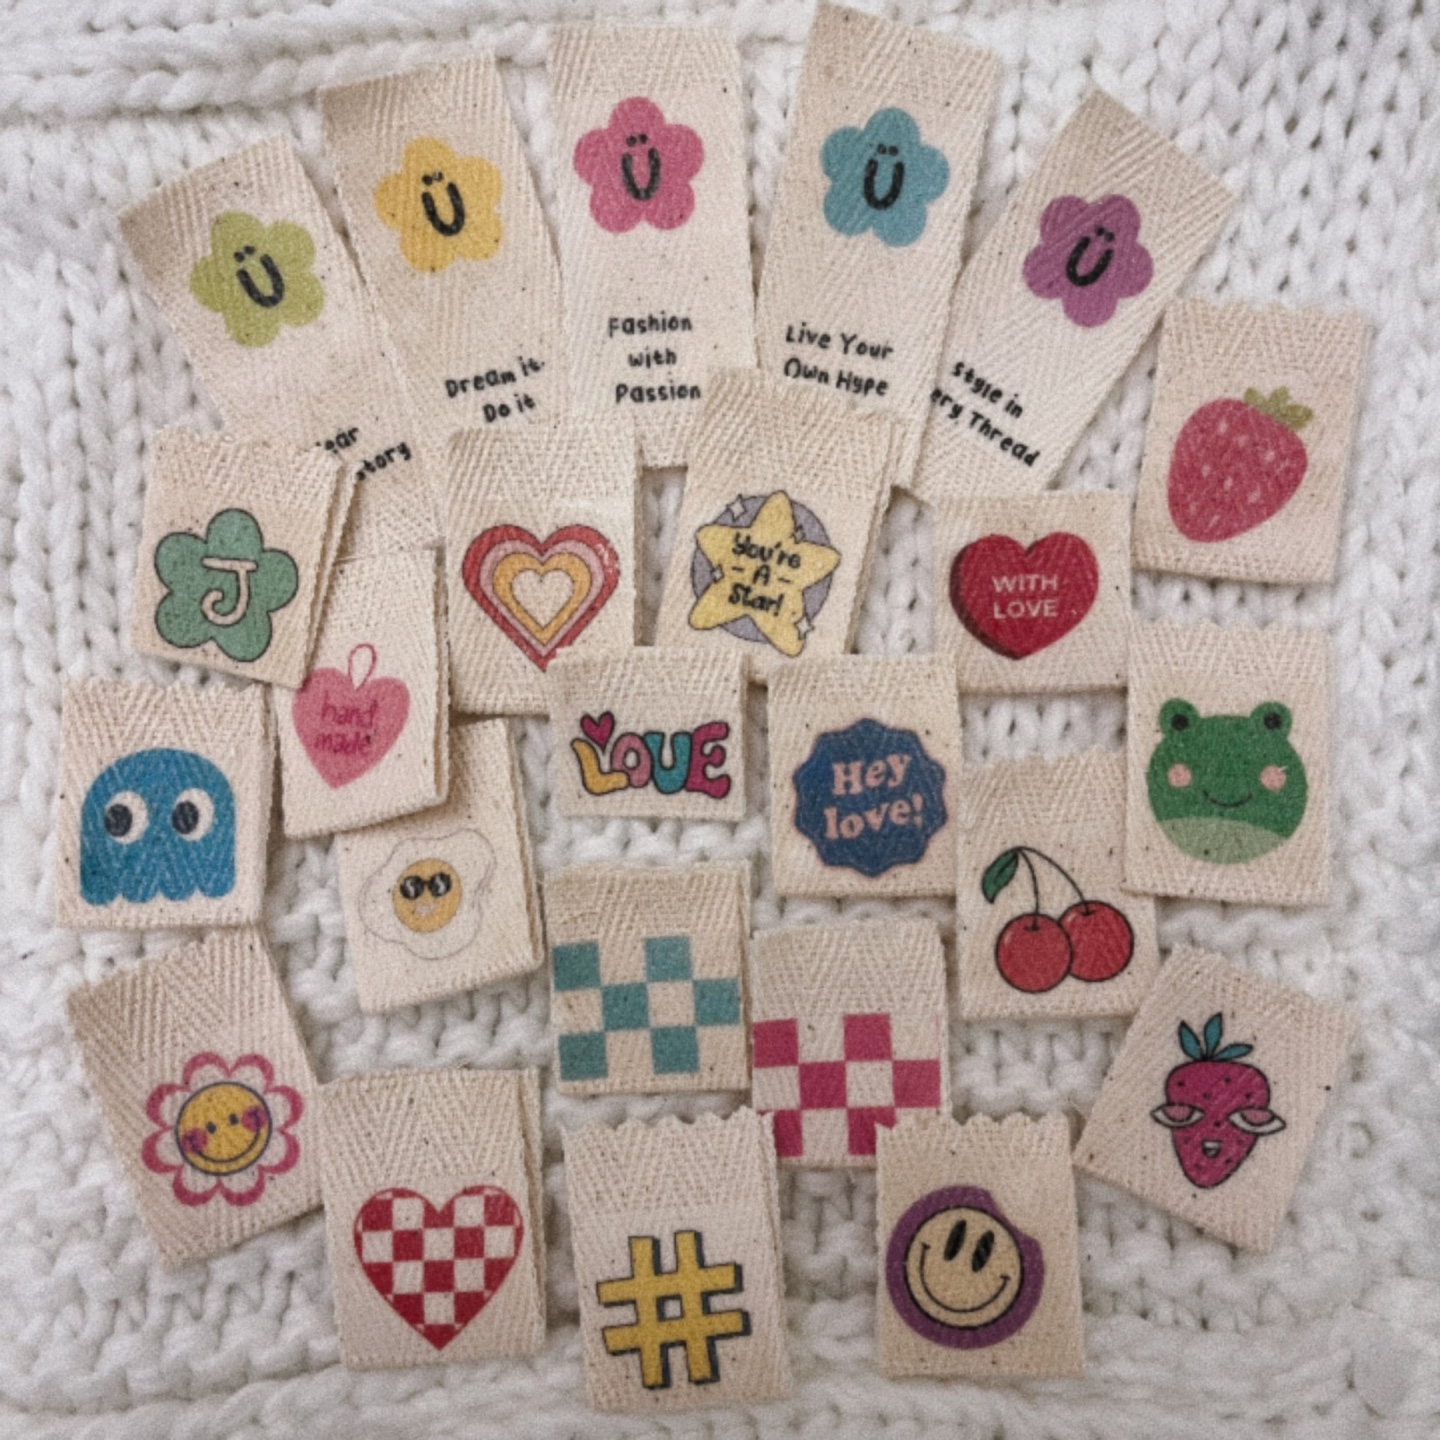
Now that you’ve learned how to create your own clothing labels, I can’t wait to see what fantastic projects you’ll attach them to. Happy sewing and may your creations continue to bring warmth and joy to those who receive them! ❤️