DIY Potholders: Learn How to Sew a Potholder
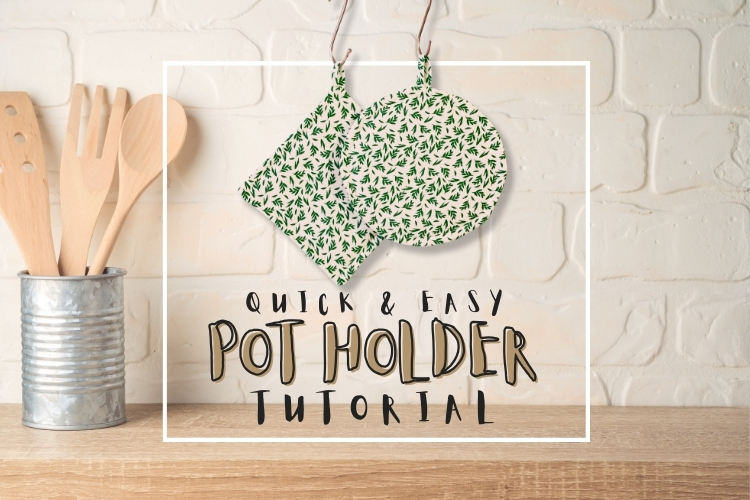
Elevate your kitchen with super-simple DIY potholders. Let’s get creative effortlessly for fabulous results!🧵
Gather Your Materials:
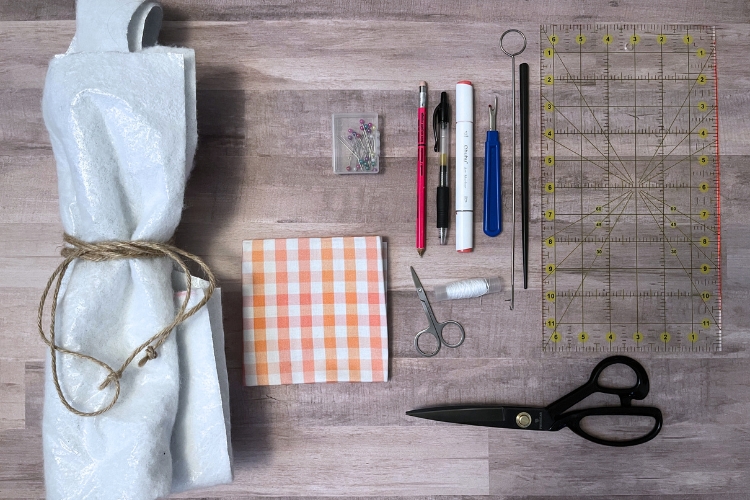
- A quarter yard of fabric or scraps of cotton or linen fabric
- Insul-bright insulating batting (Thermal batting)
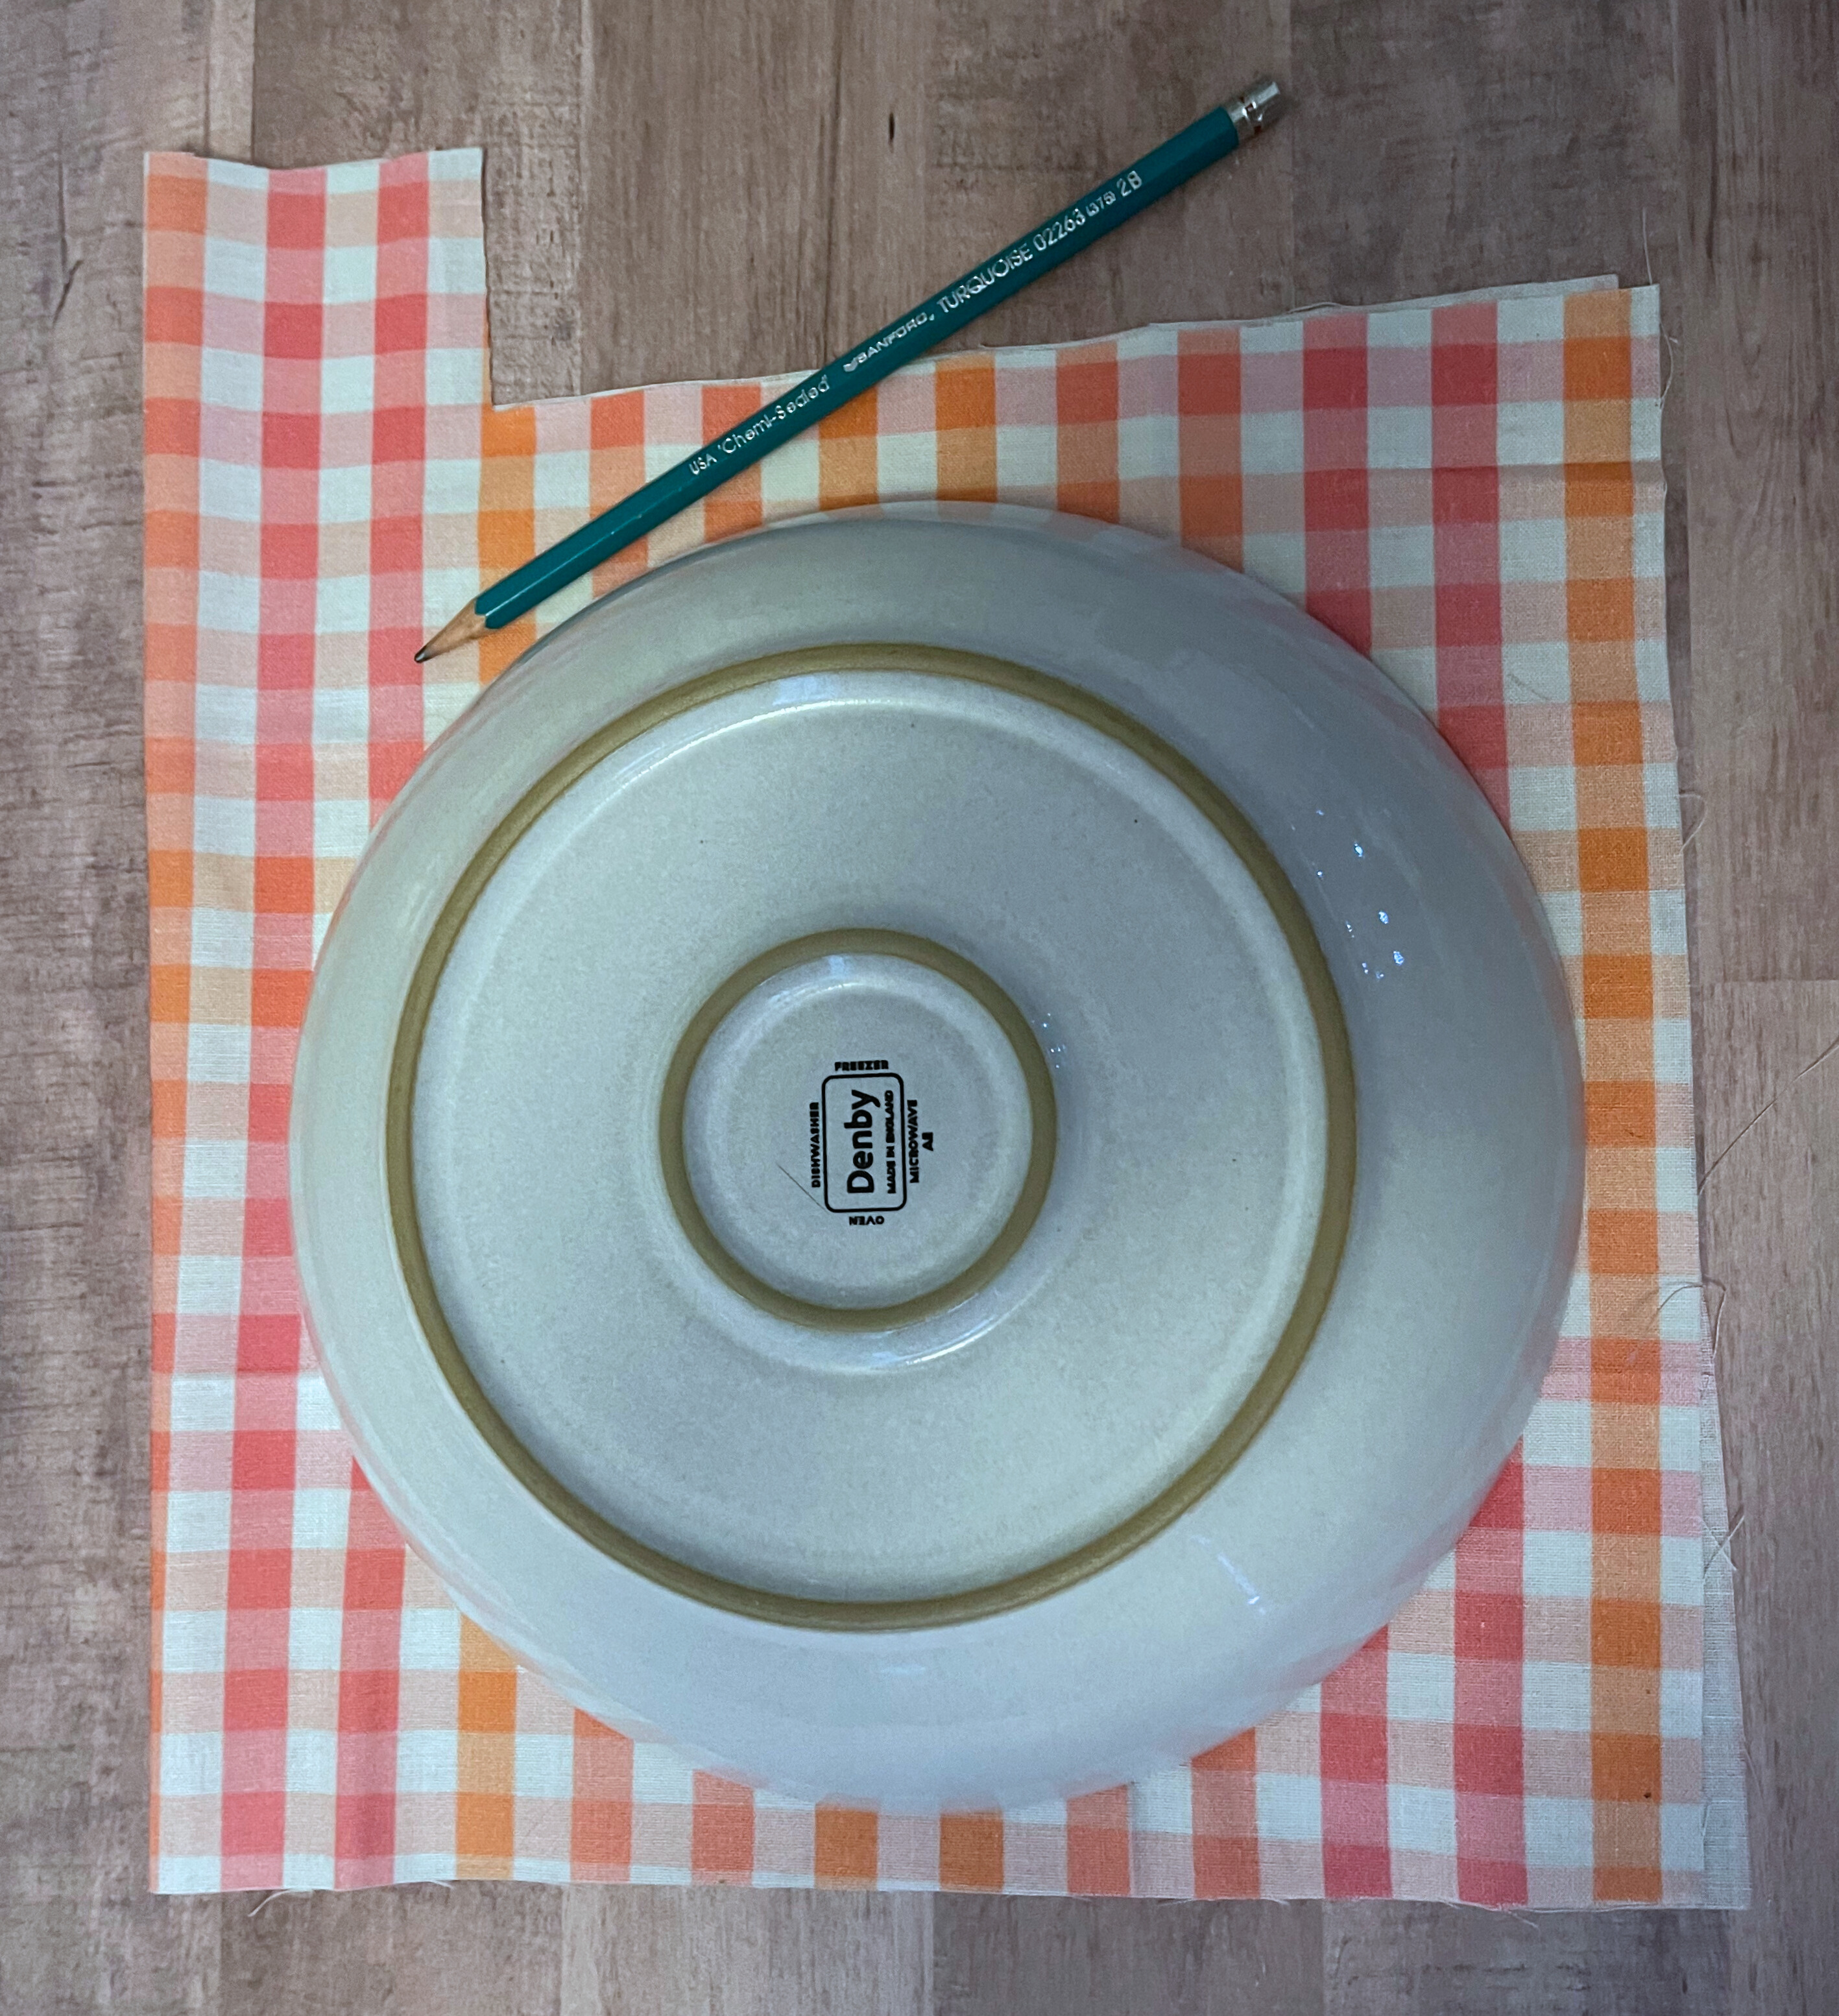
- Bowl with a diameter between 8 and 9 inches (only for the circle potholder)
- Sewing clips (or pins)
- Fabric scissors
- Ruler
- Sewing machine, needle, coordinating thread
- Fabric marking pen or pencil
- Other optional sewing supplies (seam creaser, loop turner, sewing scissors & shears, walking foot, etc. . .)
💠 With a quarter yard of fabric (18in x 21in), you can make exactly one circle potholder and one square potholder.
How to Make a Potholder - Tutorial
Step 1. Cut the Fabric and Thermal Batting
For Square⬜ Potholder:
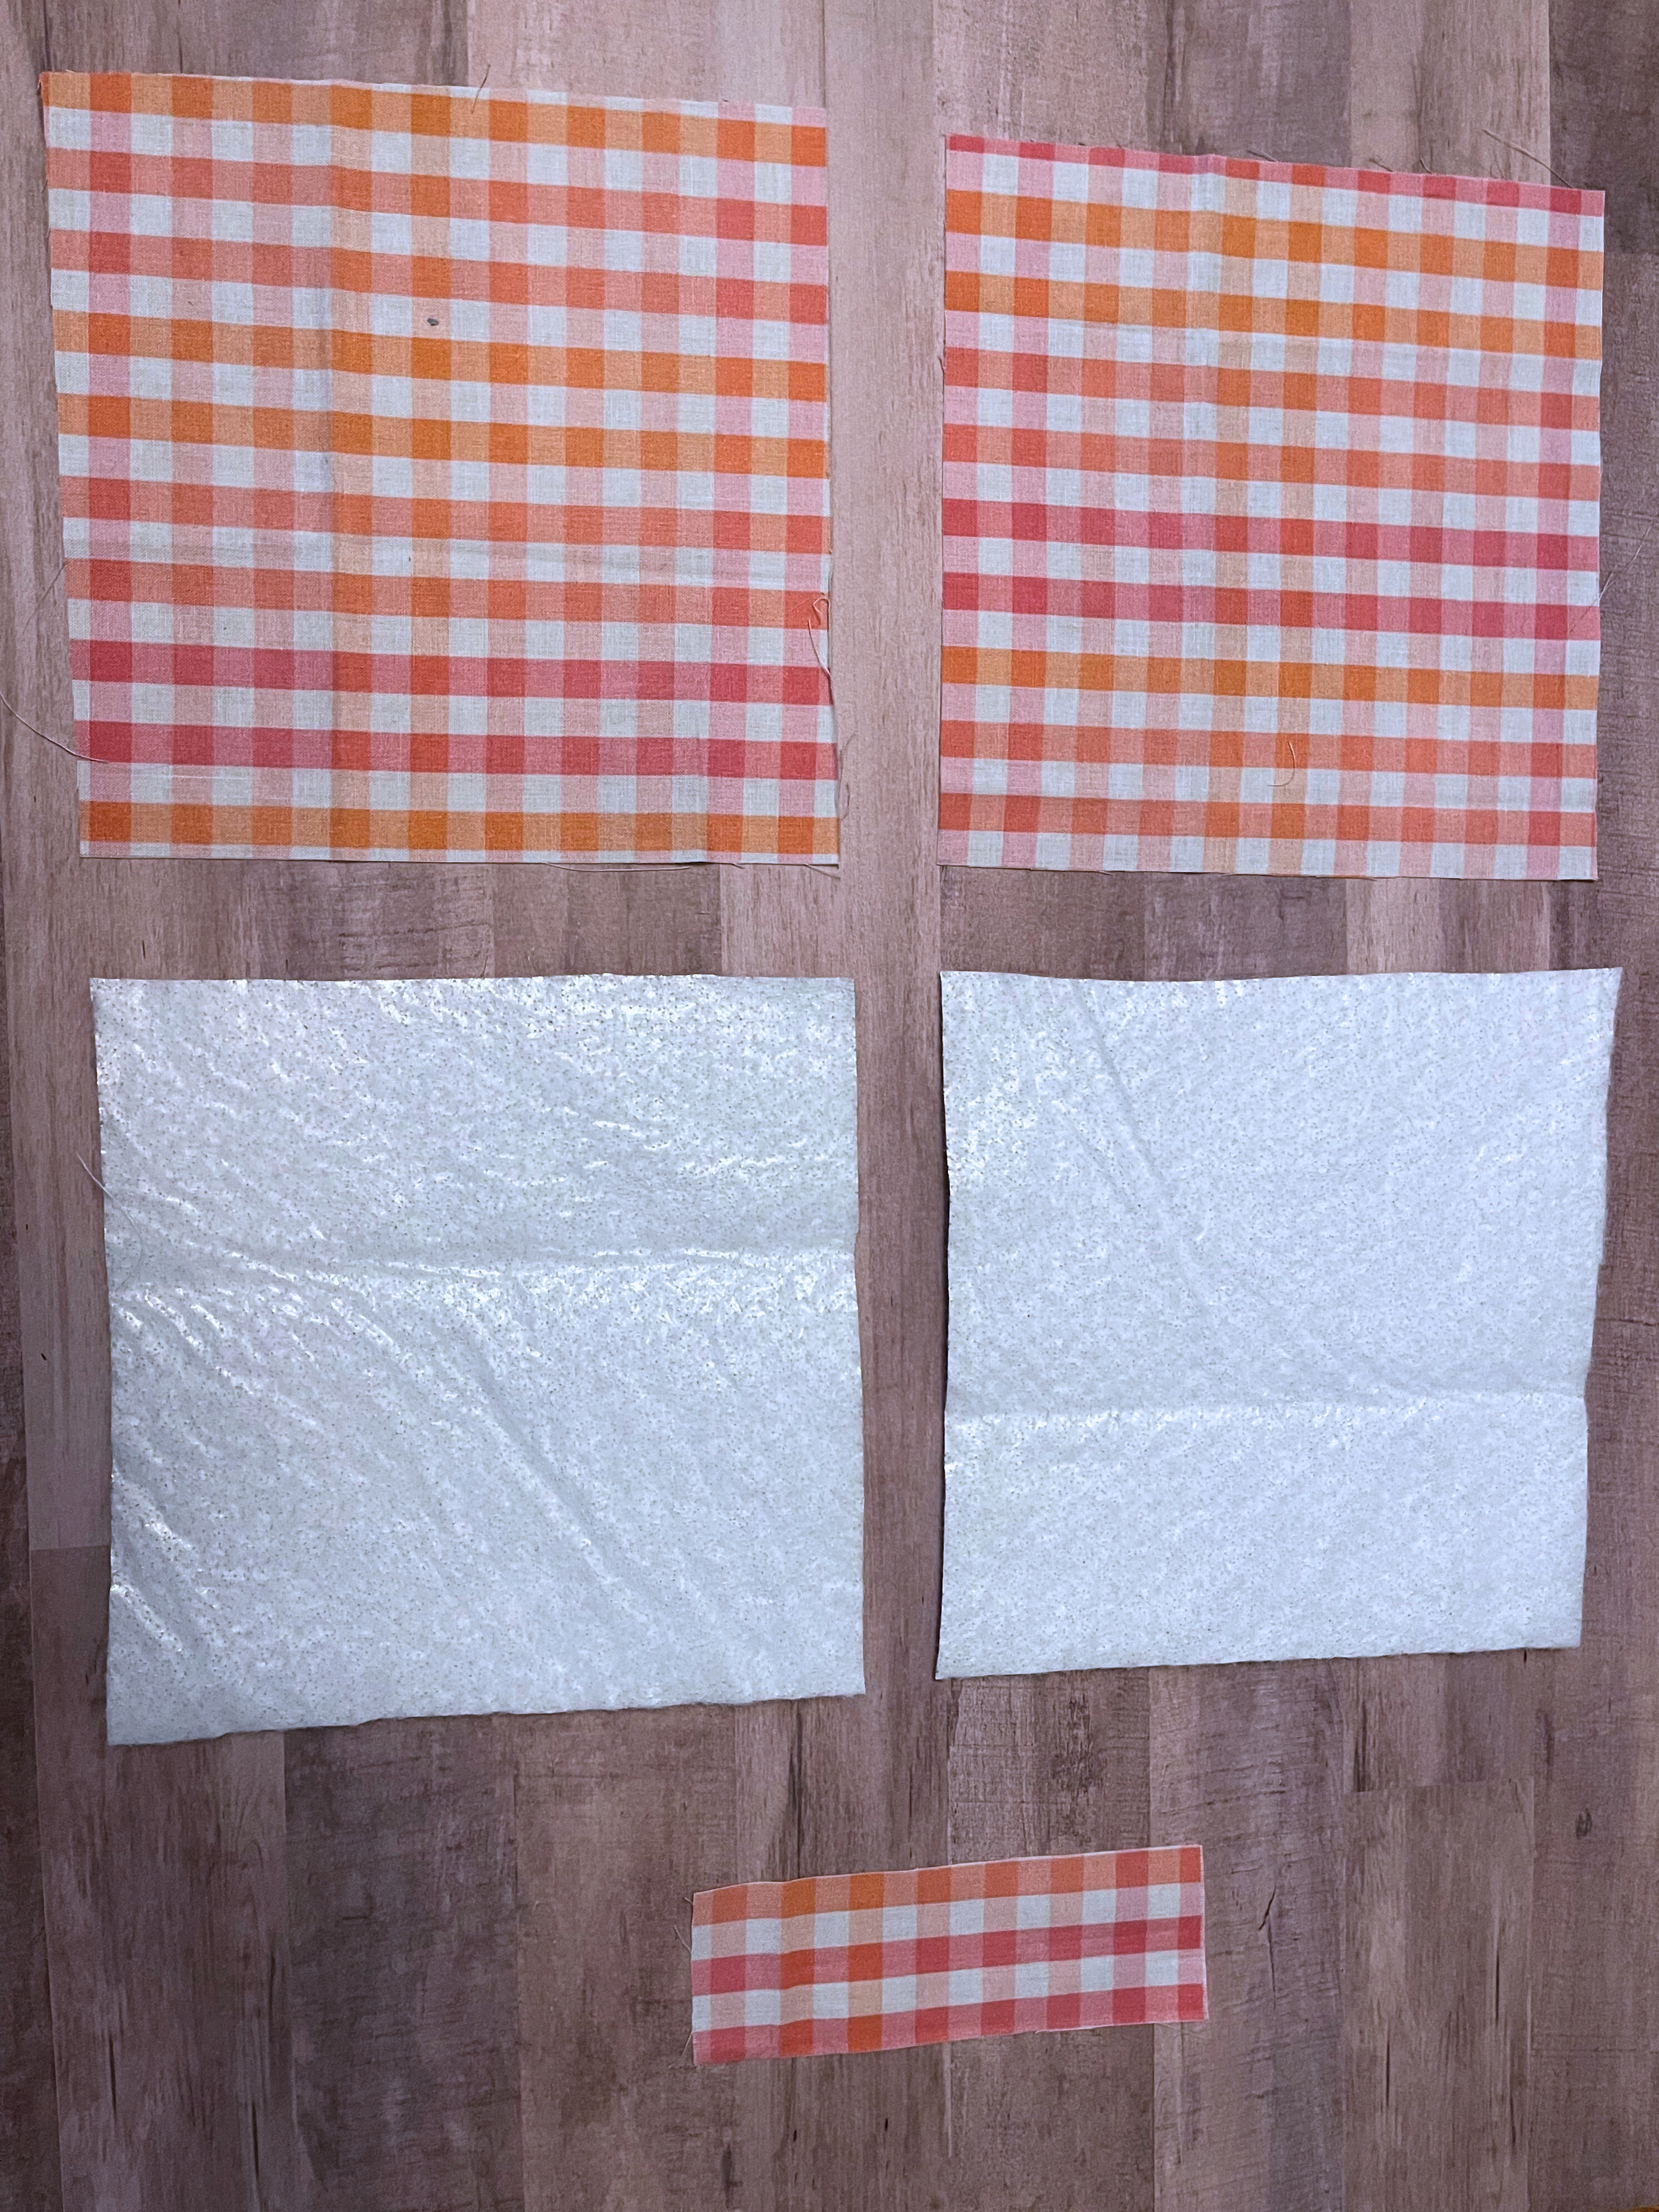
- cut two 8” squares from fabric
- cut two 8” squares from thermal batting
- cut one 6” by 2” rectangle from fabric (hanging loop)
For Circle⚪ Potholder:
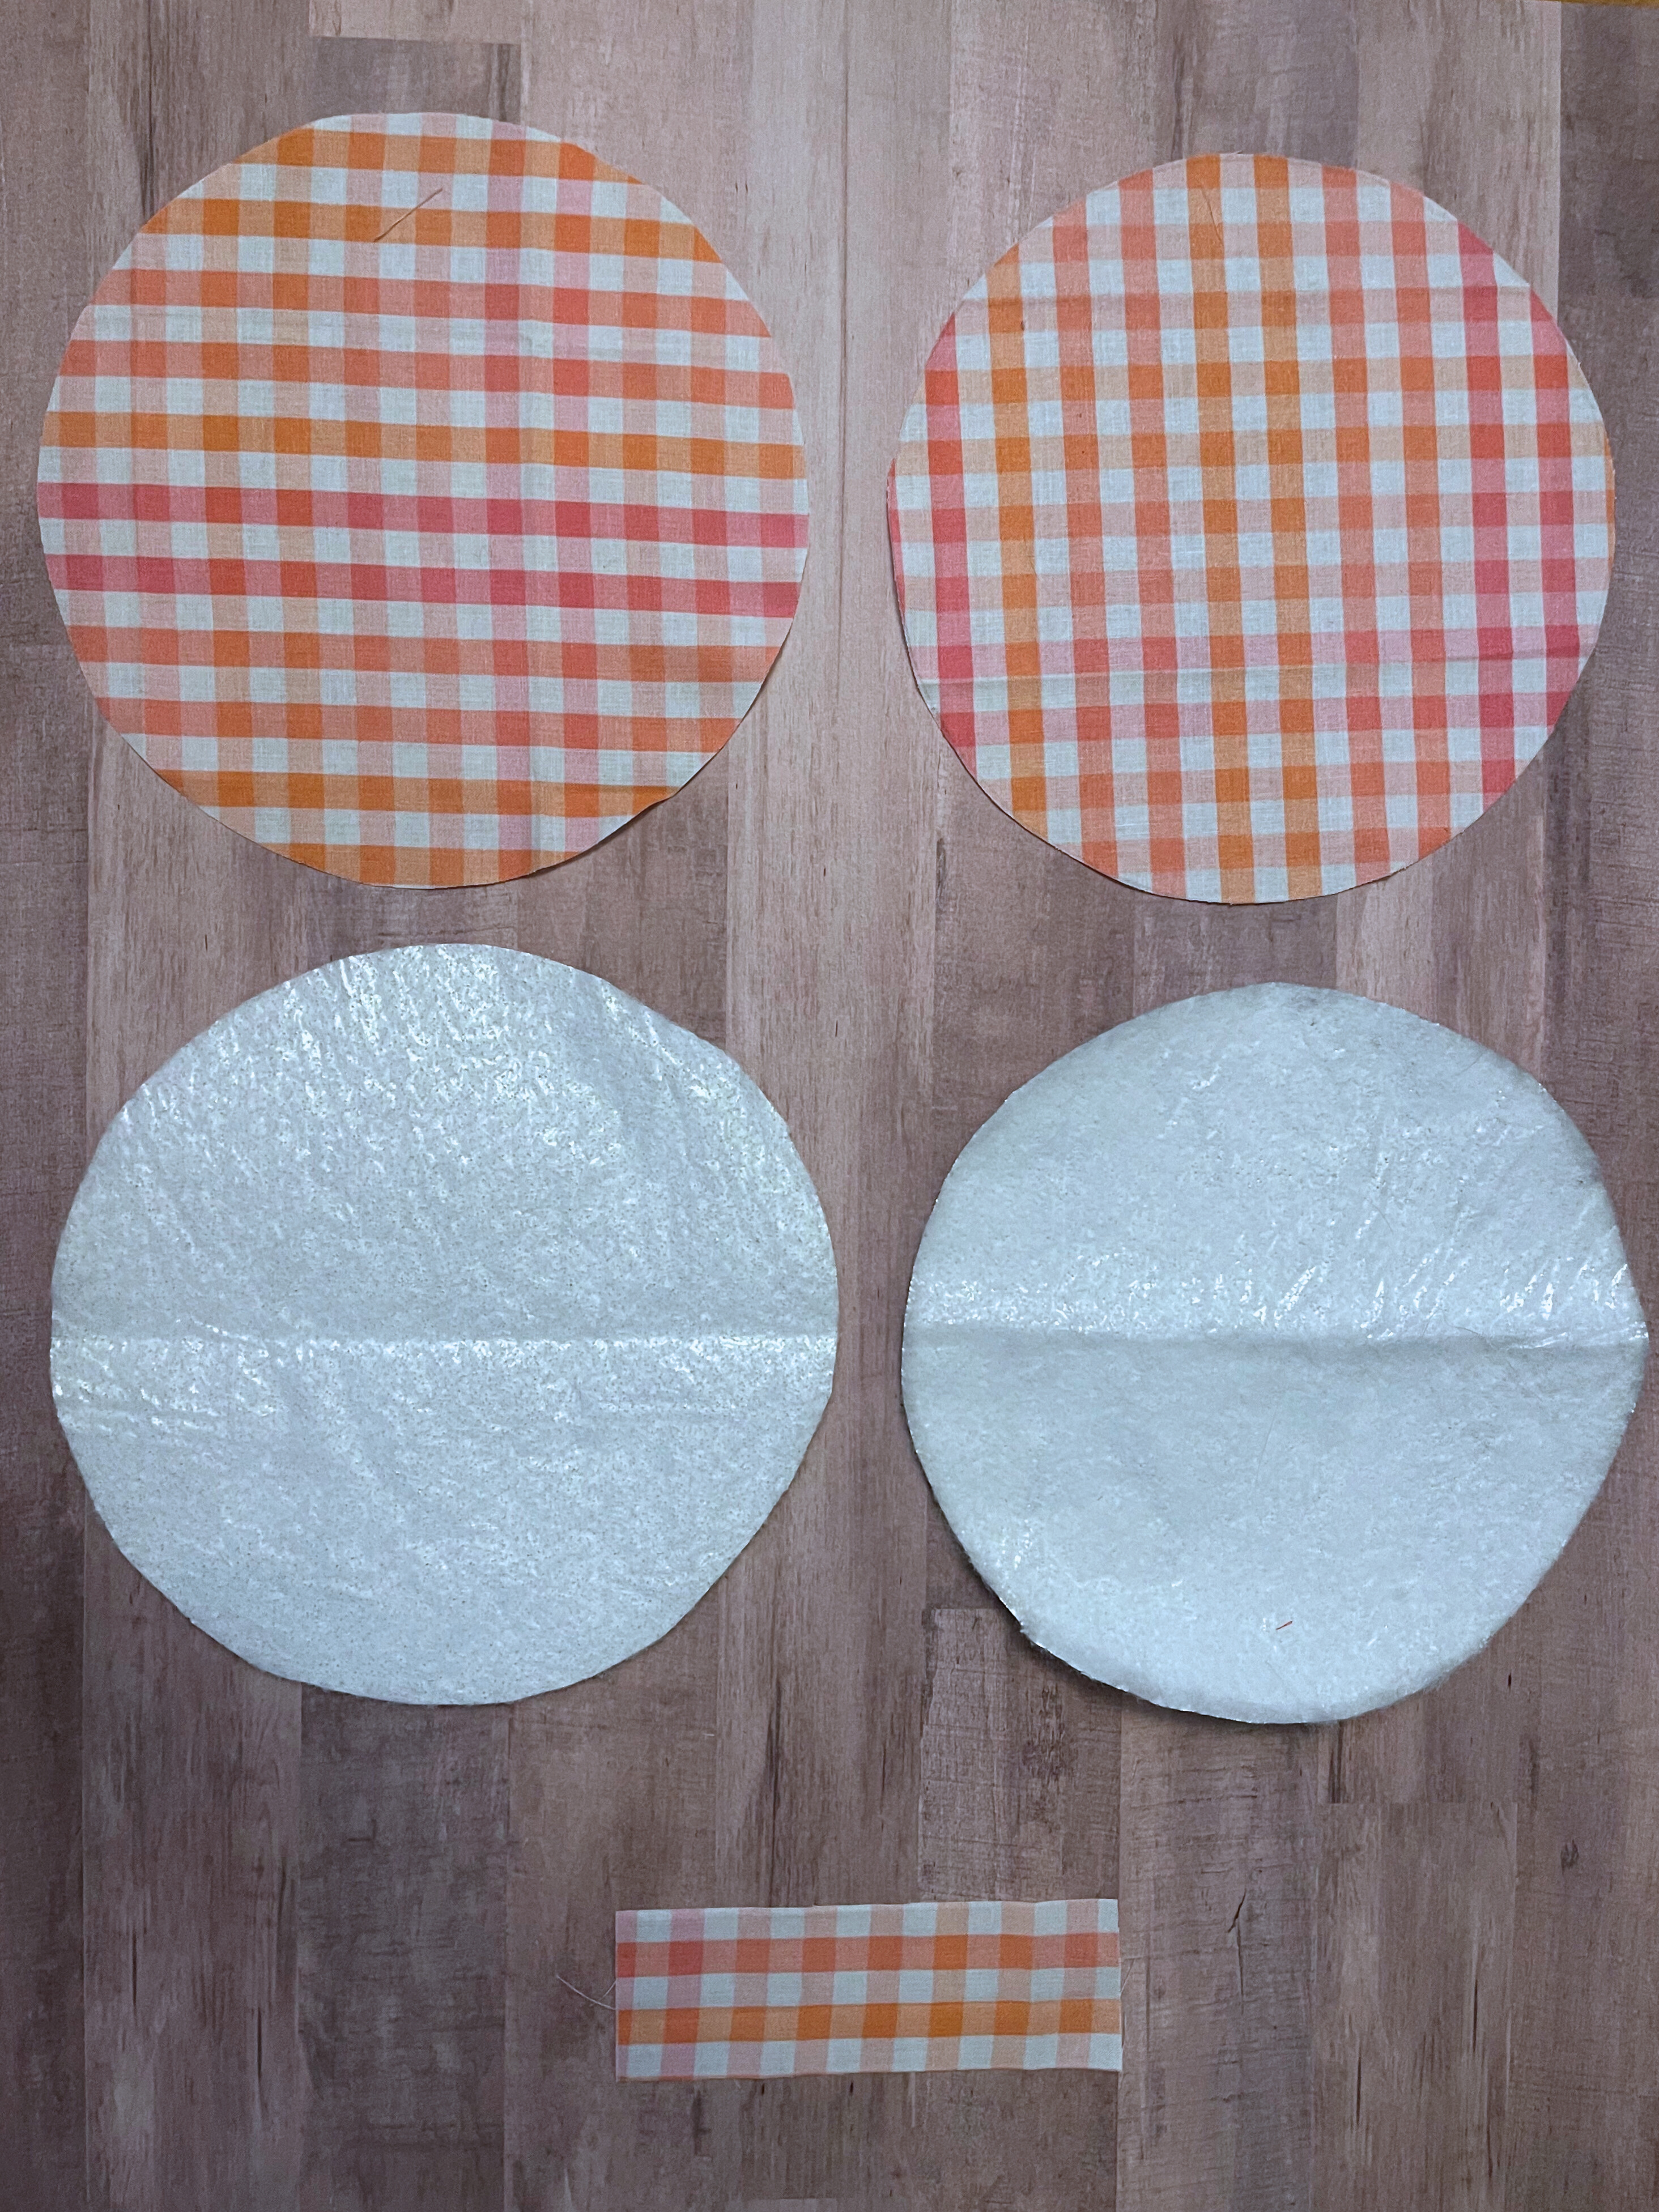
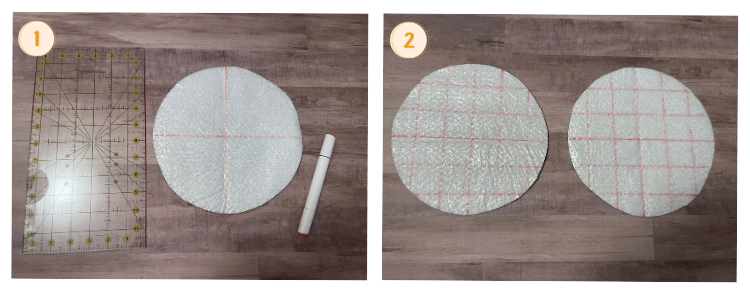
- cut two 8-9” diameter circles from fabric
- cut two 8-9” diameter circles from thermal batting
- cut one 6” by 2” rectangle from fabric (hanging loop)
💠 You can use any bowl with a diameter between 8 and 9 inches to trace the circle.
Step 2. Make the Hanging Loop
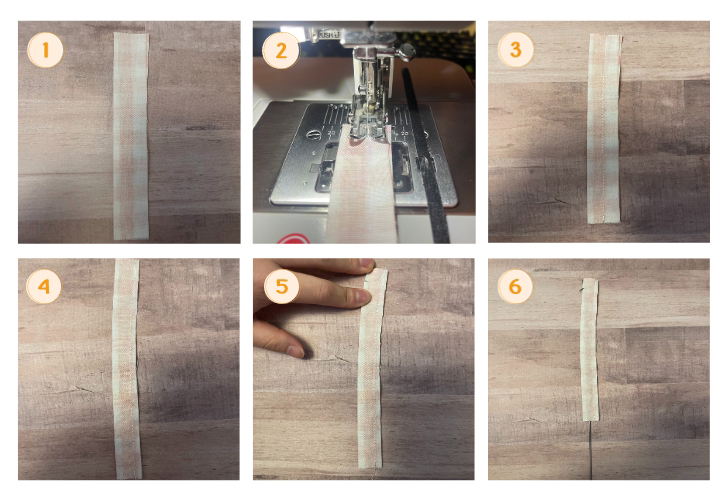
- Fold the hanging loop fabric piece with right sides together.
- Stitch with a 1/2” seam allowance.
- Press it well.
- Trim the seam allowance to 1/8” inch.
- Make a tiny hole 1/4 to 1/2 inch from one end.
- Slide the loop turner into the tube and insert the hook into the hole made in step 5.
- If it's properly latched, pull the turner in your direction by gently massaging the fabric on the hook to turn the strap inside out.
- Continue guiding the fabric, ensuring the hook stays engaged, until the strap has been fully inverted.
- Press it well again.
- Trim any frayed edges. The strap was cut longer than needed, so don't hesitate to cut away any excess.
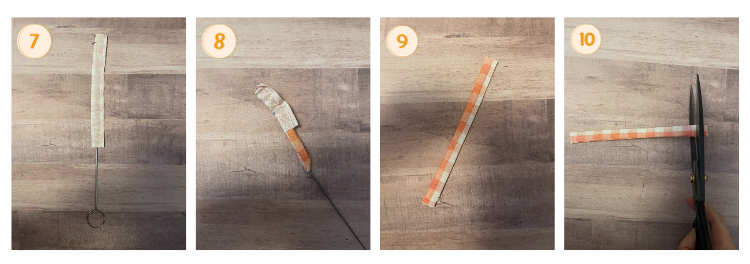
💠 There are multiple techniques for crafting the hanging loop. If using a loop turner feels too advanced or uncomfortable, consider an alternative method.
- Begin by folding the rectangle in half lengthwise and pressing it.
- Unfold the rectangle, then fold both sides towards the middle and press.
- Fold the rectangle along the middle line and press it closed once more.
- Finally, secure the folds with a top stitch to create the strap.
This alternative may be a more straightforward option for you.
Step 3. Create the Quilt Design (Optional)
💠 Please note that this step is entirely optional. In my examples, I opted for quilt stitching only for the circle potholder.
- Using your fabric marking pen or a pencil, draw out the quilt design you desire on the thermal batting pieces.
- Ensure that the designs on both thermal batting pieces are symmetrical.
Step 4. Assemble Pieces (🤩 Exciting!)
For Square⬜ Potholder (without quilt design):

- Place the squares of fabric (1 fabric piece and 1 thermal) wrong sides together.
- You should have two sets. For one of the sets, place the hanging loop at one of the corners, pinning it as shown in the picture (raw ends directed towards the corner, and the edges not quite touching). The loop length should be at your desired length, but it looks best with the distance from the overlapping point to the loop end about 1 1/2 inches.
- Sew a few stitching lines along the edge to secure the hanging loop.
- Trim the edges of the loop.
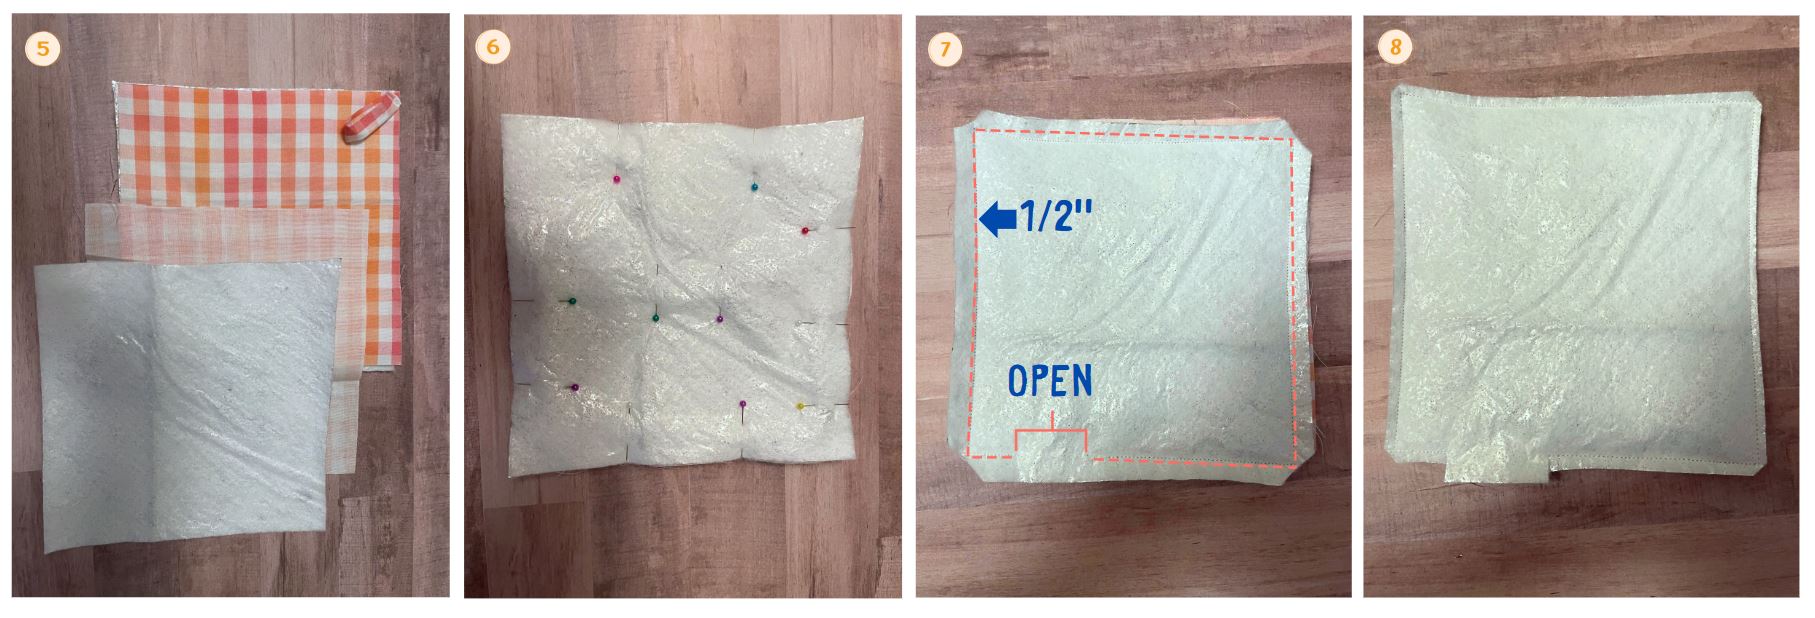
- Place these two sets together, this time with the fabric right sides together.
- Pin the pieces well and prepare to sew.
- Sew along the edge of the stack, sewing 1/2 inch from the edge. Leave a 2-3 inch opening on one side.
- Trim the corners and the seam allowance to 1/8"-1/4" inch.
- Use the hole to turn the potholder right side out.
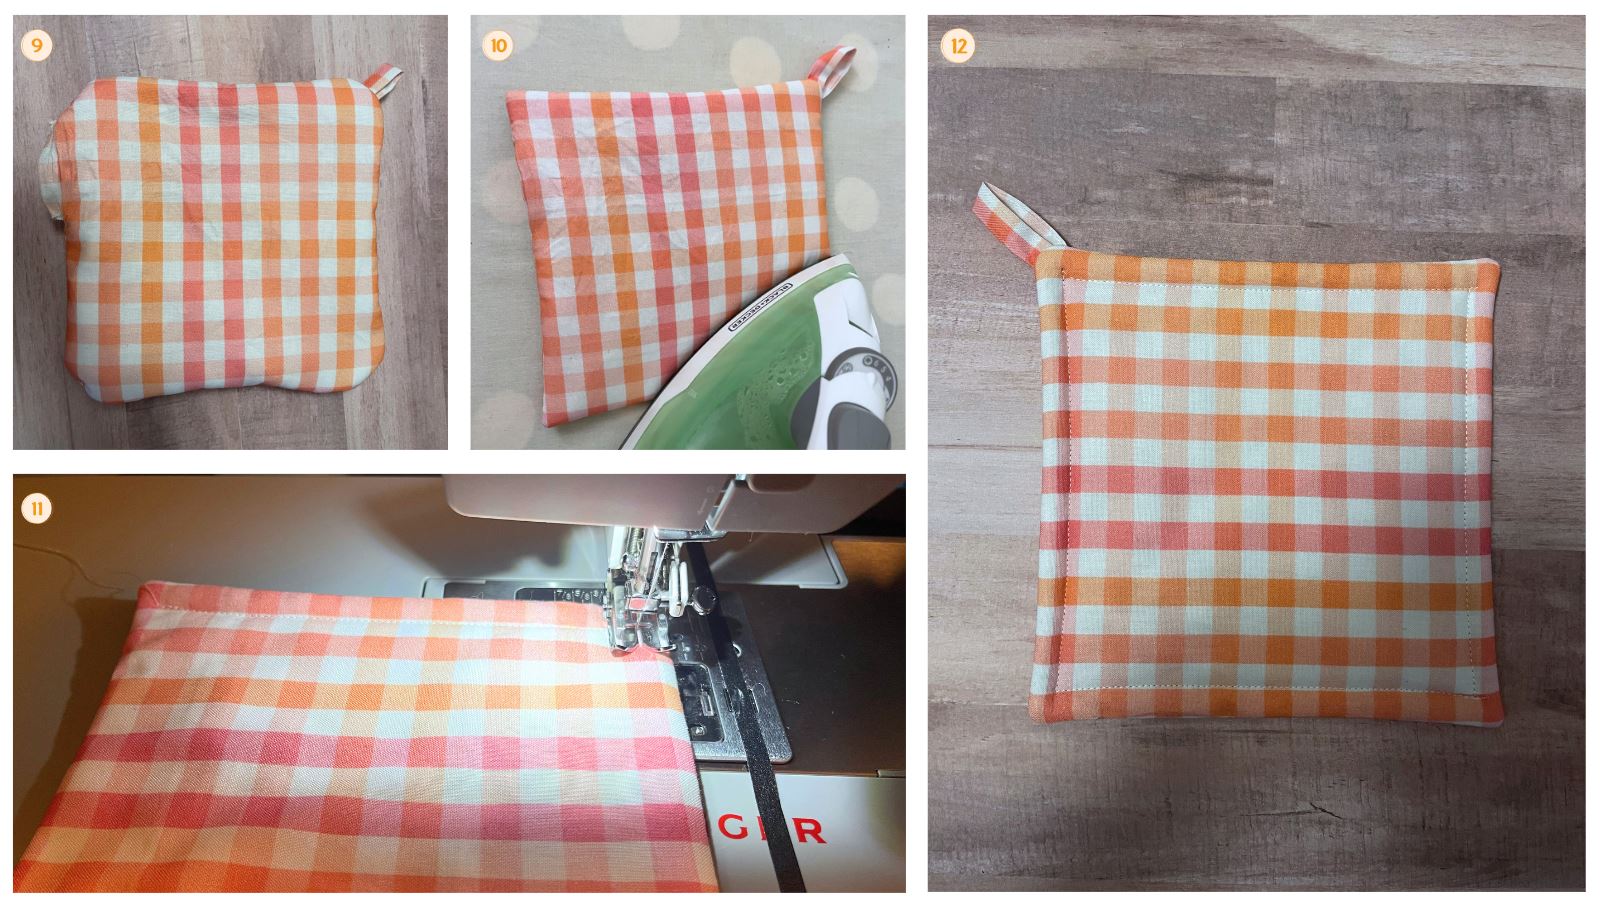
- Iron it nice and flat! (Use a seam creaser or chopsticks to make the edge as crisp as possible!)
- Topstitch 3/8" or 1/4" (My example is 3/8").
- Yay! All done 😊
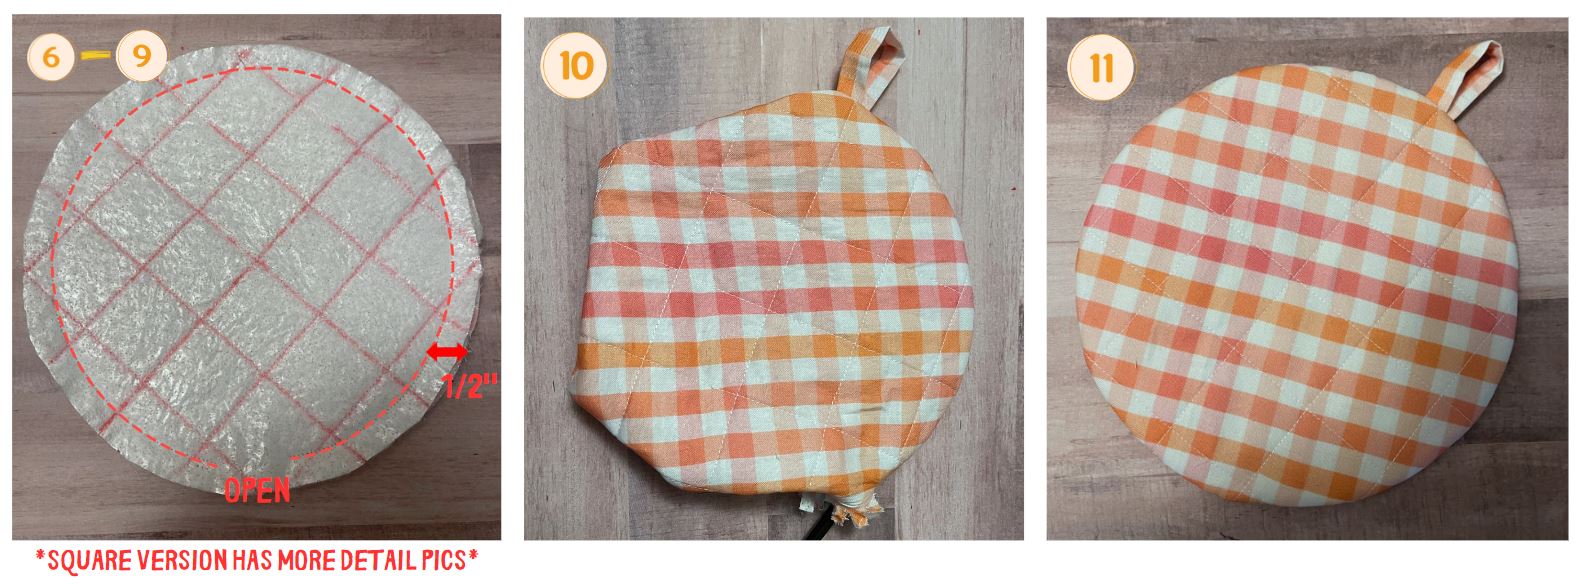
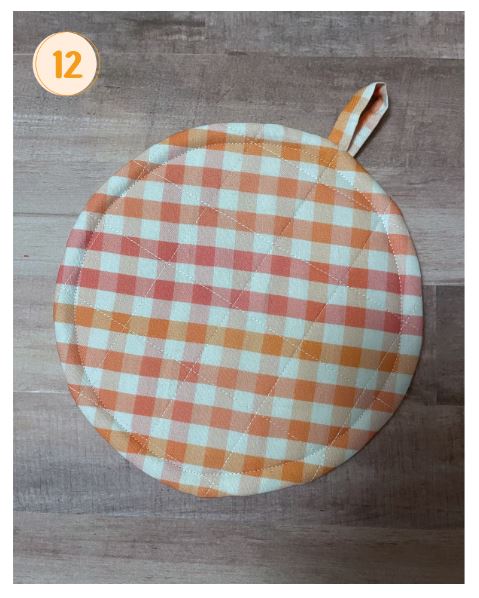
For Circle⚪ Potholder (with quilt design):

- Place the circles of fabric (1 fabric piece and 1 thermal) wrong sides together.
- You should have two sets. Quilt the layers for the two sets with the design you created in step 3.
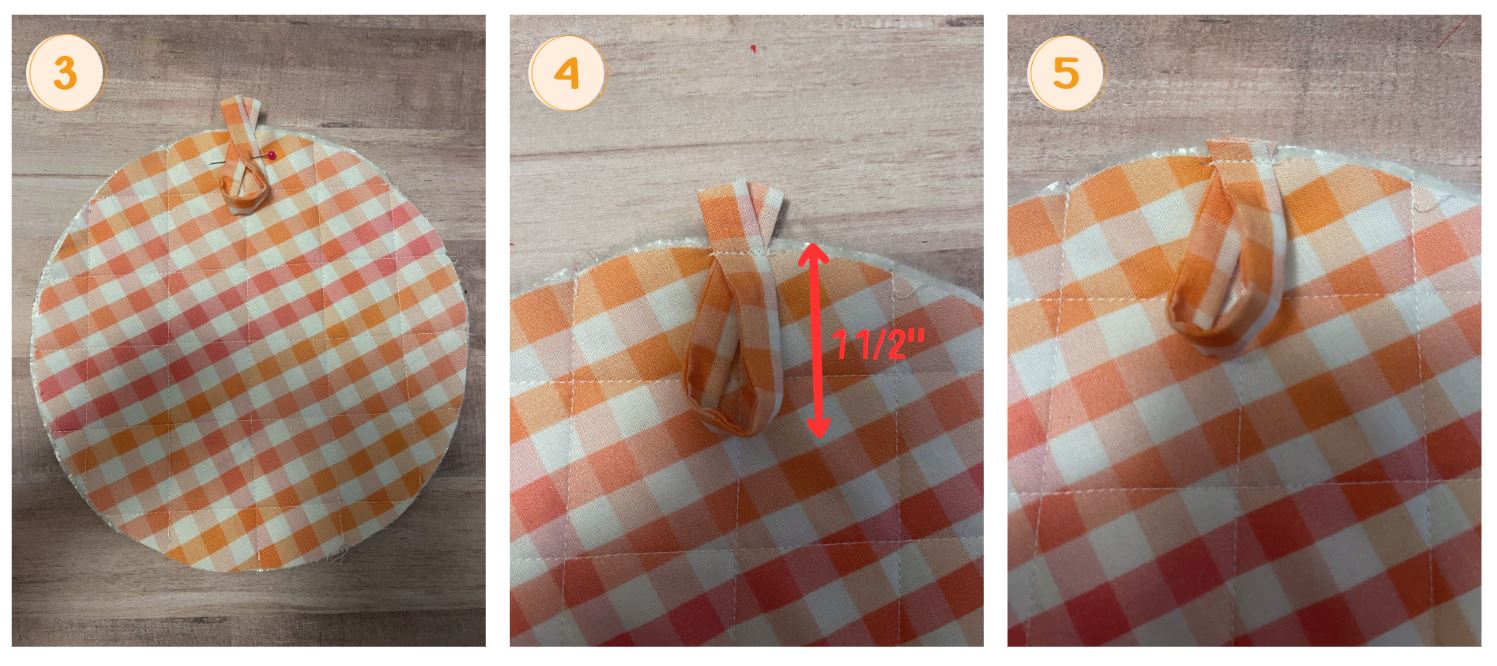
- For one of the sets, place the hanging loop at any corner (since it's a circle), pinning it as shown in the picture (raw ends directed towards the corner, and the edges not quite touching). The loop length should be at your desired length, but it looks best with the distance from the overlapping point to the loop end about 1 1/2 inches.
- Sew a few stitching lines along the edge to secure the hanging loop.
- Trim the edges of the loop.
- Place these two sets together, this time with the fabric right sides together.
- Pin the pieces well and prepare to sew.
- Sew along the edge of the stack, sewing 1/2 inch from the edge. Leave a 1 1/2 - 3 inch opening on one side. (For circle, 1 1/2" works great!)
- Trim the corners and the seam allowance to 1/8"-1/4" inch.
- Use the hole to turn the potholder right side out.
- Iron it nice and flat! (Use a seam creaser or chopsticks to make the perfect circle!)
- Topstitch 3/8" or 1/4" (My example is 3/8").
- Yay! All done 😊
💠 You should be able to make the set of potholders (one square + one circle) in about an hour! This can be a perfect gift idea for holidays or housewarming. It’s also an ideal first project for those who have just started sewing/quilting. I’ll be creating more potholder tutorials with holiday themes or some design twists soon.
Additionally, don’t be disappointed if you don’t achieve perfect quality with your potholder. Personally, it took me about four tries to finally create something suitable as a gift. Achieving perfection takes time. Let’s stay committed to practice and craft awesome things together! 💗
Lastly, if you’d like to craft a burlap gift envelope with a boho feel for these potholders, check out this tutorial!