How to Draft an A-line Skirt

Learn how to draft an A-line skirt from a skirt sloper using the slash and spread method. 🤩⭐
Hello everyone!
So sorry for not posting for a while—I can’t believe this is my first post of 2025! My life has been really hectic as I adjust to grad student life, but I’m back! 🎉
The good news is that I’ve saved tons of blog post ideas, and hopefully, I can write a post at least once or twice a month.
Today, I’ll be sharing how to draft a basic A-line flared skirt from a skirt sloper. ✨ This is one of the most common beginner-friendly pattern-making projects, and I hope this post helps you!
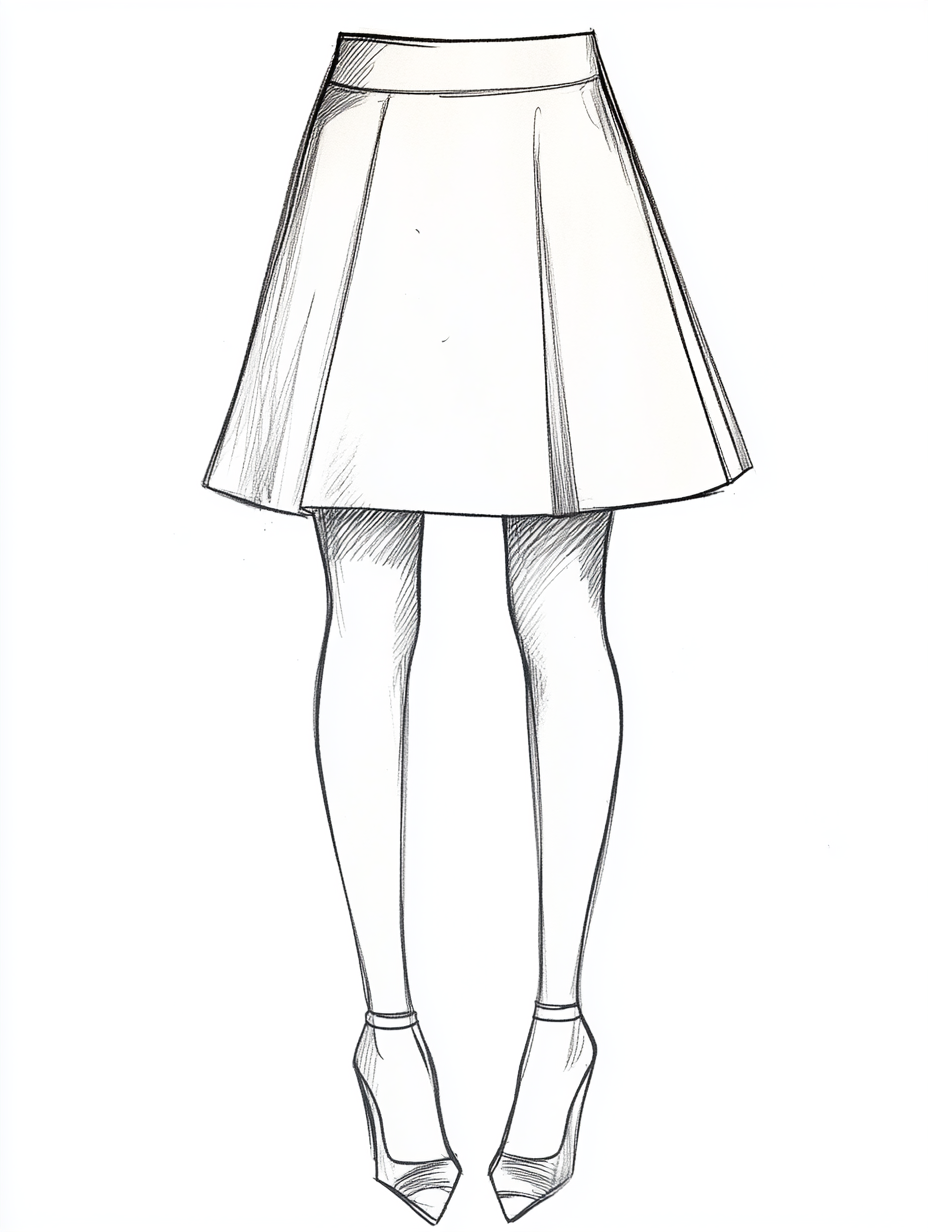
Overview: What is an A-line skirt?

An A-line skirt is fitted at the waist and gradually flares out toward the hem, forming an “A” shape. In other words, the hemline is wider than the hip circumference. It’s a versatile design that works well for many body types and can be made in mini, knee-length, midi, or any length variation.
Depending on the design, you can create a true A-line skirt with a subtle flare or a more flared version with extra sweep along the hemline for added movement and volume.
How to Draft an A-line skirt
Decide on the Skirt Length
Before drafting, determine how long you want your A-line skirt to be. Here are some general guidelines:
- Mini (Above the knee): 17-19 inches (43-48 cm) from the waist
- On-Knee Length: 20-23 inches (51-58 cm)
- Midi Length: 24-28 inches (61-71 cm)
- Tea Length (Mid-calf): 29-34 inches (74-86 cm)
Tip: If you’re unsure, measure a skirt you already own and like the length of!
Trace and Adjust Your Skirt Sloper
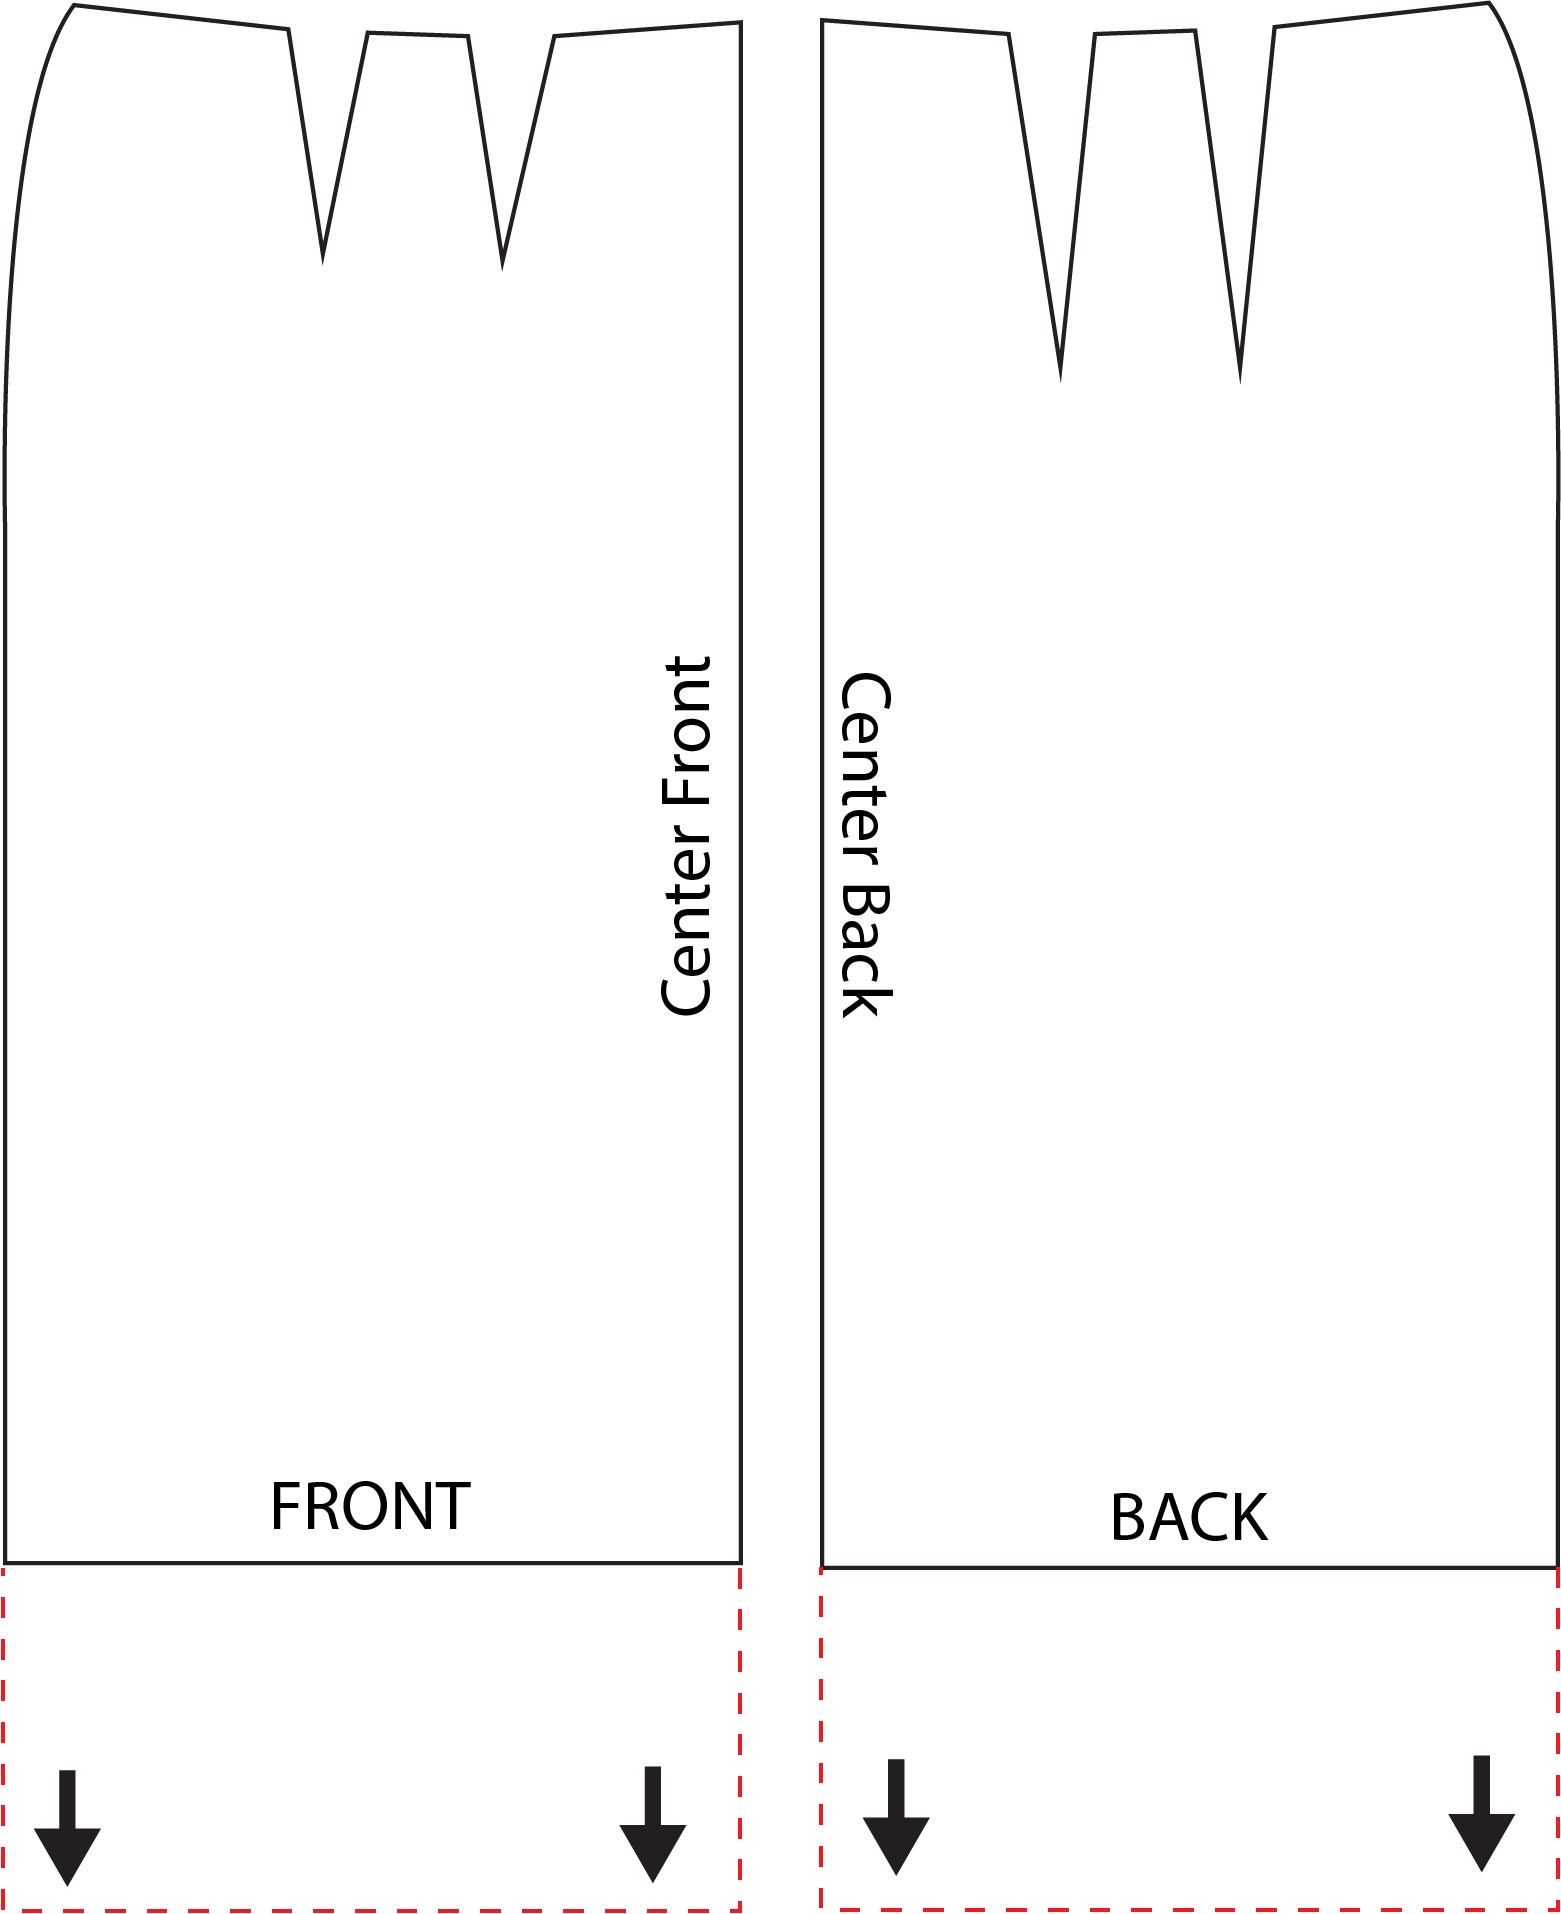
- Trace your front and back skirt sloper onto pattern paper.
- Adjust the length by extending or shortening to match your desired skirt length.
- Example: If your sloper length (center front top to bottom) is 23 inches (58 cm) and you want a 28-inch (71 cm) skirt, extend it by 5 inches (13 cm).
Apply the Slash and Spread Method
-
Draw vertical lines from the dart points to the hemline, keeping them parallel to the center front and center back.
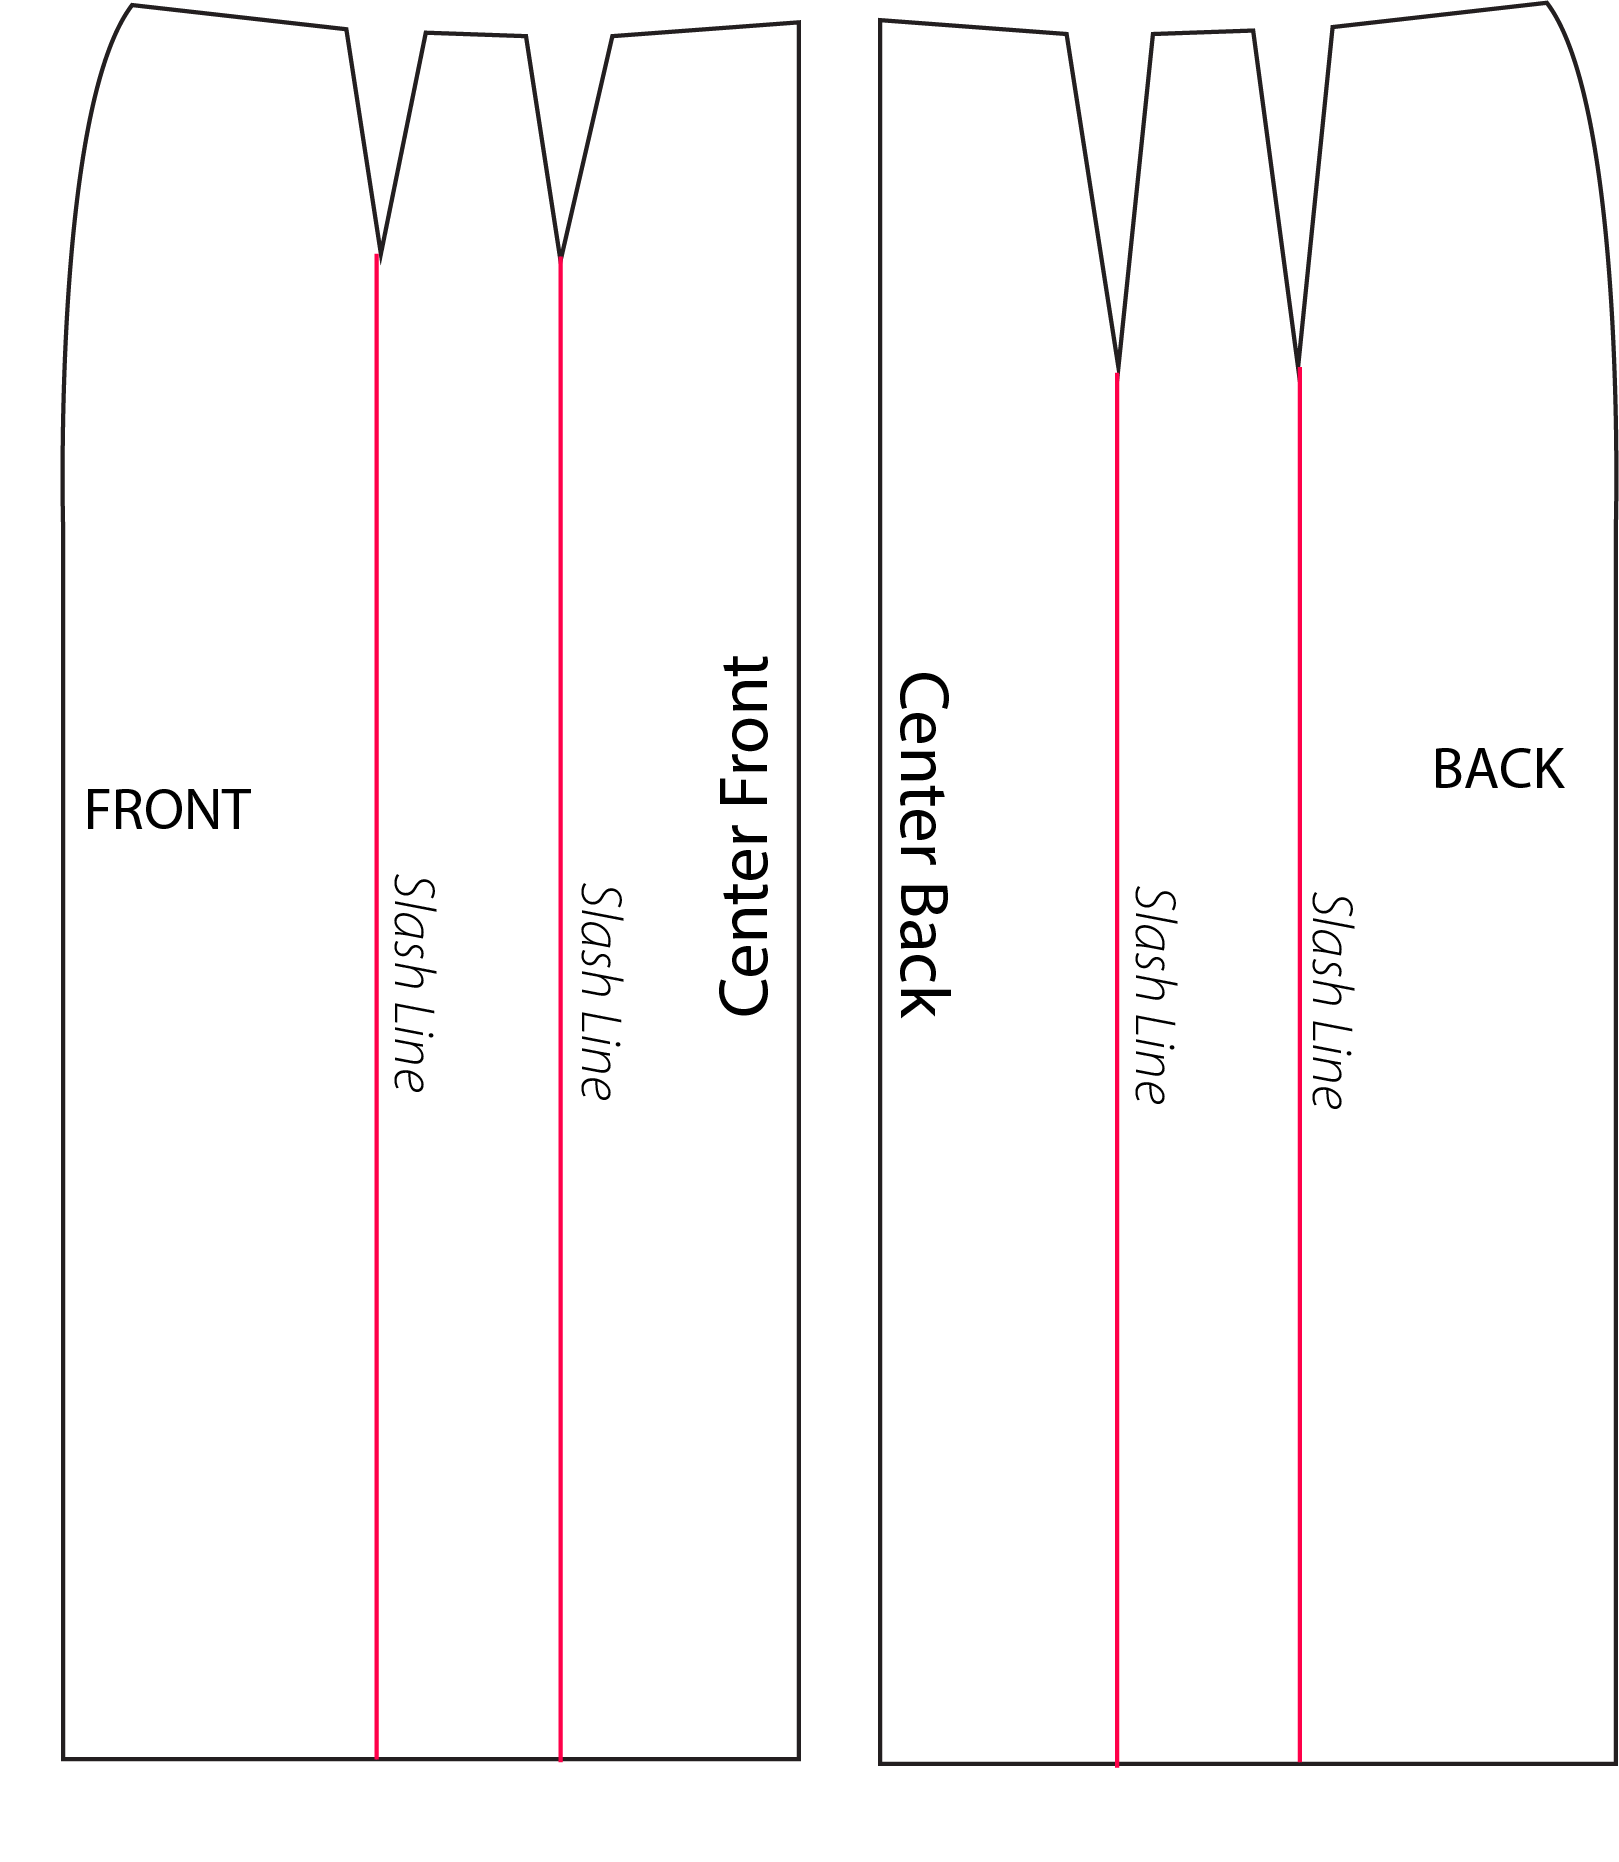
-
Cut along these slash lines, stopping right before the dart points (DO NOT cut through them).
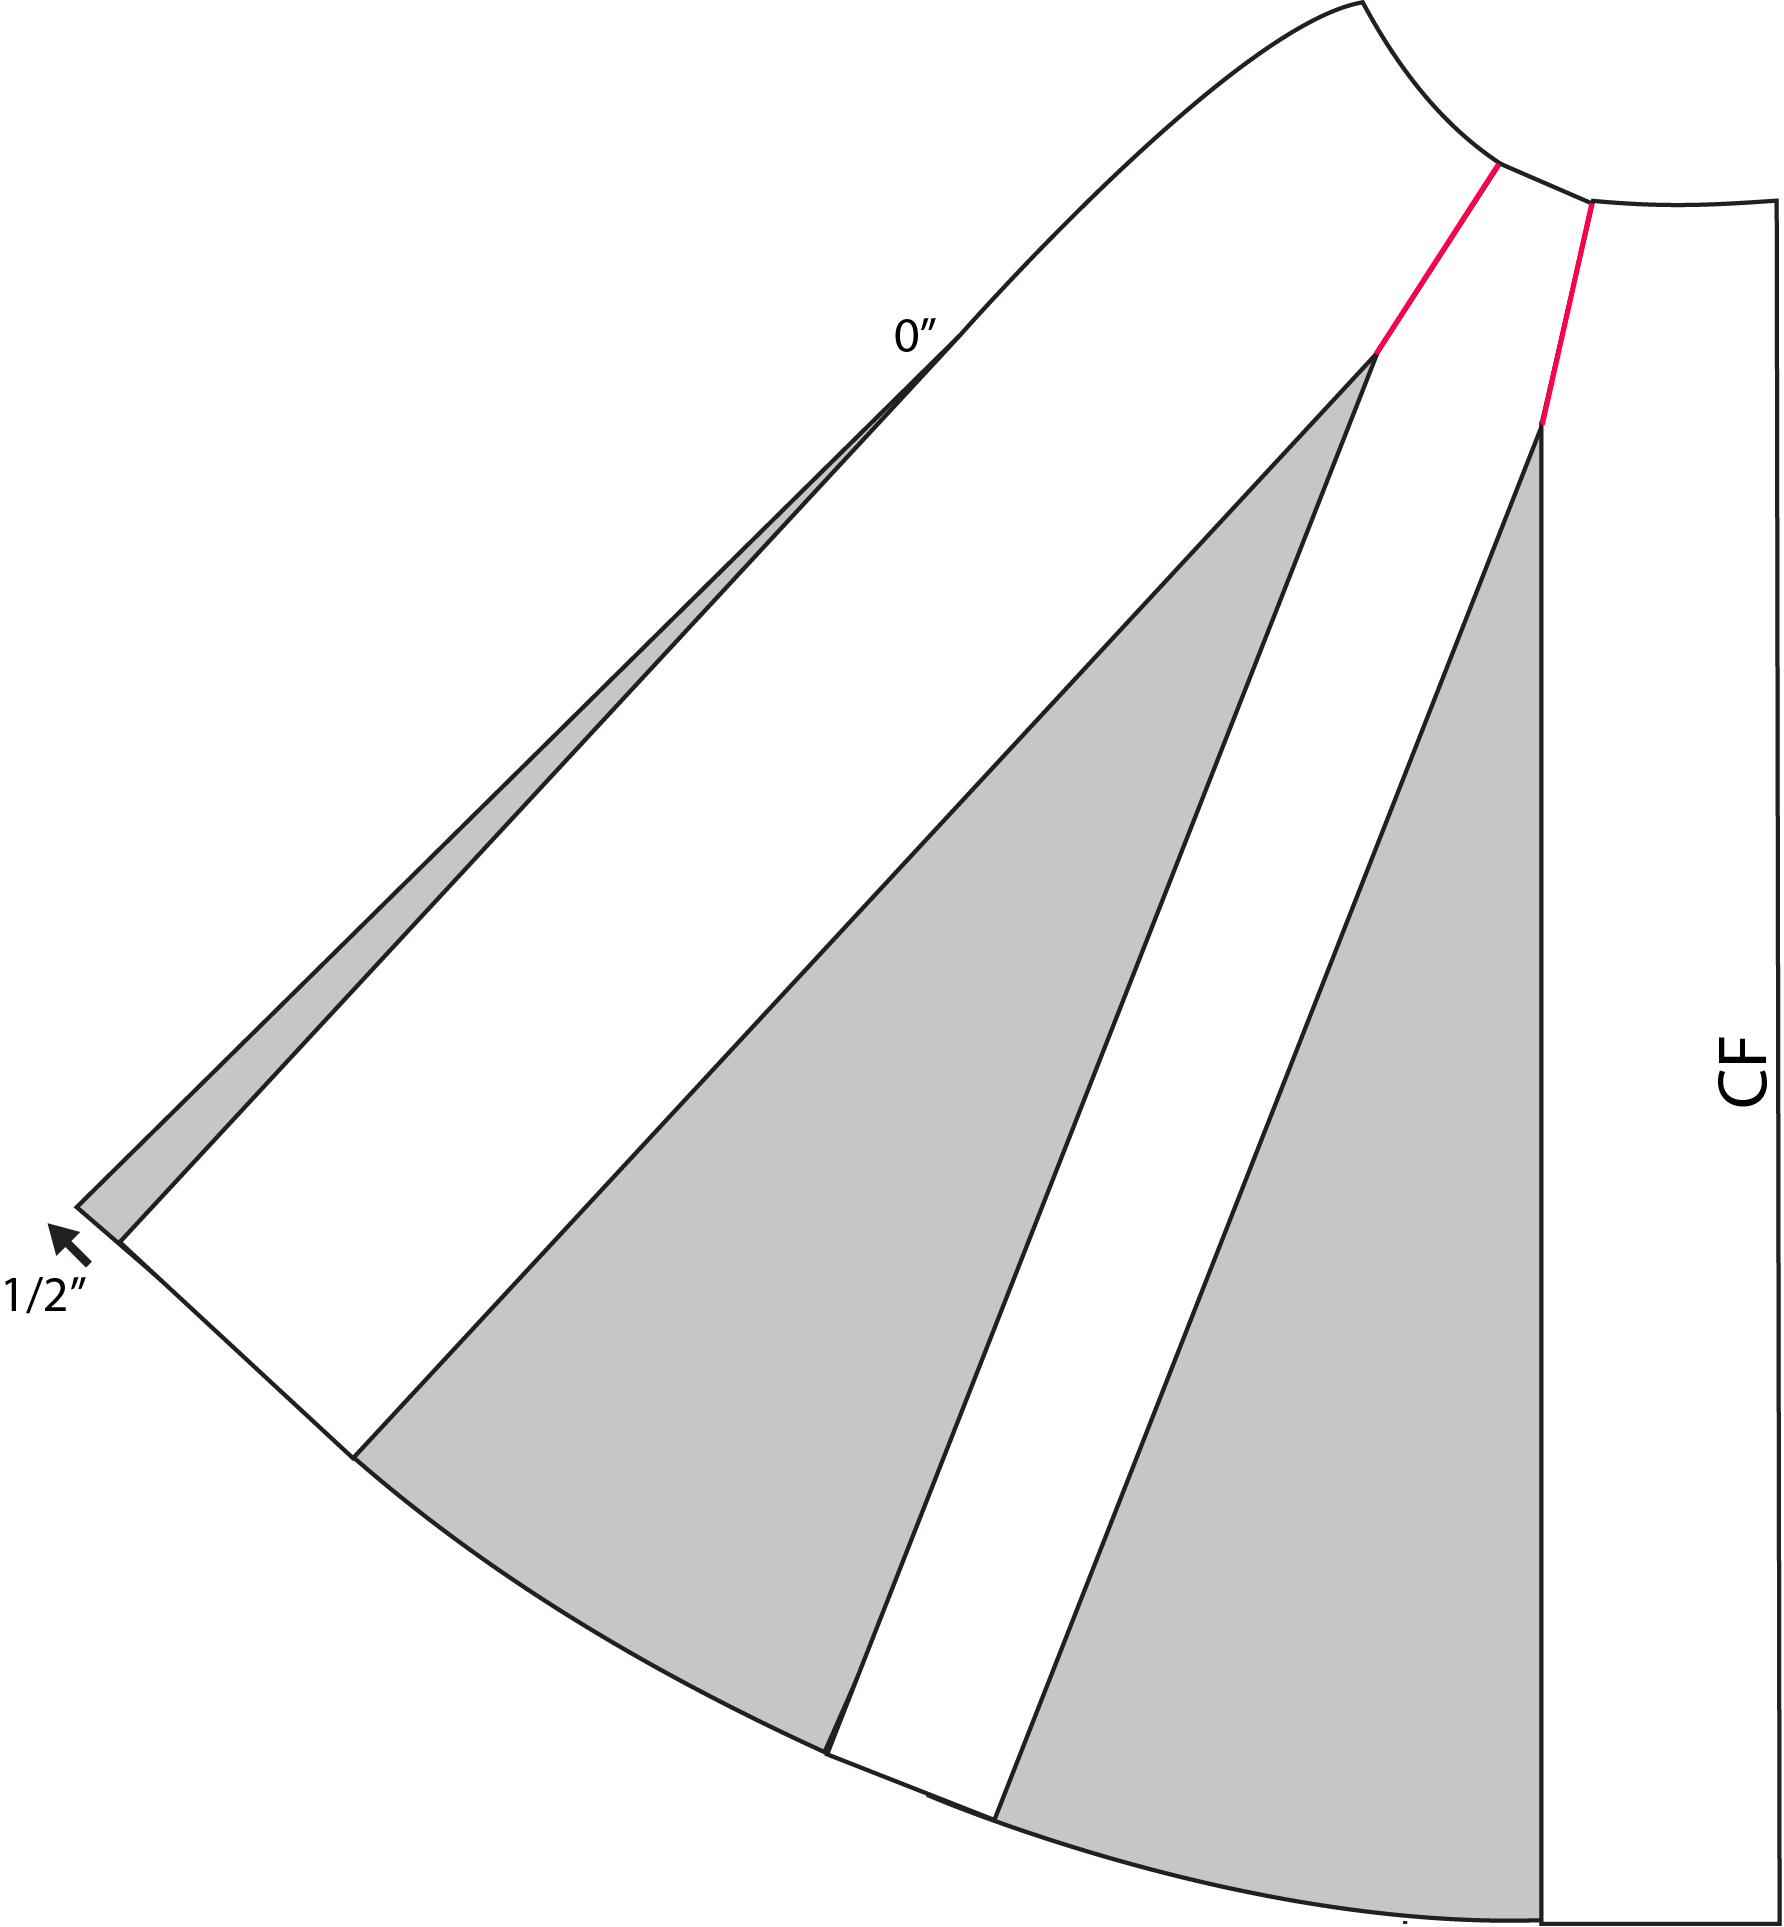
- Close the darts by overlapping and taping them shut. This will automatically spread the hemline, creating the A-line shape.
- Add ½ inch (1.3 cm) to the side hem and blend the hip area smoothly (0” adjustment at the hip).
- Blend the waistline if it becomes uneven after closing the darts.
Finalizing the Pattern
You can now add a waistband or facing, depending on your design choice. Don’t forget to add seam allowances to all edges before cutting your fabric!
Conclusion
Yay, you’re done! That wasn’t so bad, right?
The slash and spread method is a powerful technique that allows you to control the amount of flare and create a variety of silhouettes. You can also apply this method to add fullness to other patterns, such as pants or tops—the possibilities are endless! I hope this guide helps you in your pattern-making journey.
Got questions? Feel free to shoot us an email through the contact form.