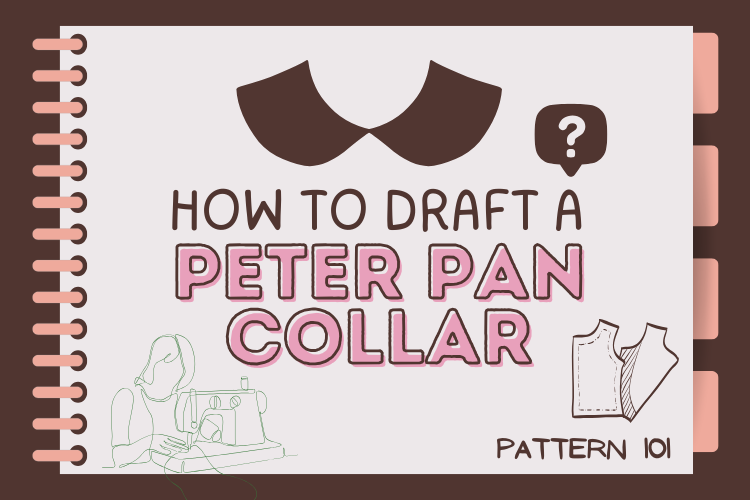
How to Draft a Peter Pan Collar
Learn how to draft a classic Peter Pan collar for your sewing projects.🤩⭐
I’m currently a teaching assistant for a beginner-level pattern drafting class at college, and one of the most popular requests from students during creative assignments has been learning how to draft a Peter Pan collar. The good news? Once you try it, it’s super easy! So, I decided to create this post to guide you through the process. 😃
Overview: What is a Peter Pan Collar?
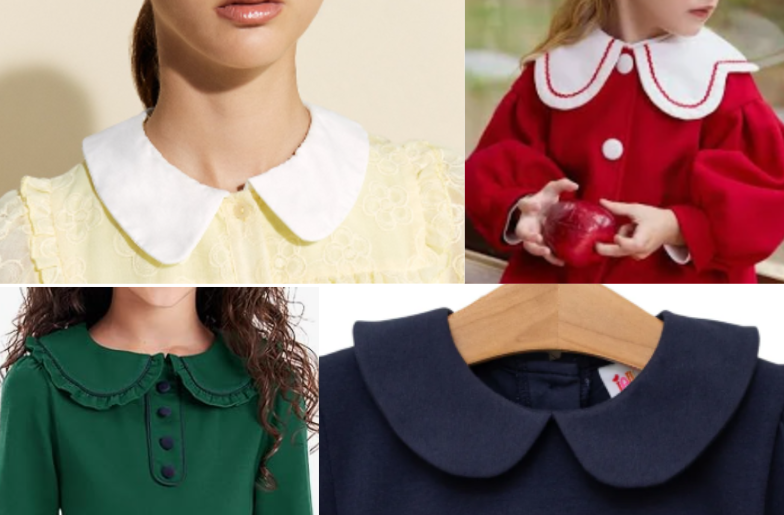
A Peter Pan collar is a flat, rounded collar that lies close to the neck and extends over the shoulders, creating a sweet, youthful appearance. It was named after the collar style worn by Maude Adams in her 1905 Broadway role as Peter Pan, though similar collar styles existed earlier in children’s clothing.
Where can you use a Peter Pan Collar?

This style is incredibly versatile and appears in a wide range of garments. It’s commonly seen on dresses and blouses but can also elevate coats or add a playful touch to children’s wear. The Peter Pan collar is particularly popular in vintage and preppy fashion but has been reimagined in modern designs for an edgy or minimalist aesthetic. With just a few tweaks to its size, fabric, or embellishments, you can adapt this collar for almost any style.
How to Draft a Peter Pan Collar
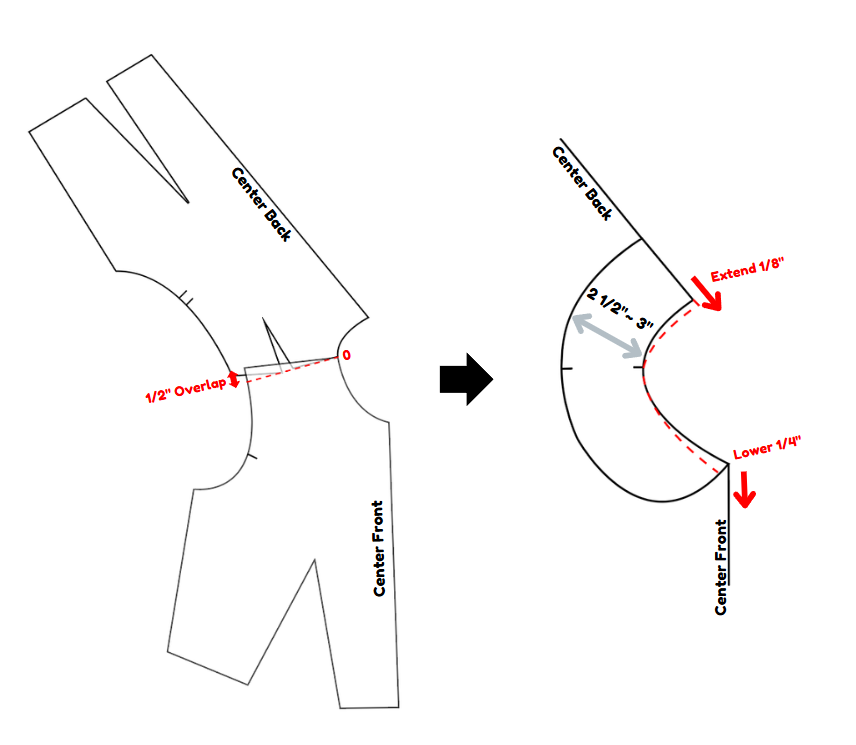
- Start by tracing the back pattern onto pattern paper. Place the front pattern against the traced copy, ensuring they touch at the neckline and overlap at the shoulder tips by ½ inch.
- Carefully trace the neckline and center lines from both pattern pieces, ensuring all marks are clear and visible.
- Make the necessary neckline adjustments: extend the center back neck up by 1/8” and lower the center front by 1/4”. These small changes ensure your collar will lay properly.
- Draw your collar shape parallel to the modified neckline, maintaining an even width(2 1/2” or 3” or your choice) throughout. Create smooth, rounded edges at the front that gracefully meet at center front.
-
Mark a clear notch at the shoulder/neck intersection. Cut out your main collar pattern, ensuring all markings transfer clearly.
(OPTIONAL) If you want your collar to cut on fold:
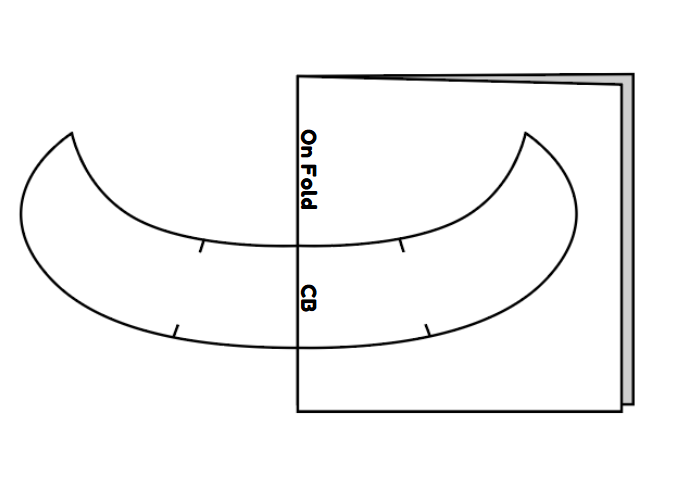
- If desired, trace the collar pattern onto folded paper at the center back line.
-
Add a clear “cut on fold” marking and ensure center back notches are visible before cutting.
Drafting the Undercollar:
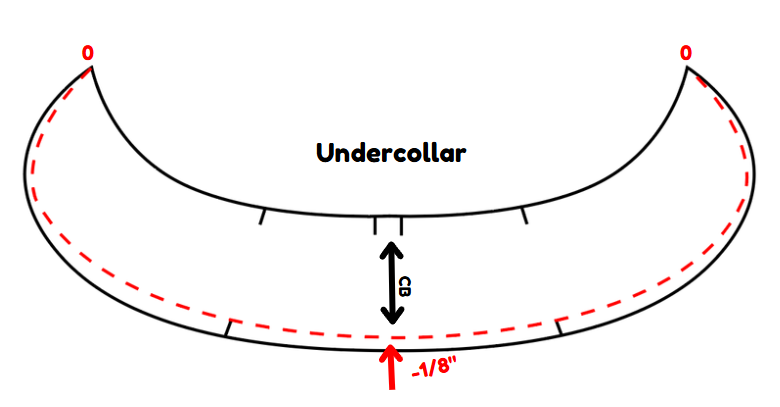
- Begin by tracing your completed collar pattern, then trim 1/8” from the outer edge as shown in the illustration.
- Add two notches placed 1/4” apart at the center back neckline, and one single notch on the collar’s outer edge. These different notch patterns help you distinguish between upper and under collar during construction.
Conclusion
Yay, you’re done! ❤️❤️ That wasn’t so bad, right?
The slash and spread method is a powerful technique that allows you to control the amount of flare and create a variety of silhouettes. You can also apply this method to add fullness to other patterns, such as pants or tops—the possibilities are endless! I hope this guide helps you in your pattern-making journey.
Got questions or want to share your Peter Pan collar creations? Feel free to shoot us an email through the contact form.
Happy sewing, and may your collars always lie perfectly flat! 🧵✨