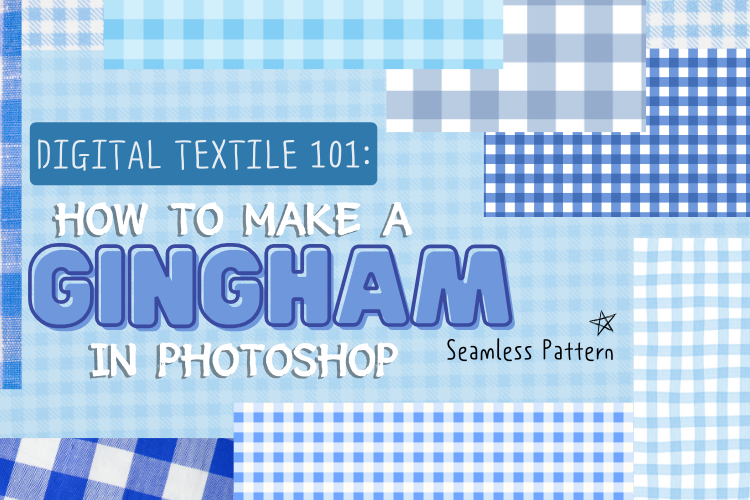
DIY: How to Make a Gingham Checker Pattern in Adobe Photoshop
Learn how to create a versatile gingham checker pattern in Adobe Photoshop. This step-by-step tutorial guides you through the process, perfect for elevating your digital designs or print projects. Easily customize colors and scales to suit your needs! Boost your design game today! 🖌️✨
❗ Please note that for this tutorial, I’m using Adobe Photoshop 2023.
Step-by-Step Instructions:
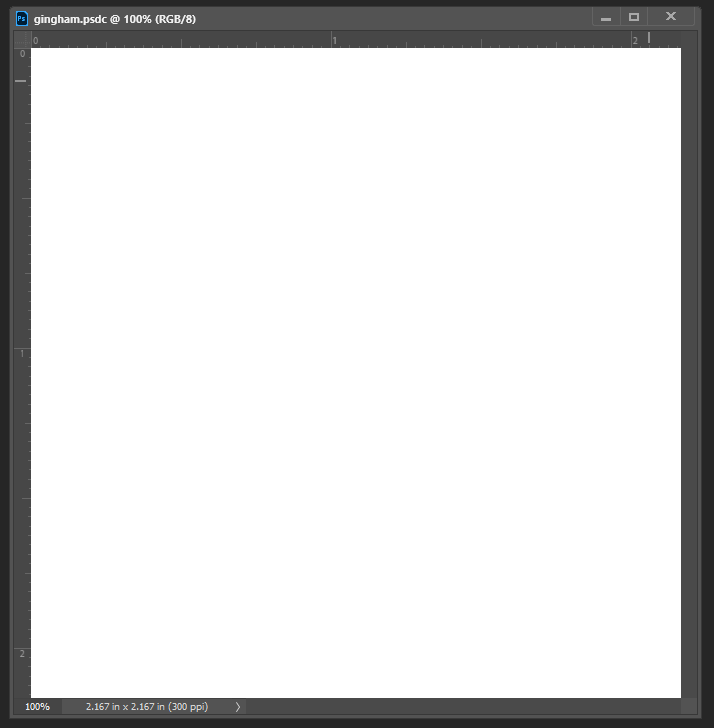
1) Create a new document
Create a new document in Photoshop with a size of 5.5 X 5.5 cm (It’s easier to work with cm for this project!)
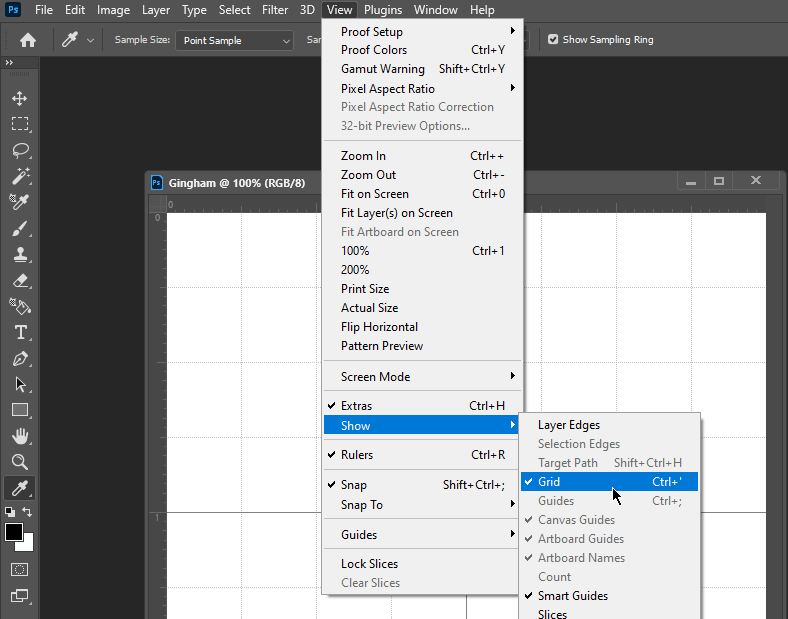
2) Adjust the Grid Settings
-
Go to View > Show > Grid to enable grid view and View > Snap To > Grid to align objects to the grid for precision placement.
-
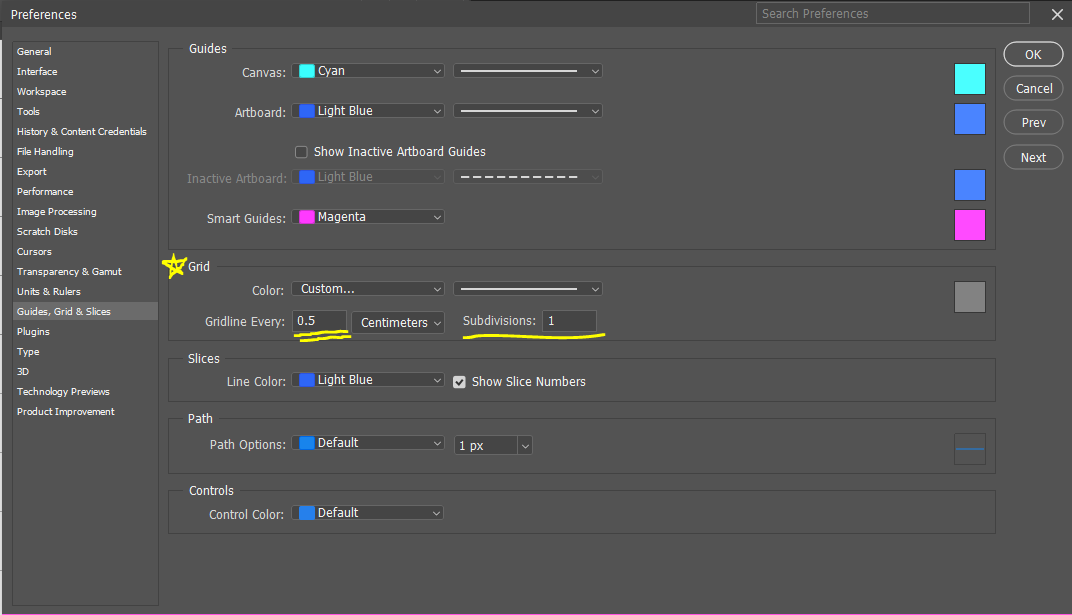
Choose Edit > Preferences > Guides, Grid & Slices ..
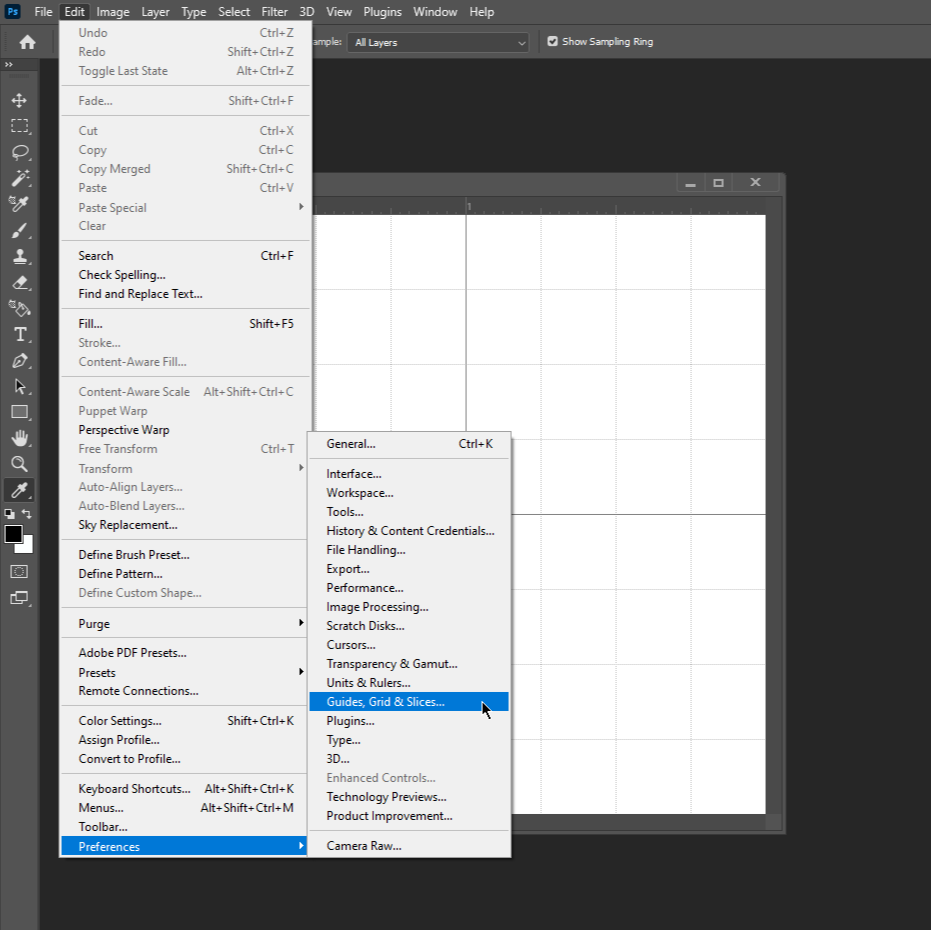
-
In the dialog box, ensure that the gridline is set every 0.5 cm and subdivisions are set to 1.
3) Create a Checkerboard Pattern
-
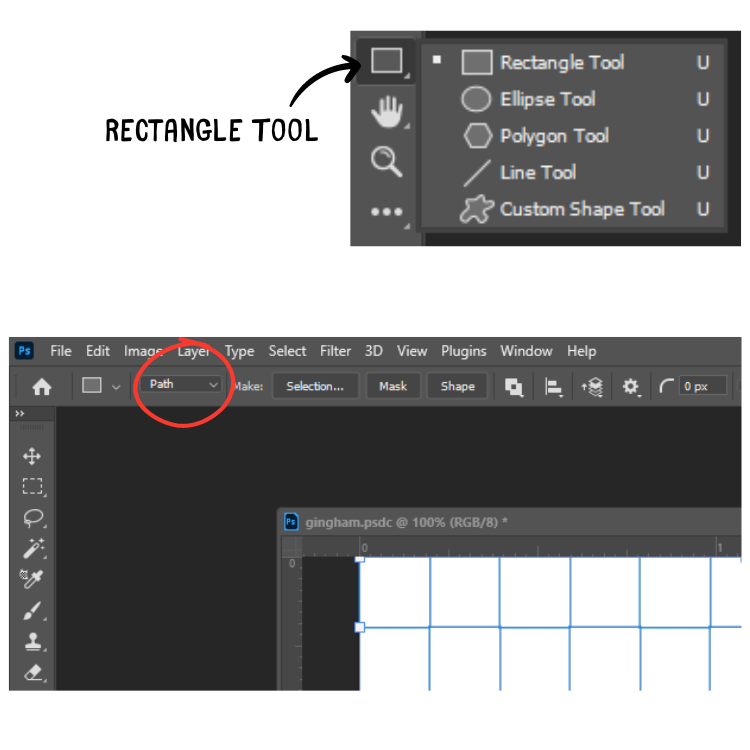
Select the Rectangle tool from the toolbar. Ensure it’s set to “Path” mode; the default is usually “Shape.”
-
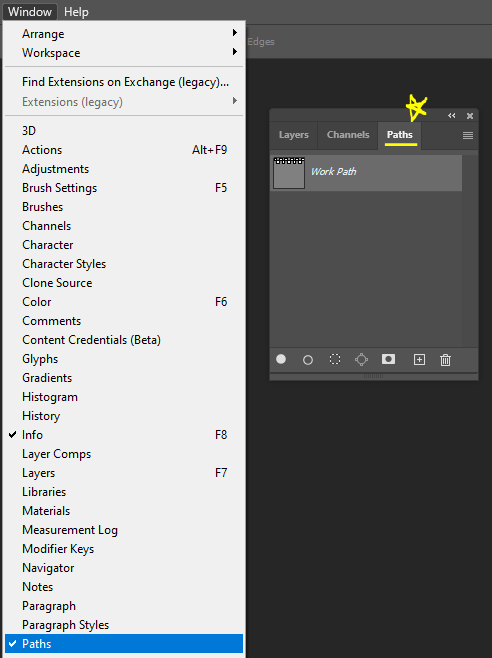
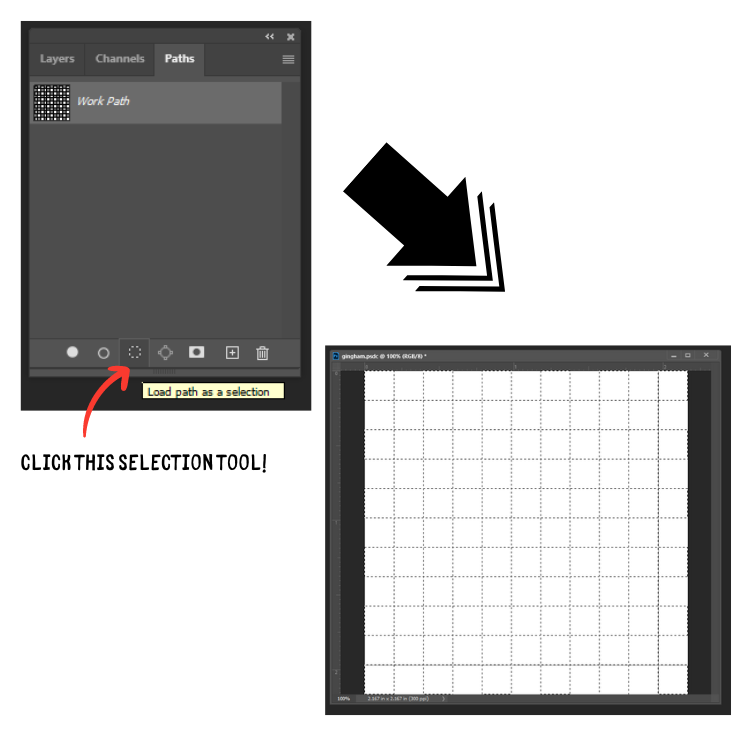
Go to Window > Path open the path panel.
-
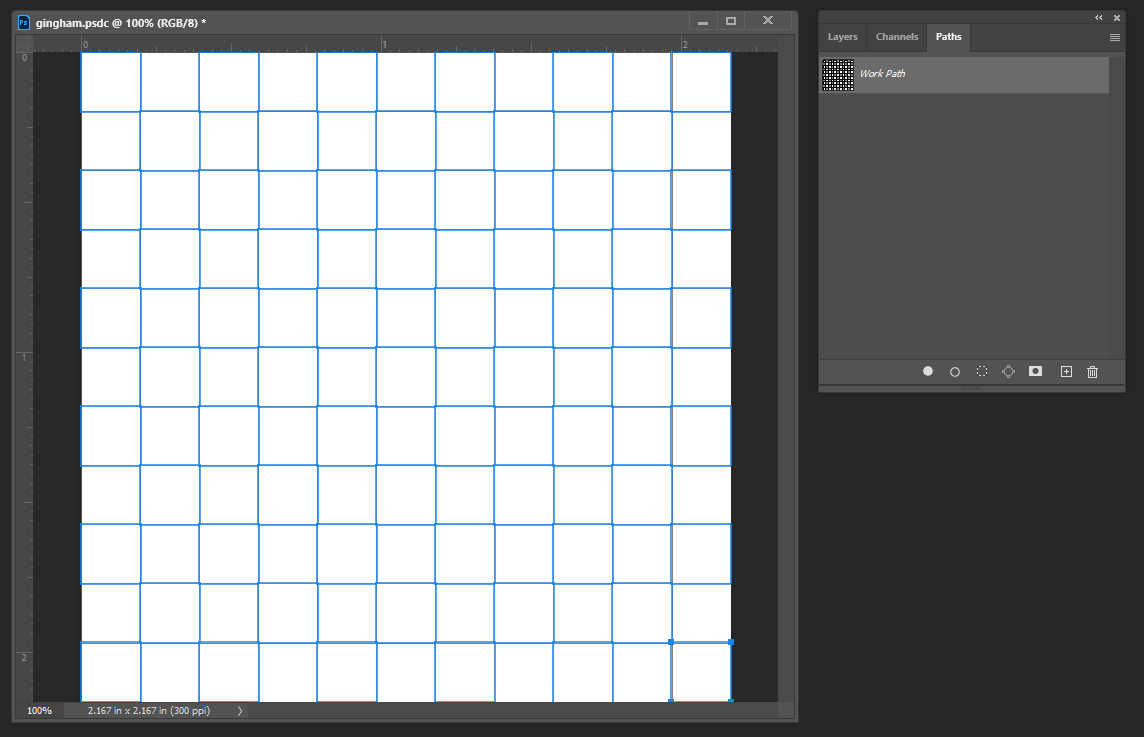
Utilize the grid as a guide to draw alternating squares in path mode.
-
Click on the paths palette, then select the selection icon to create a live selection of your alternating squares path.
-
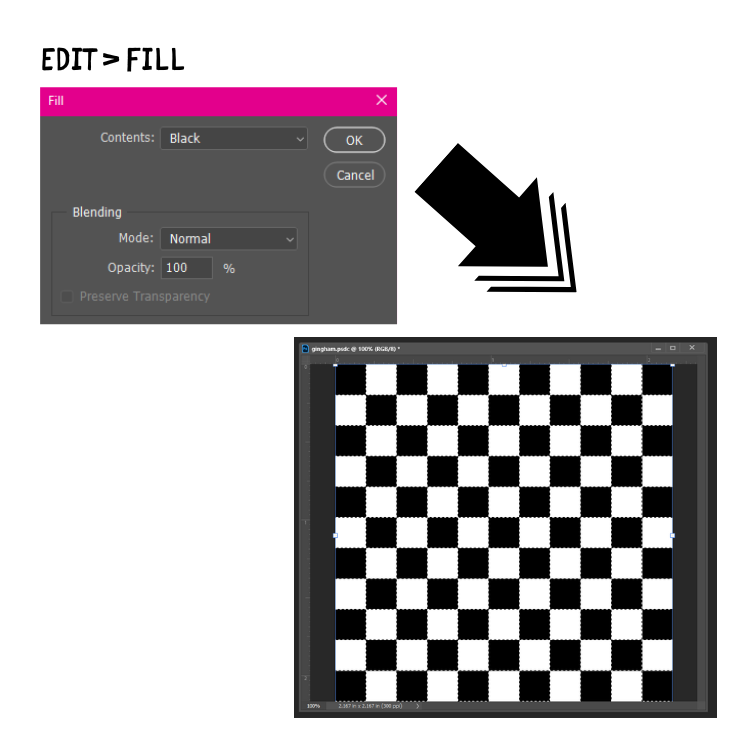
Go to Edit > Fill, and choose black as the foreground color. Press Ctrl + D to deselect.
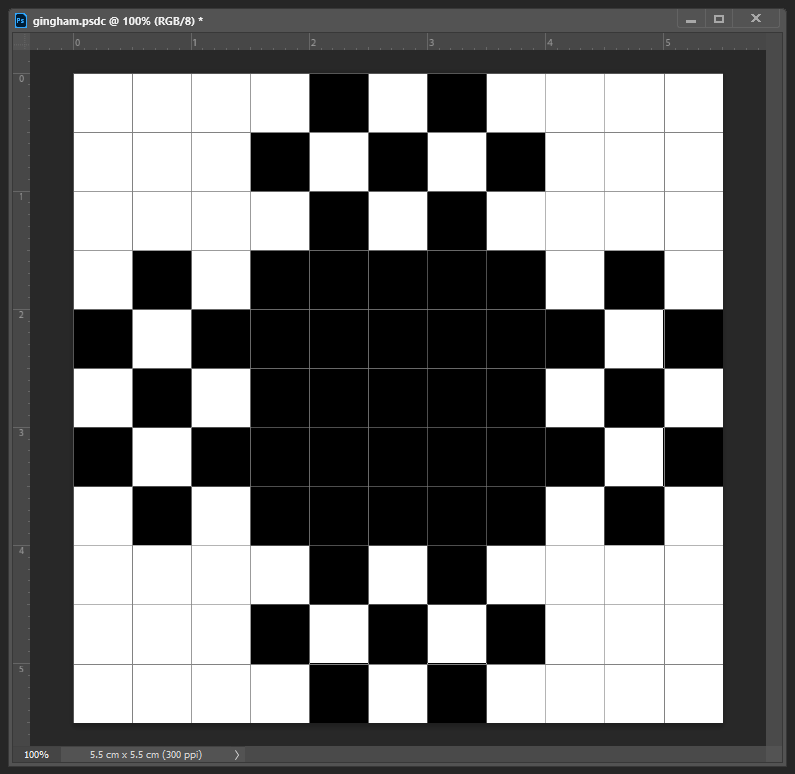
4) Create the Gingham Pattern
-
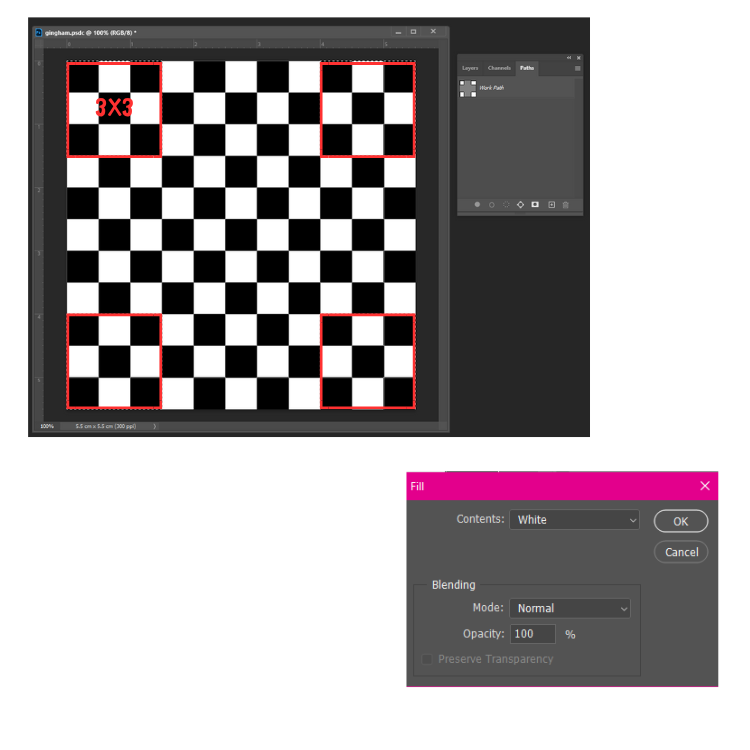
Use the rectangle tool and the technique from step 3 to draw and fill in the corner 3 by 3 squares, this time filling them with white.
-
It should resemble this pattern.
-
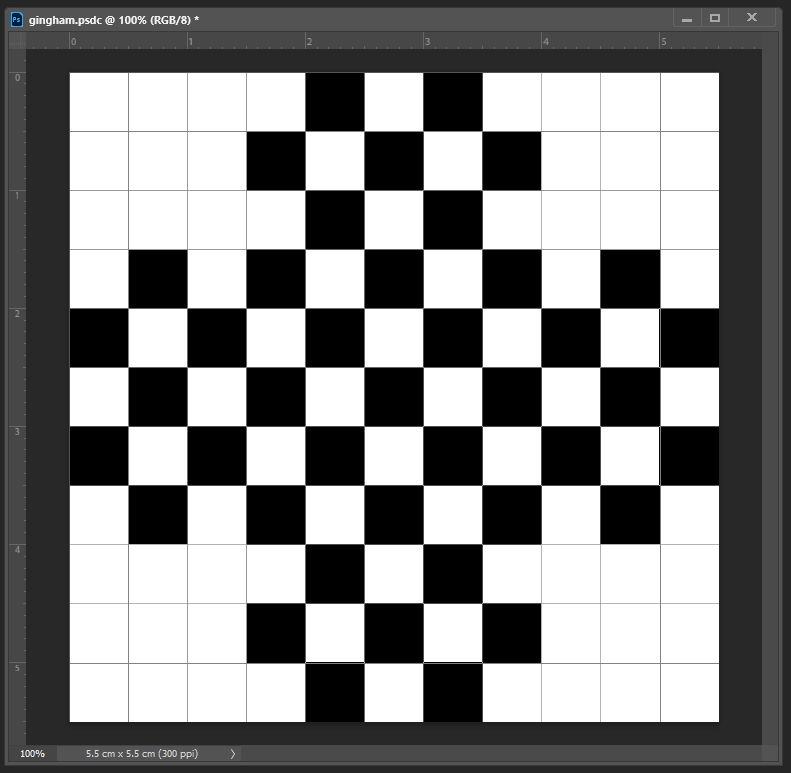
Now, similarly, draw a central 5 by 5 square and fill it with black.
-
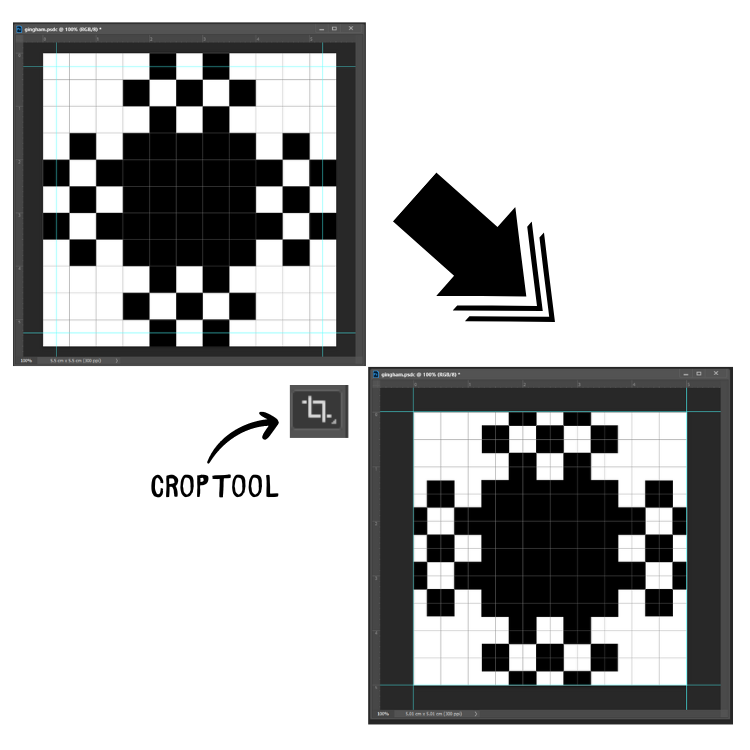
Drag horizontal and vertical guidelines 0.25cm from the edge of the design. Use the crop tool from the tool palette to crop the design along the guidelines.
-
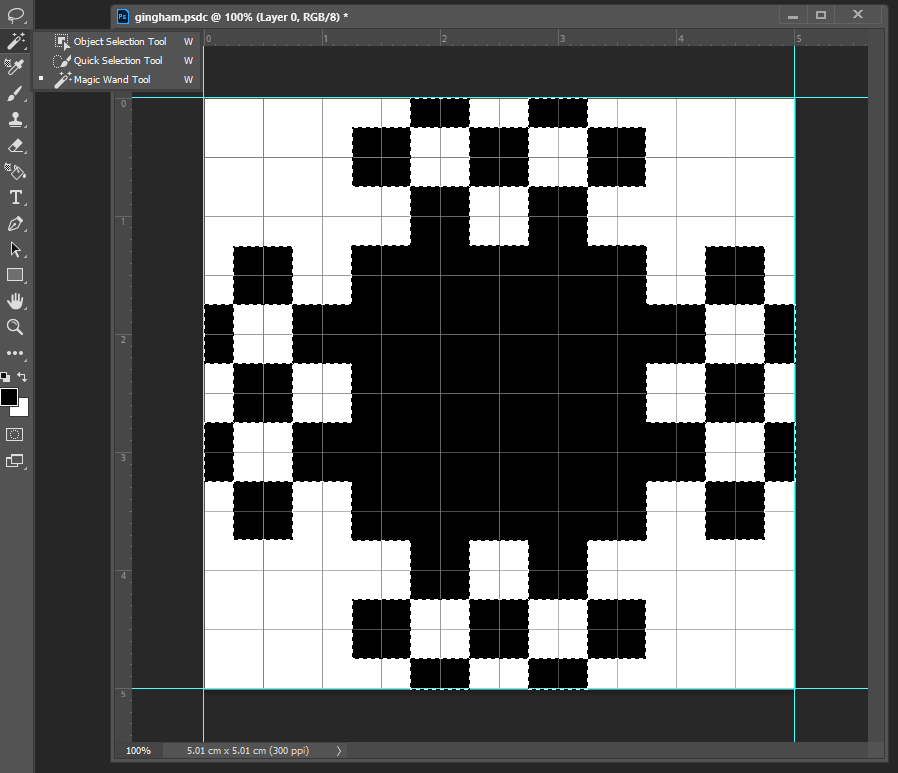
Next, use the magic wand tool to select the black squares only. Once selected, press Ctrl + J to create a new layer containing only the black squares. Name this layer “gingham.”
-
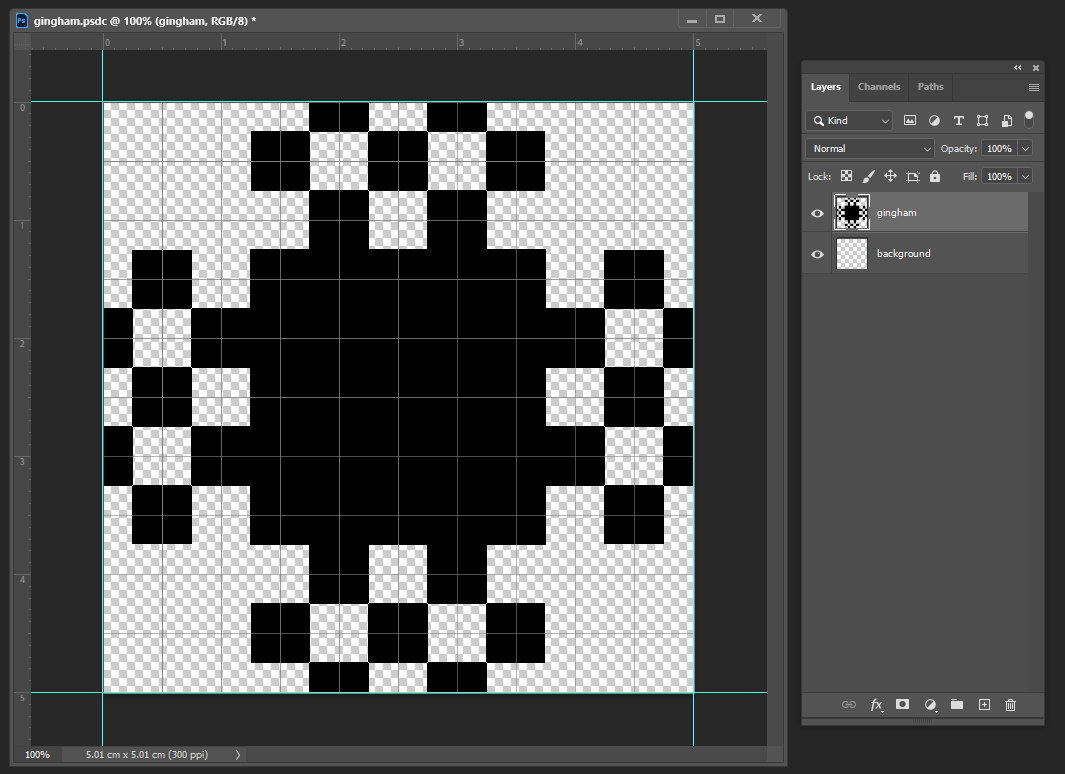
Delete the original layer, then create a new empty layer and name it “background.”
-
Fill the background layer with your desired color. Simply select the background layer and go to Edit > Fill. For the gingham layer, Ctrl + click this layer to ensure a live selection, then go to Edit > Fill to change its color.
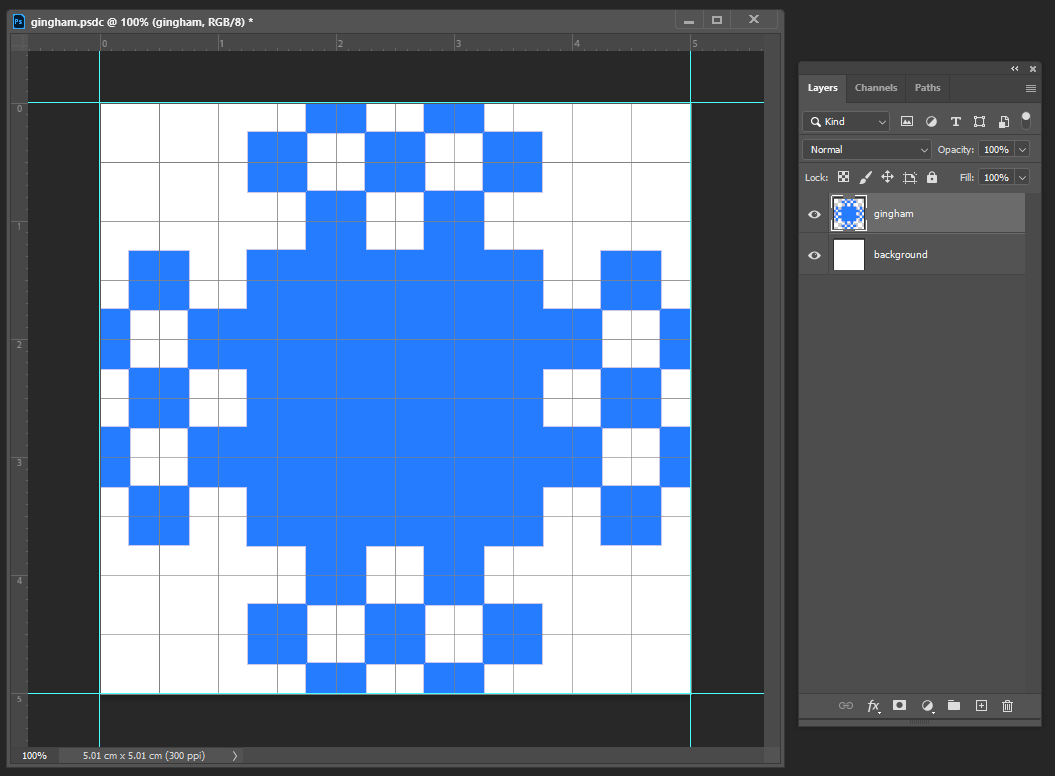
-
Save this file as “Gingham Template.”
5) Apply the Gingham Pattern
-
Adjust its size by navigating to Image > Image Size to vary the gingham scale.

-
Use Layer > Merge Layers to ensure there’s only one layer.
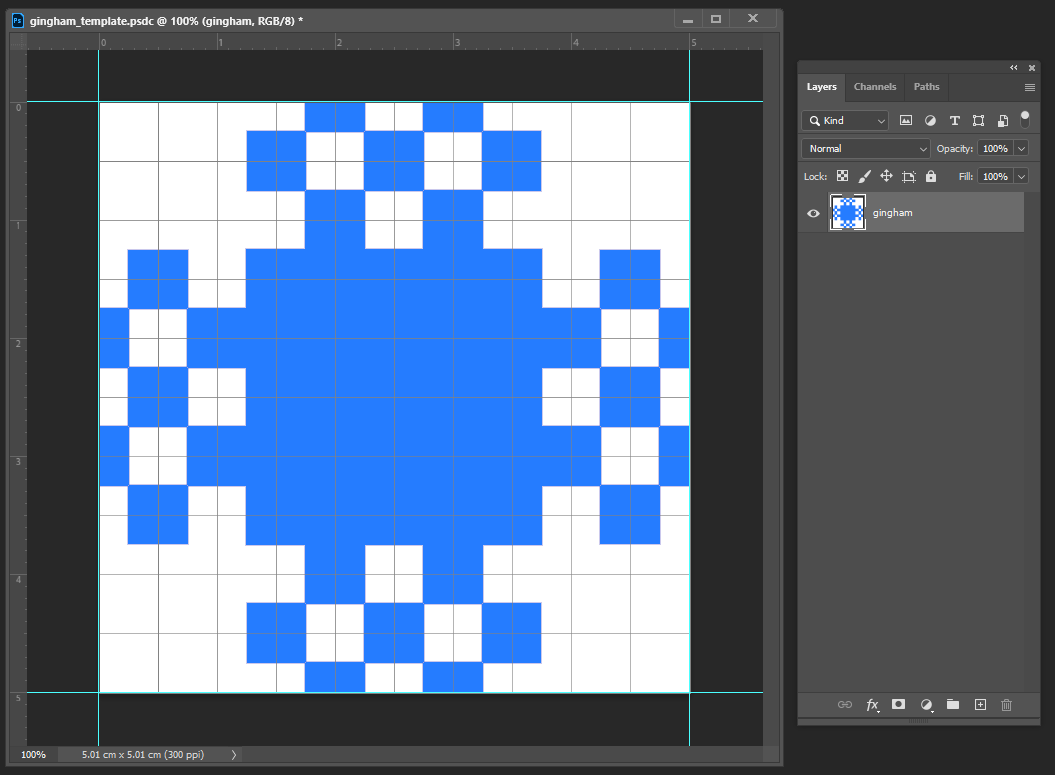
-
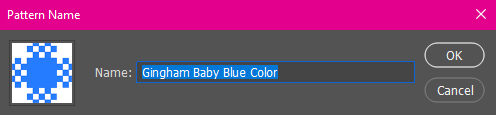
Go to Edit > Define Pattern. Name your pattern and click OK.
-
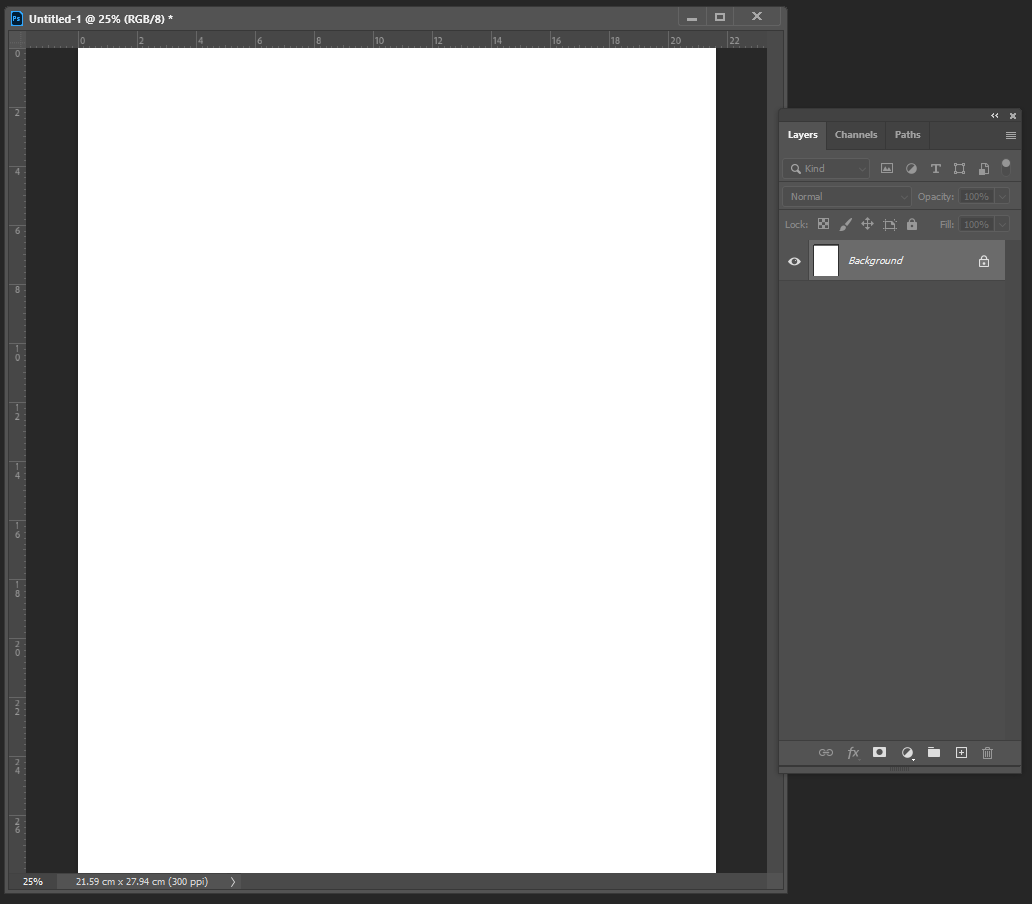
Create a new document for testing. Let’s use letter size paper: 8.5 x 11 inches.
-
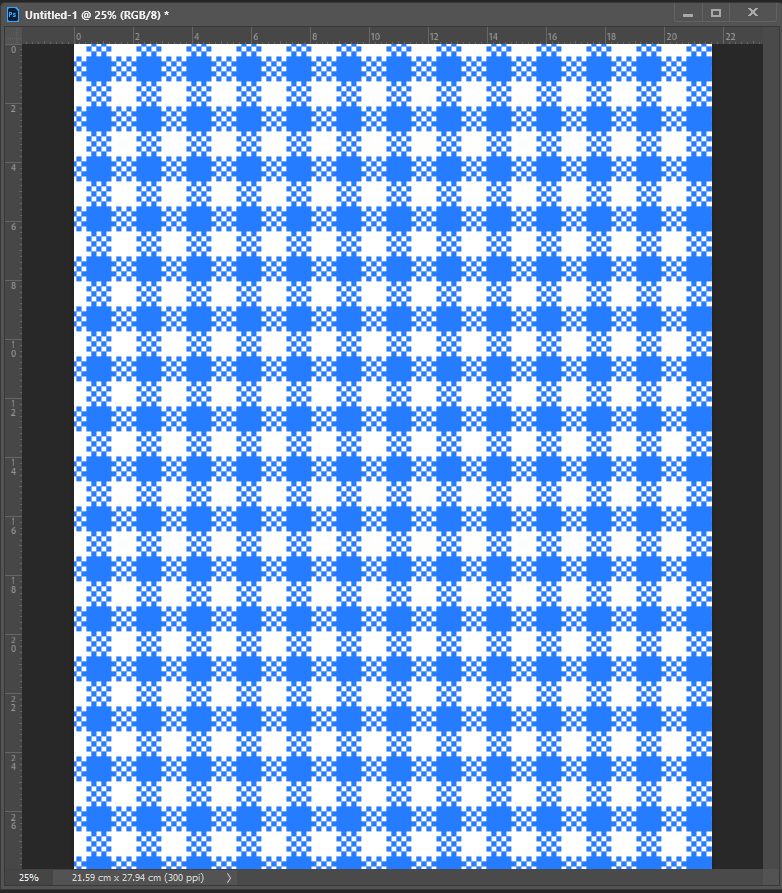
Go to Edit > Fill > For content, choose pattern. Your pattern will be available under custom patterns.
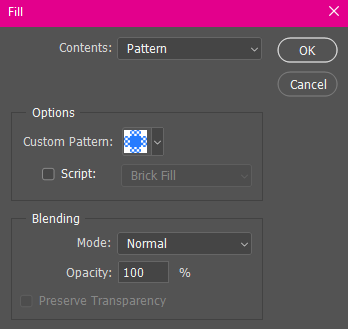
-
Voila! You’ve beautifully created a perfectly seamless gingham pattern.
Let’s say goodbye to the frustration of searching for the perfect gingham print online. We’ve all been there, endlessly scrolling, hoping to find that seamless pattern. But now, with this technique, you’re the one in control of your gingham destiny! Imagine infusing your fashion sketches and textile projects with your personal touch, thanks to your very own customized gingham designs. It’s all about embracing this newfound freedom to express yourself and make each project uniquely yours. No more settling for what’s available—now, it’s all about bringing your vision to life. So go ahead, let your creativity flow, and watch as your creations become something truly special. Cheers to you, the artist behind the pattern! 🖌️✨